|
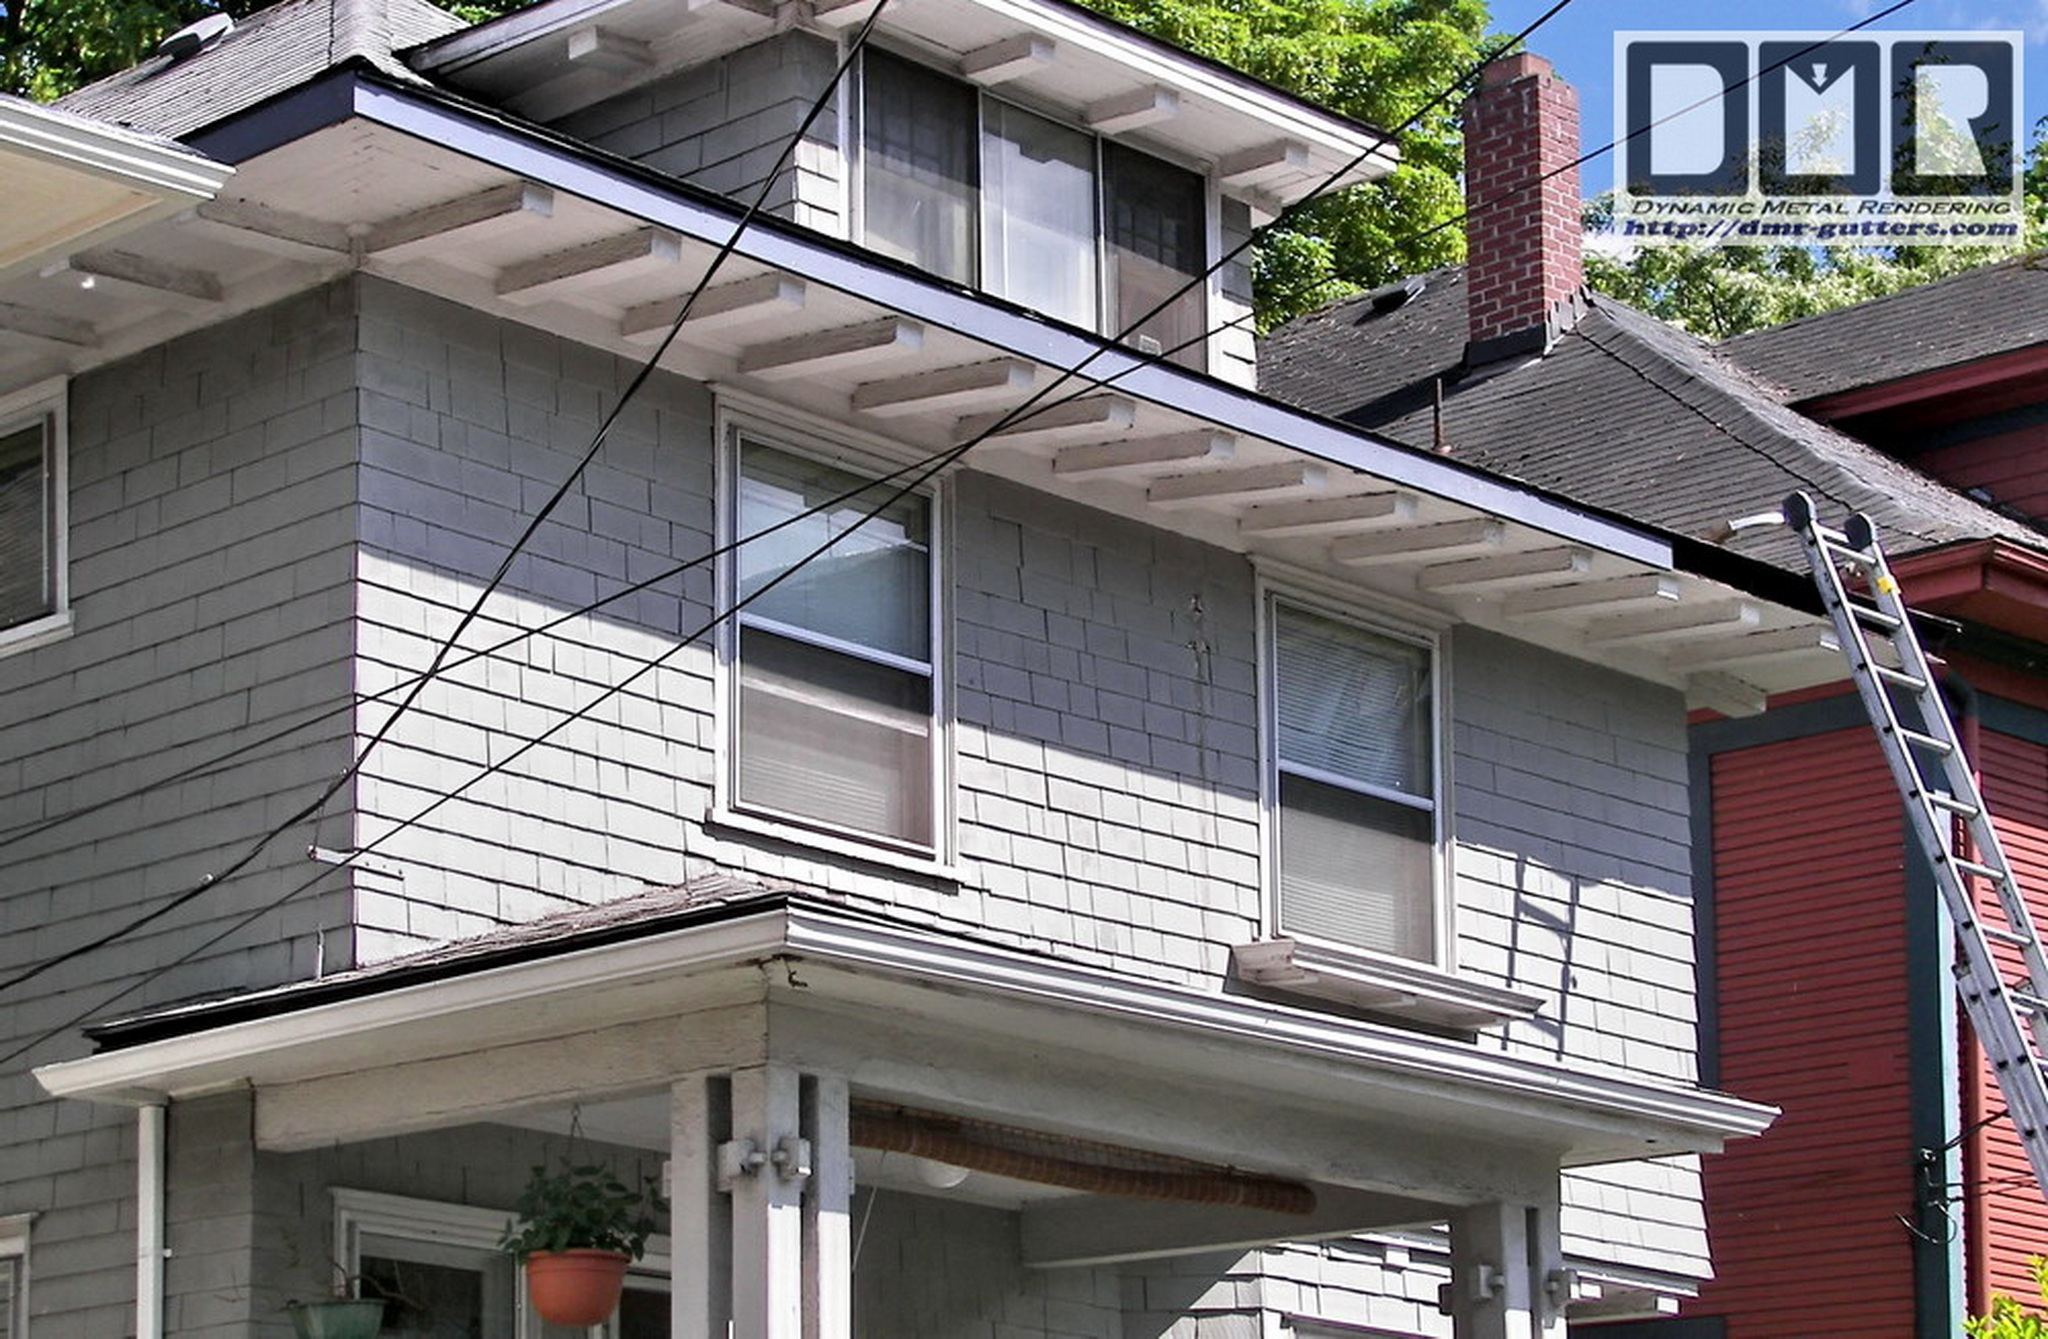
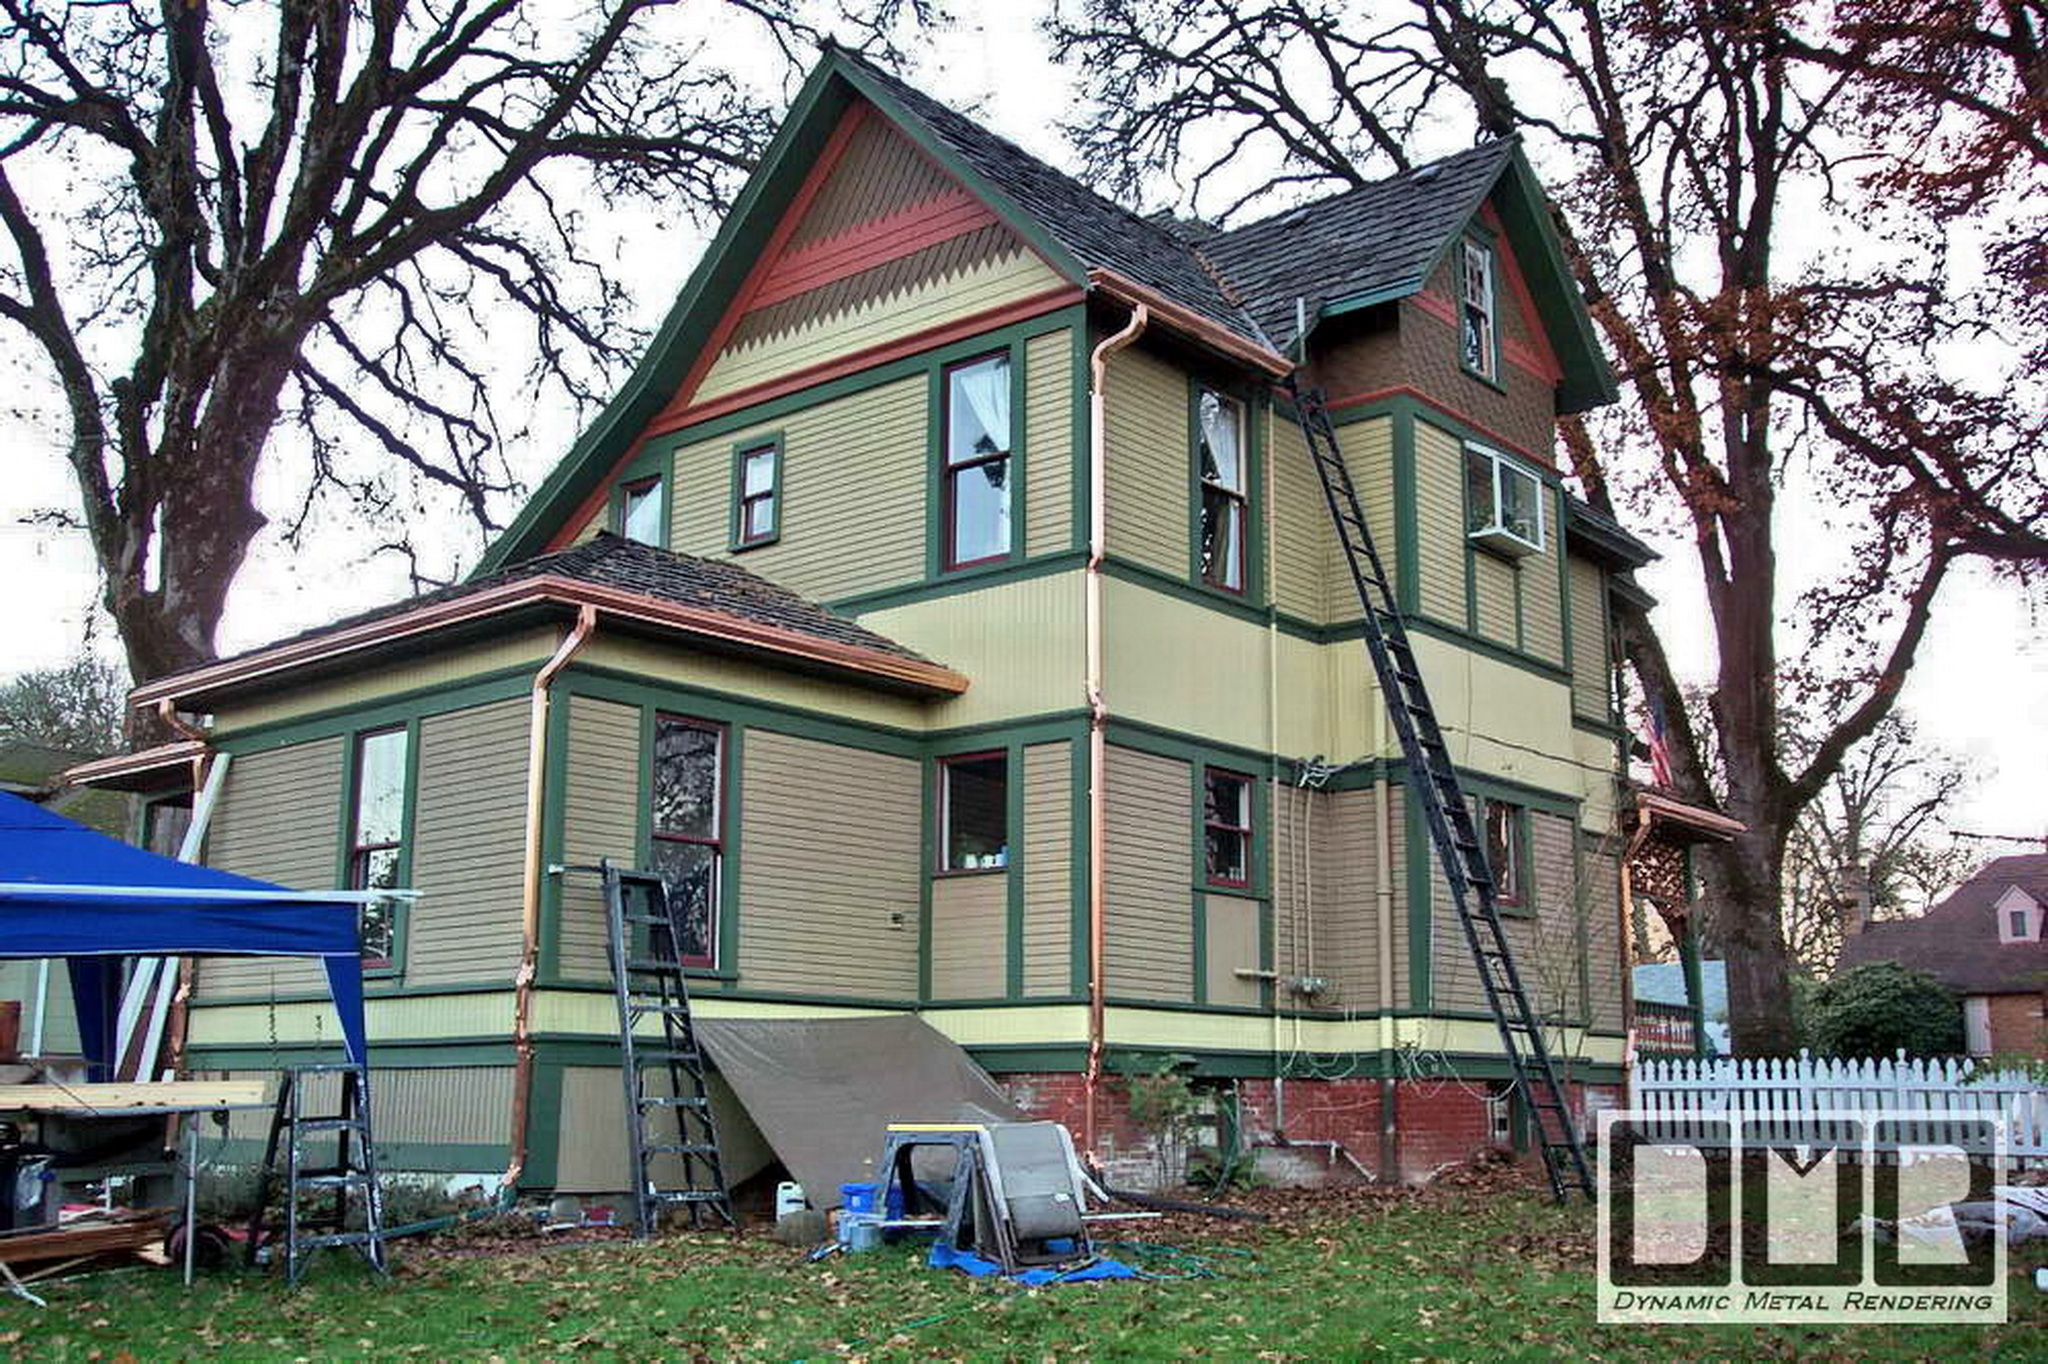
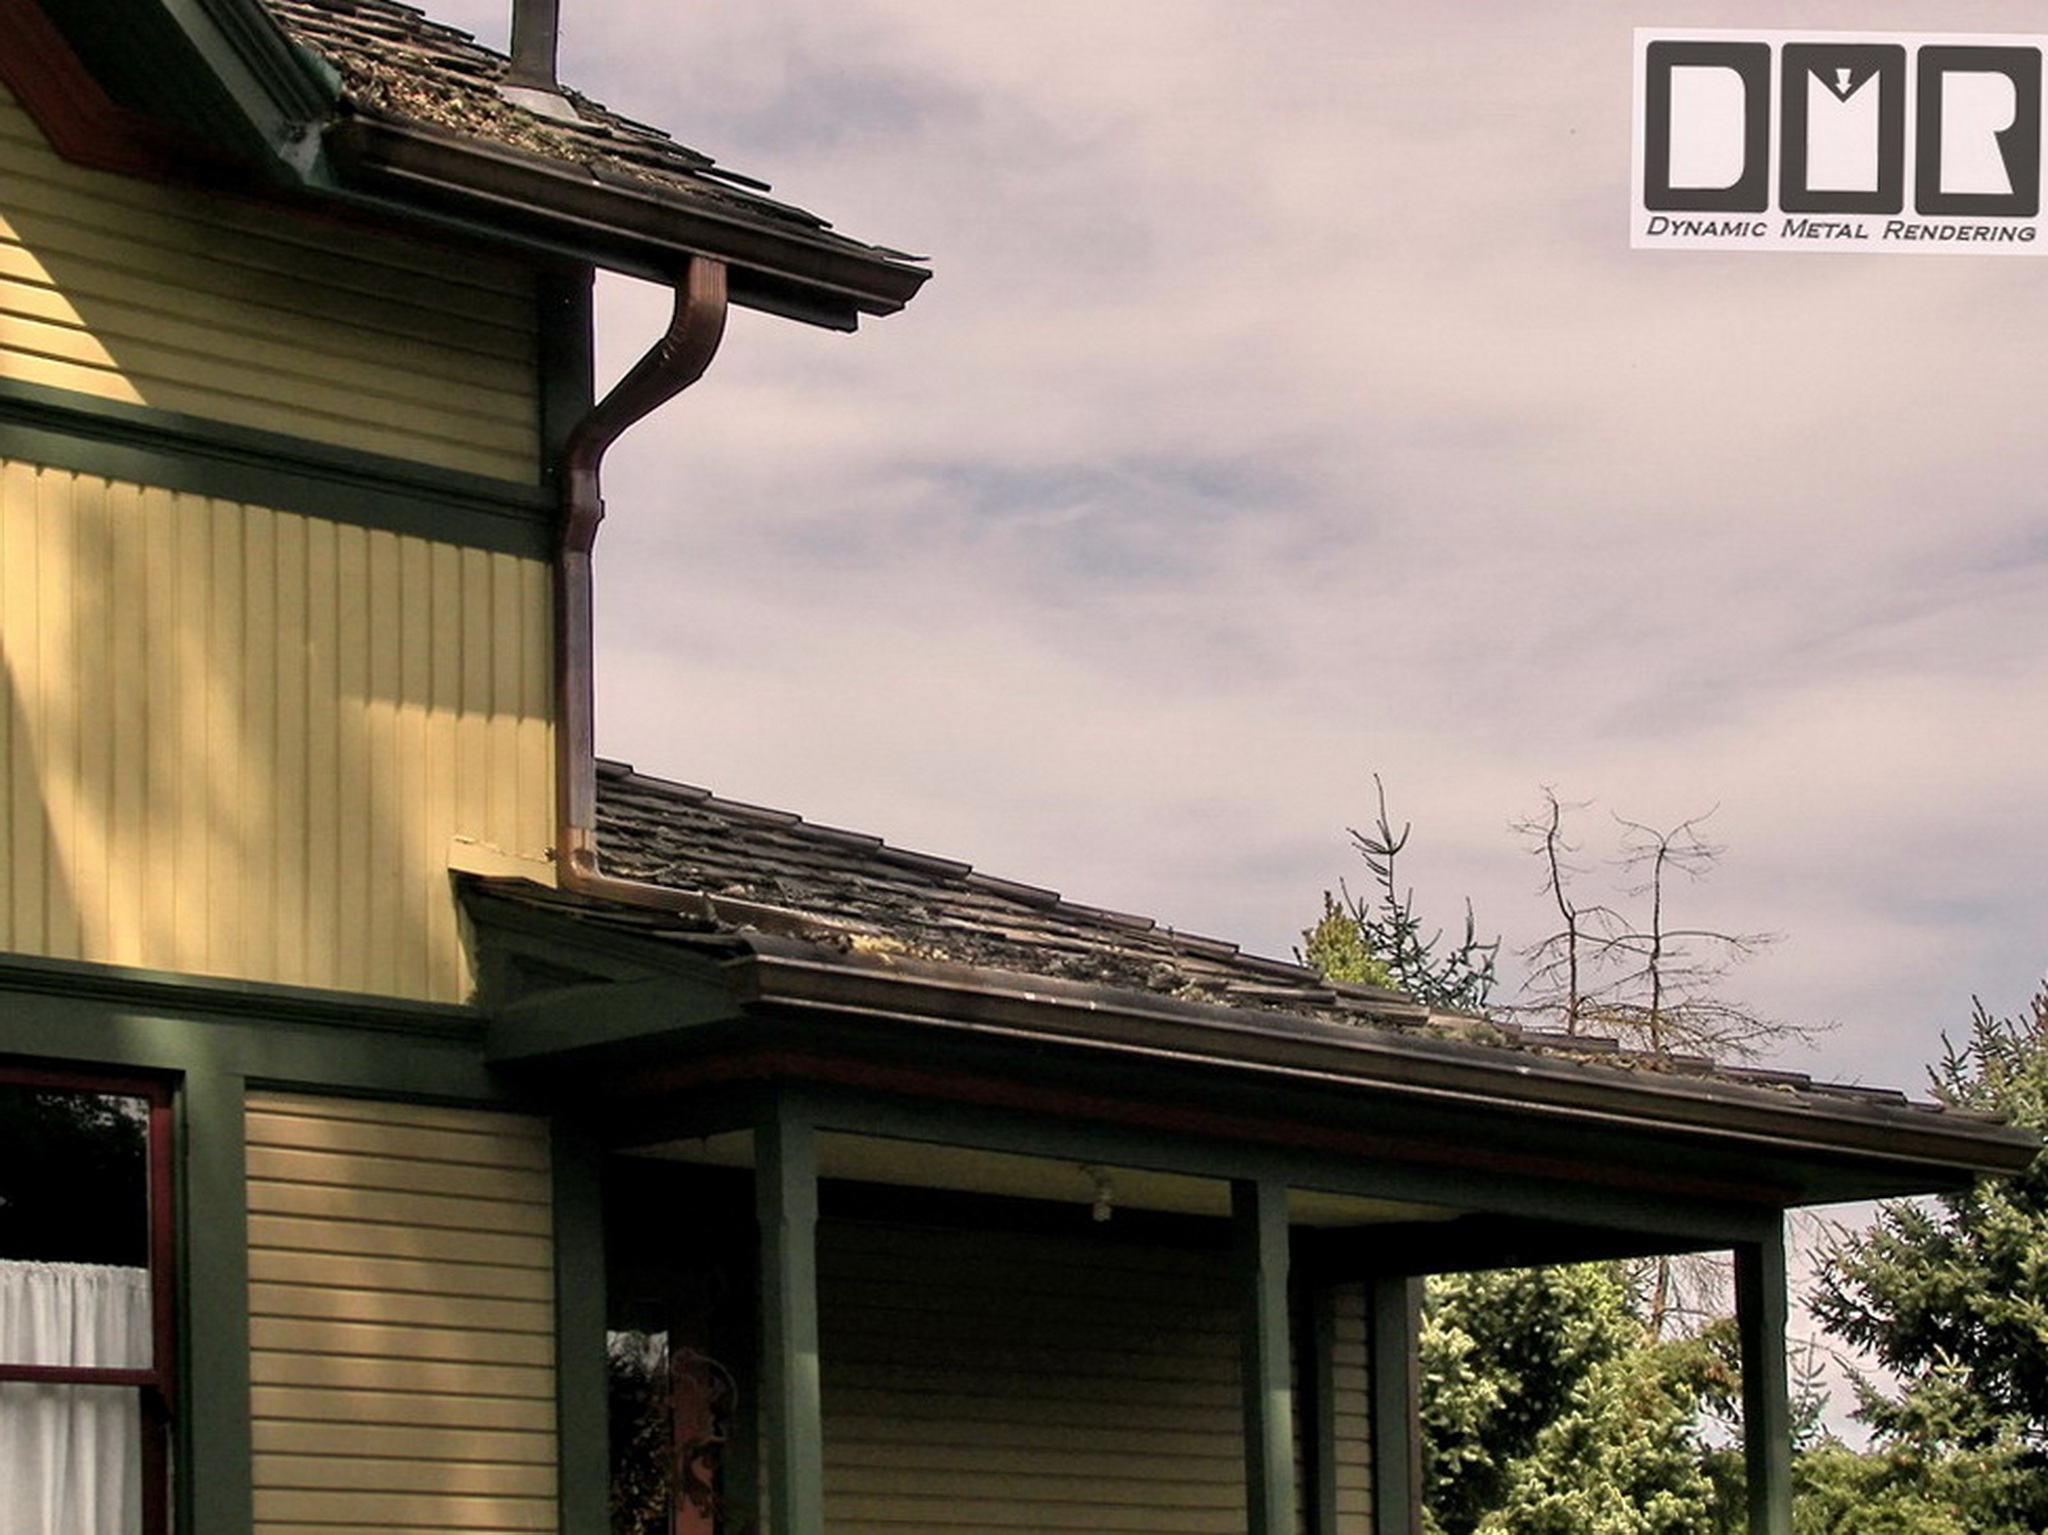
This
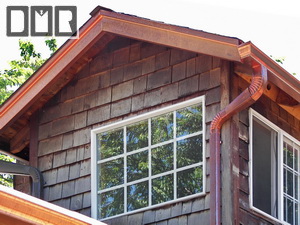
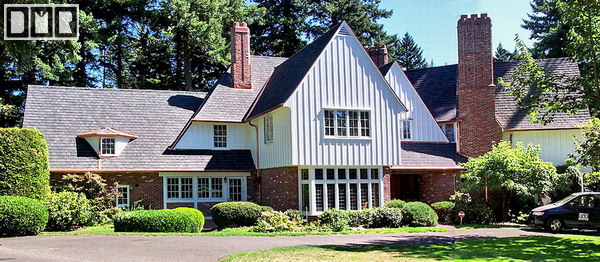
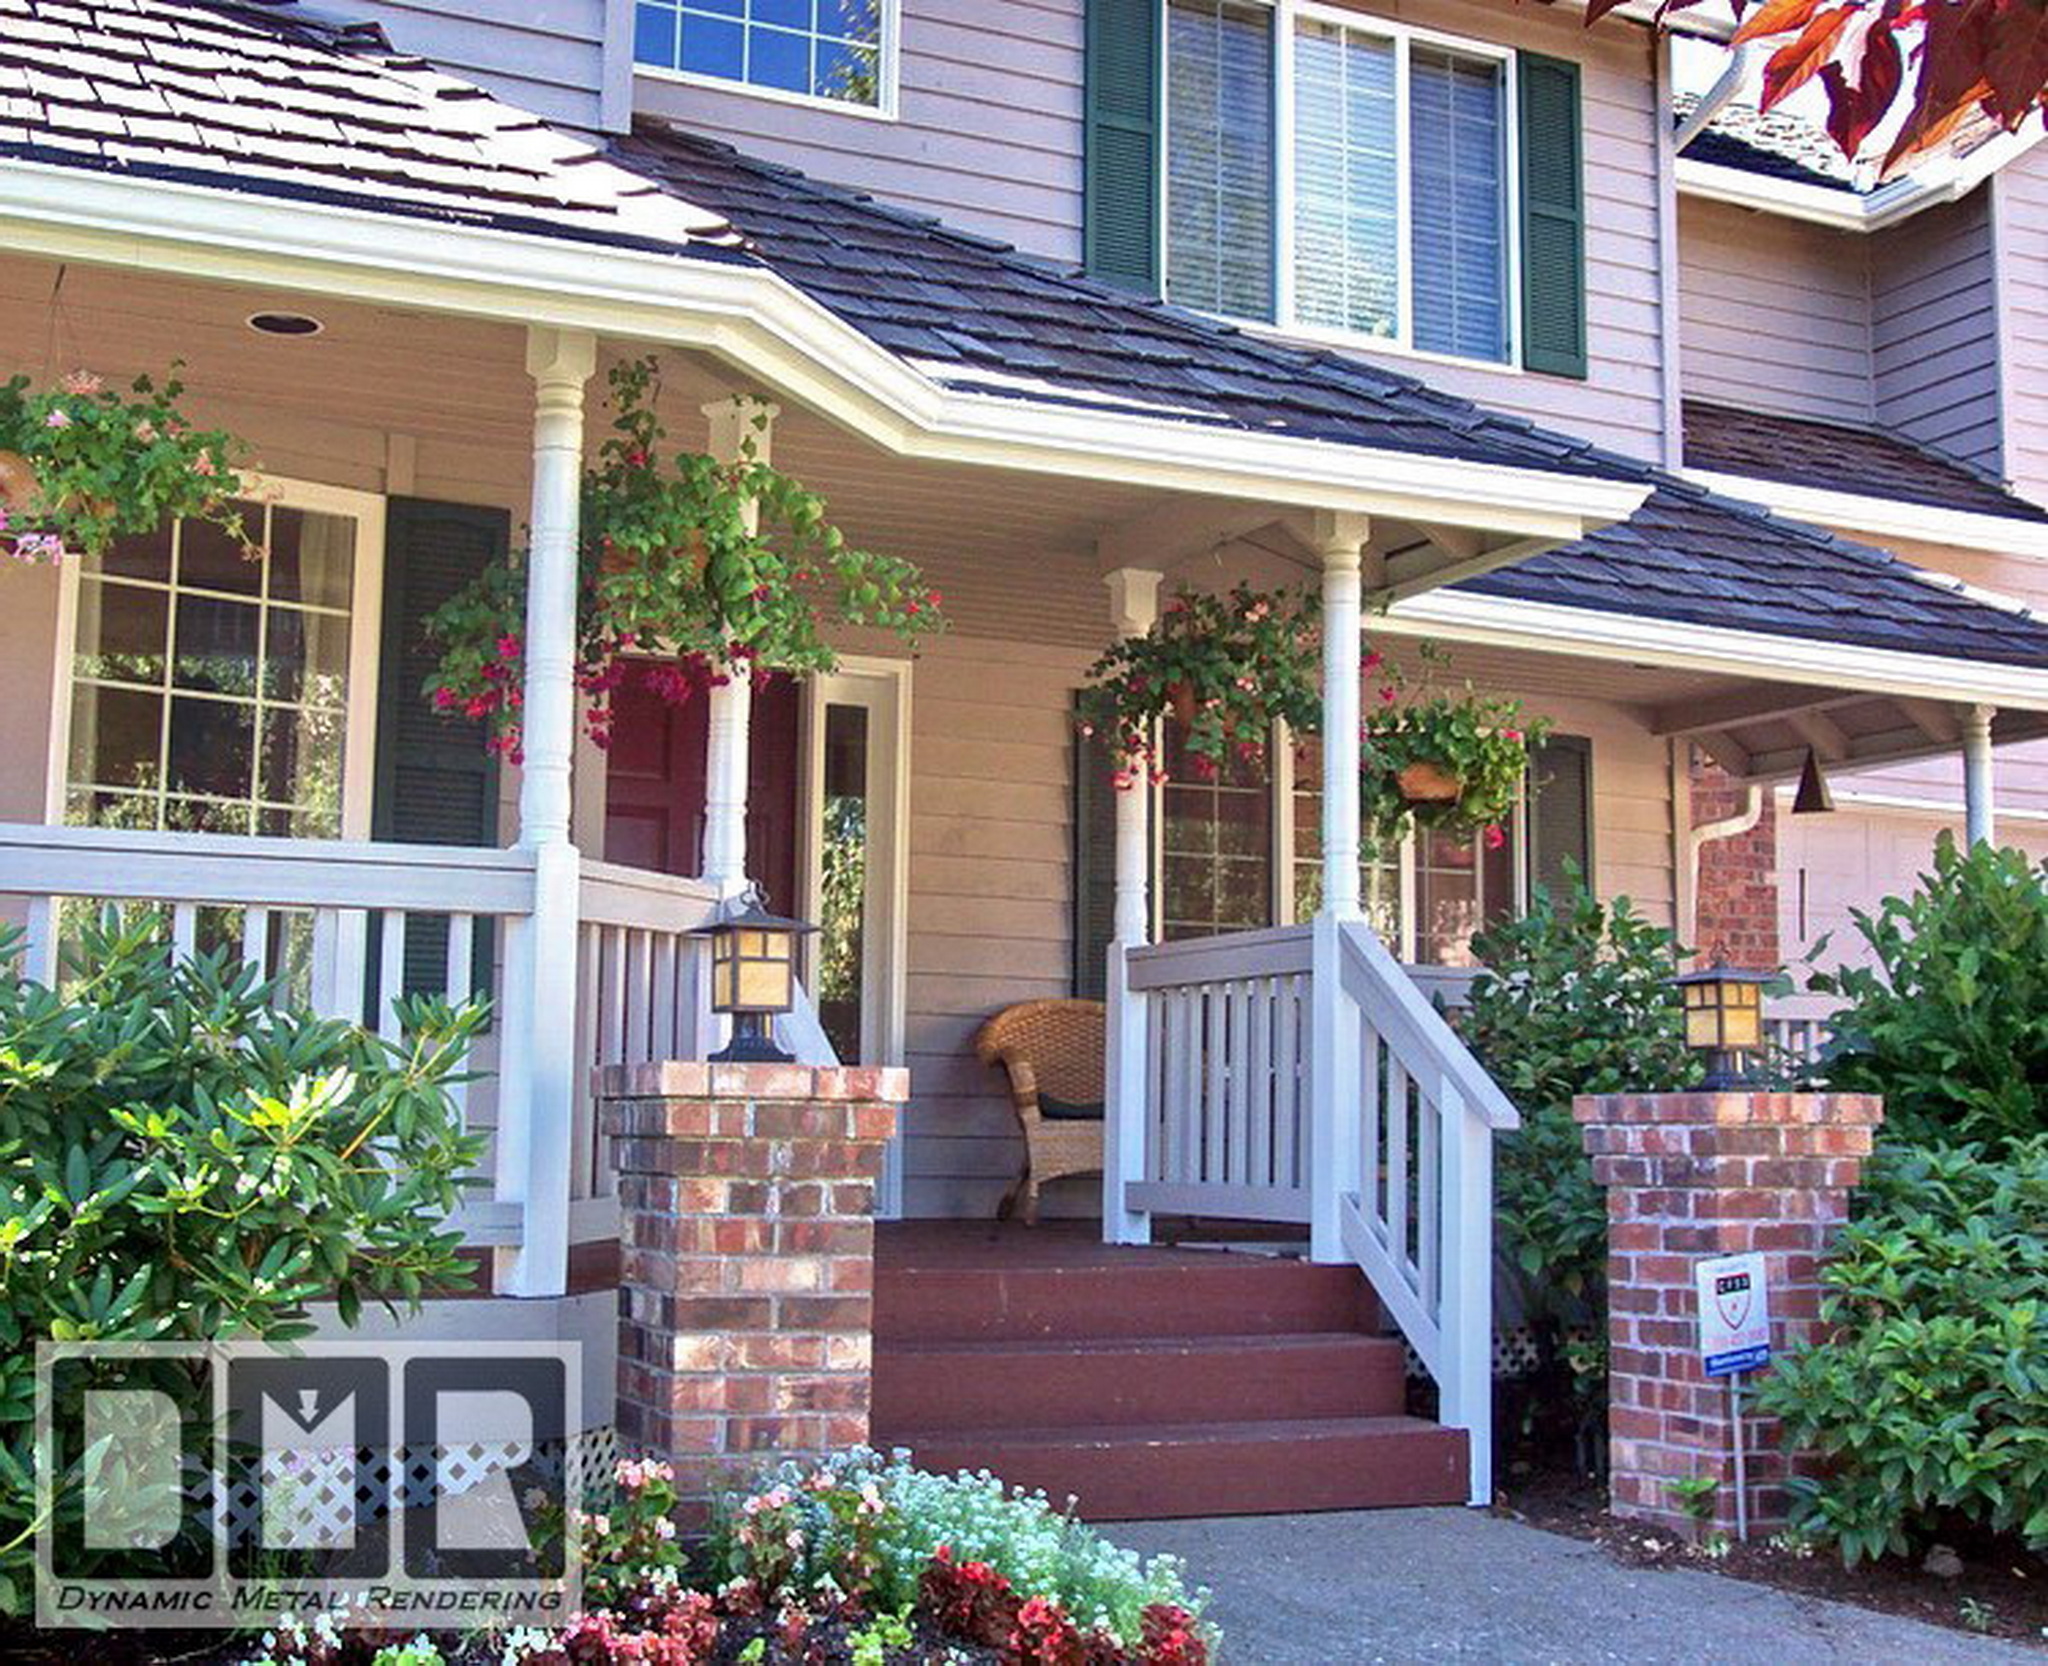
is the back side of his house at 827 NW 25th Ave. I have done
this sort of work on several houses, but this was one I managed to
get some good clear photos of with our 4 mega pixel digital Kodak
camera.
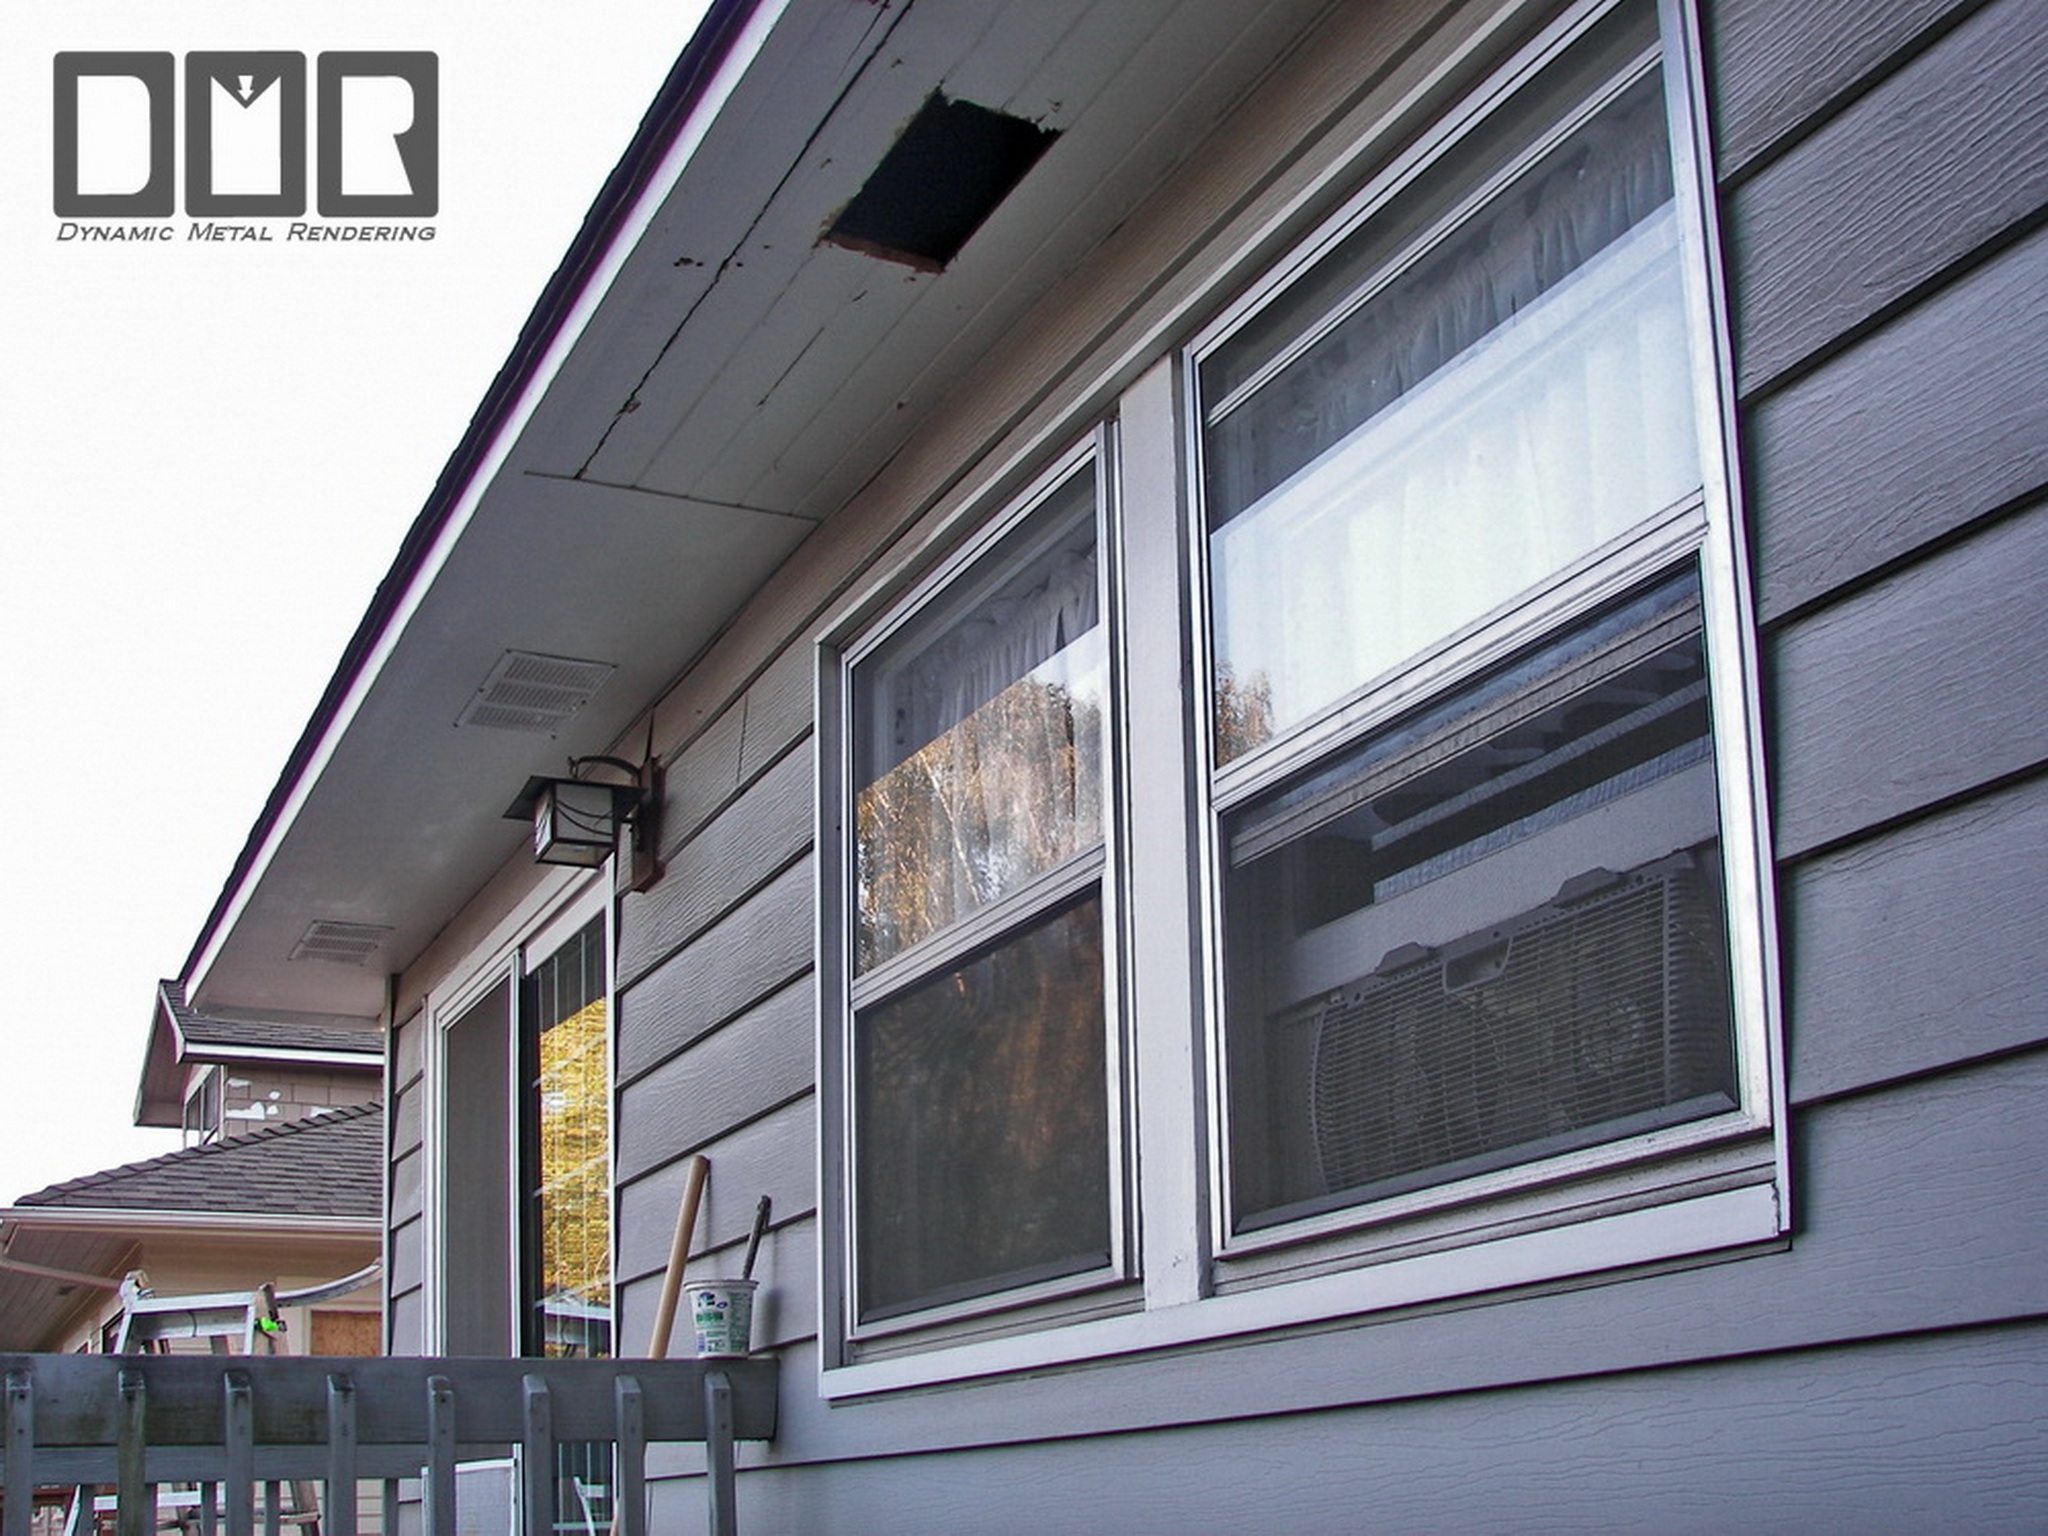
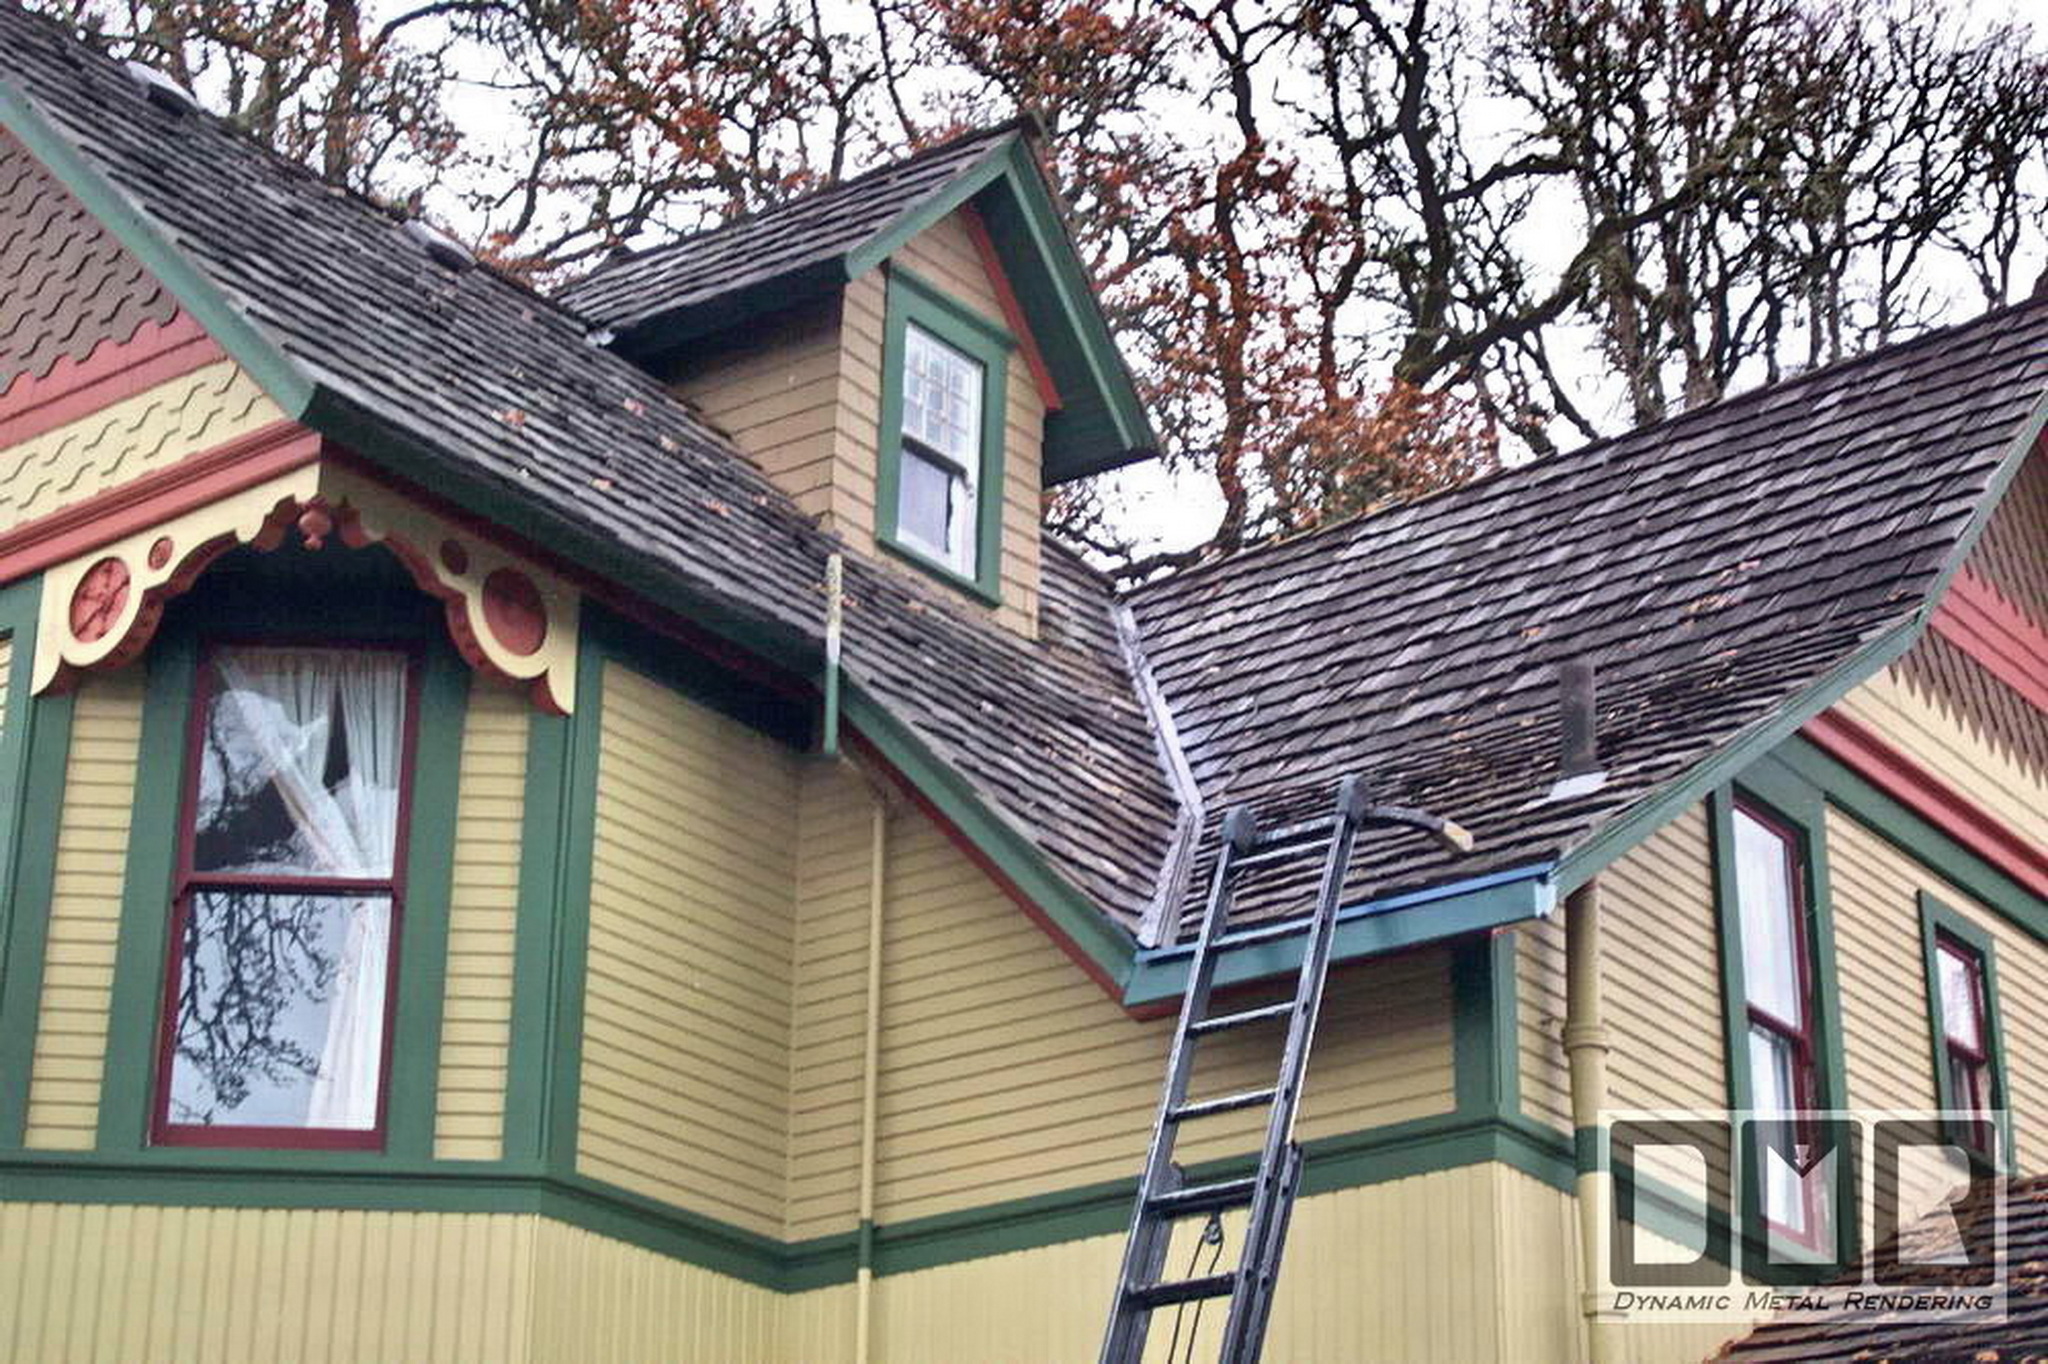
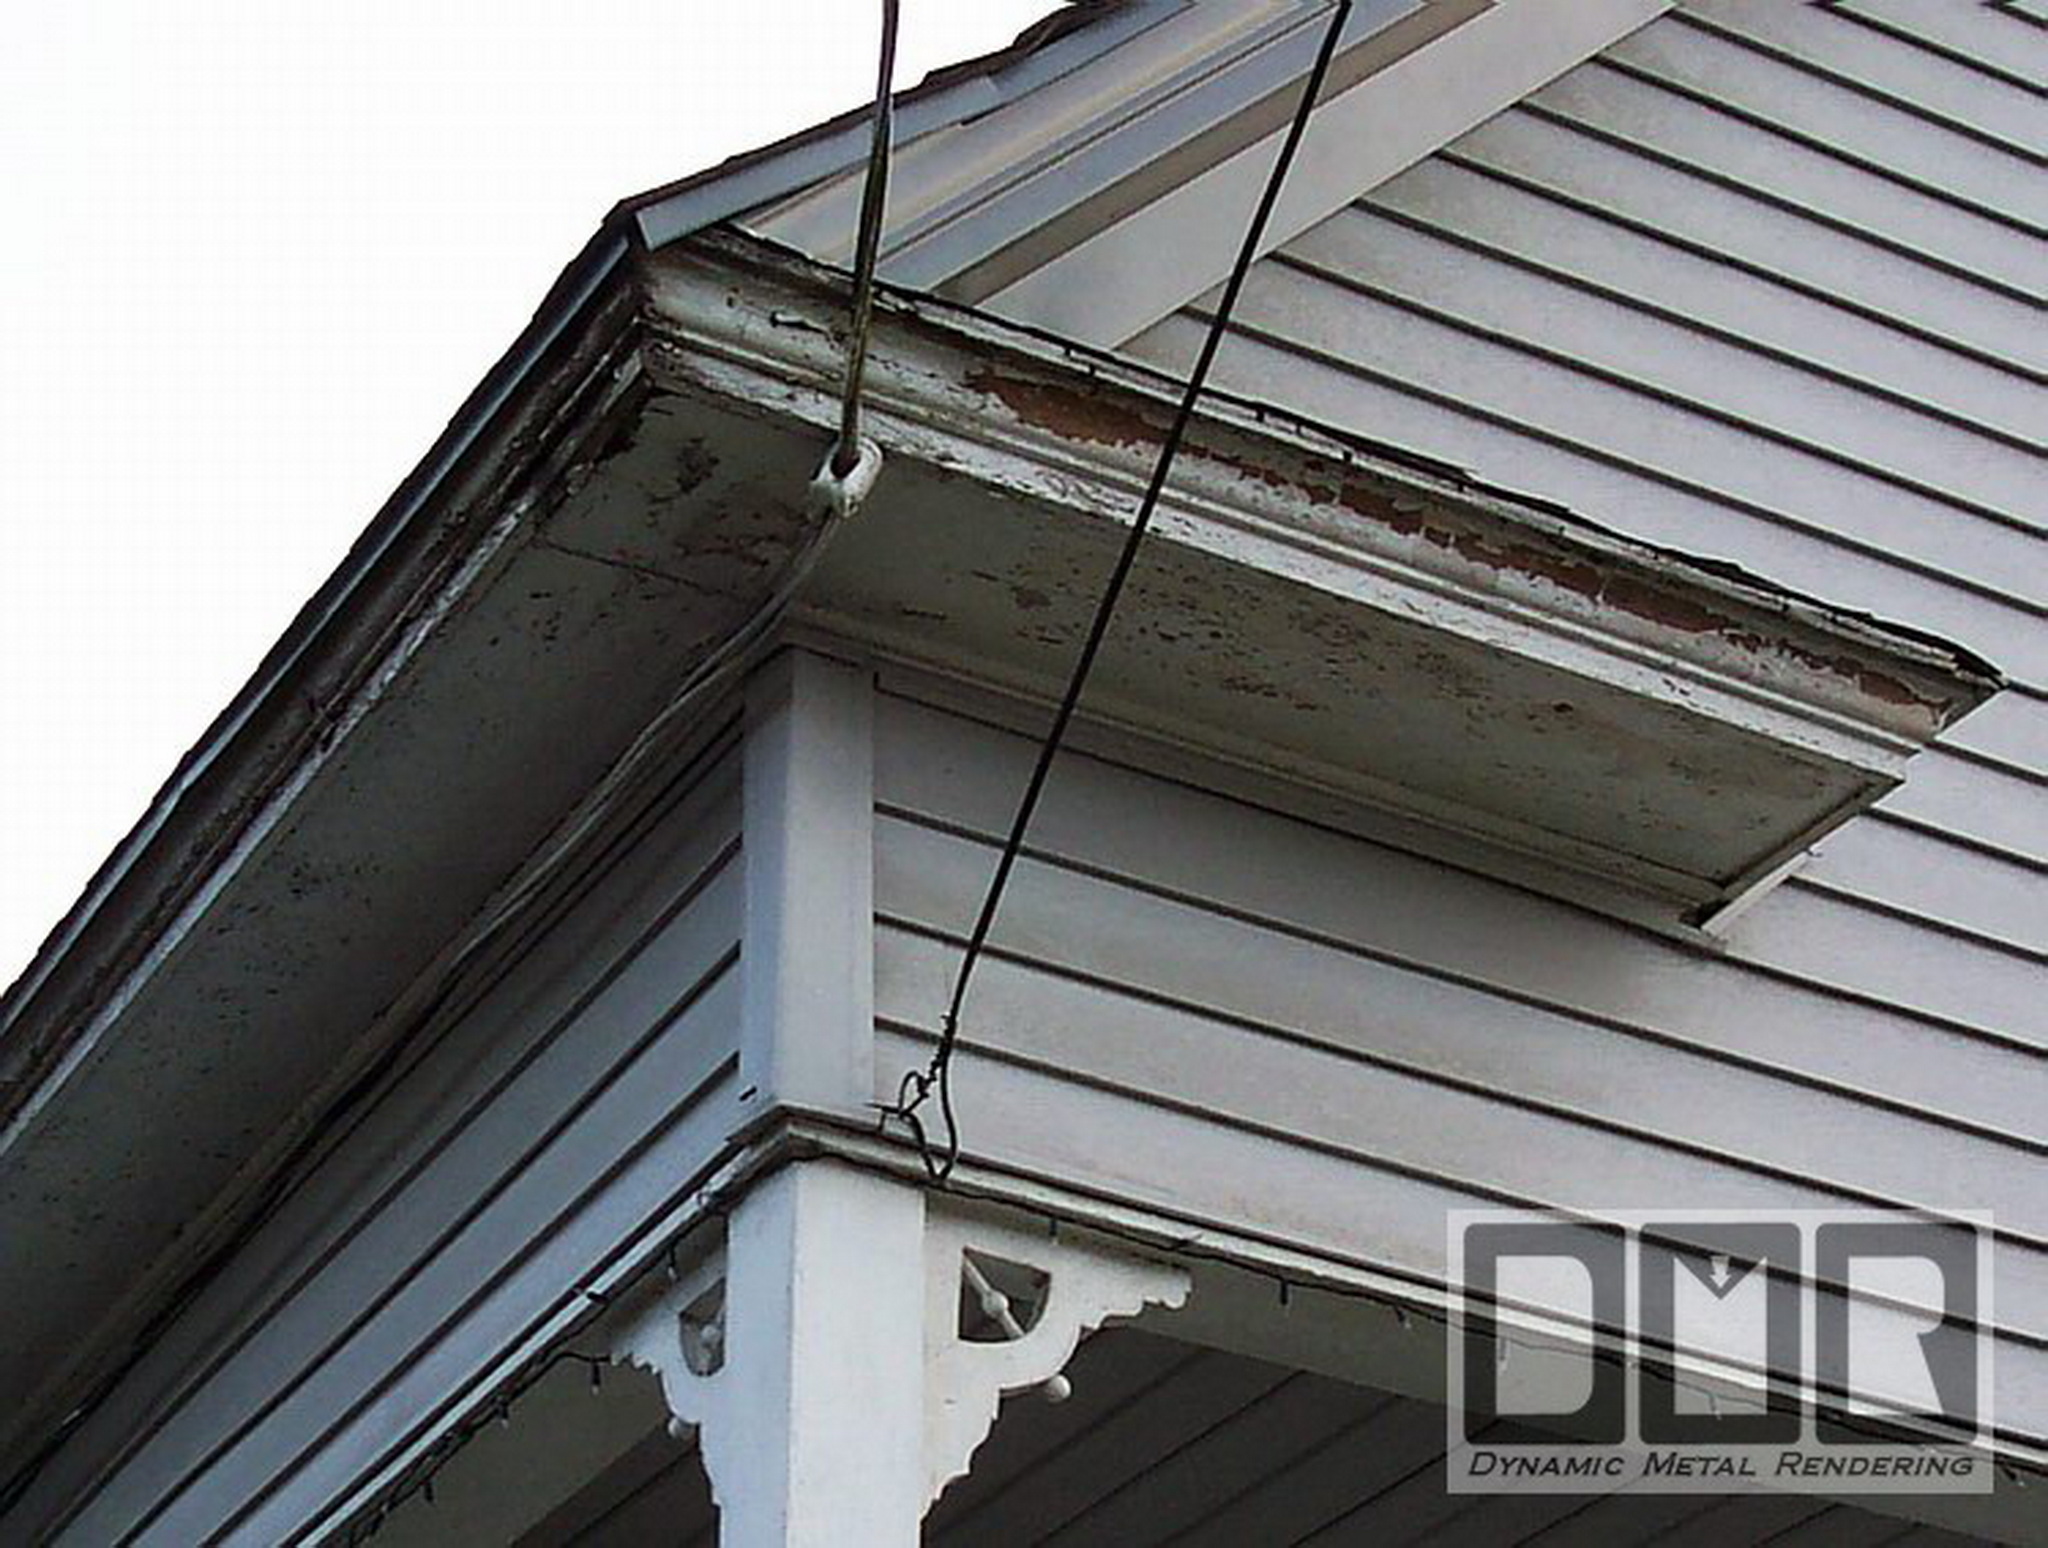
This
is a large 2 story house and was also originally built without gutters, but
again, they had a gutter contractor install some crappy gutters
later on.
The gutters I took down were the same type as I
install, but they were hung with straps that wrapped around the
gutter, and then the strap extended from the center of the top of
this gutter, over the roof, and was nailed on top the roof.
That means the gutter was hanging in mid air,
and would sway in the wind. the roof had to over lap the
gutter half way, making it impossible to screen, very hard to clean,
and in a heavy downpour it would actually shoot right over the
gutter all together.
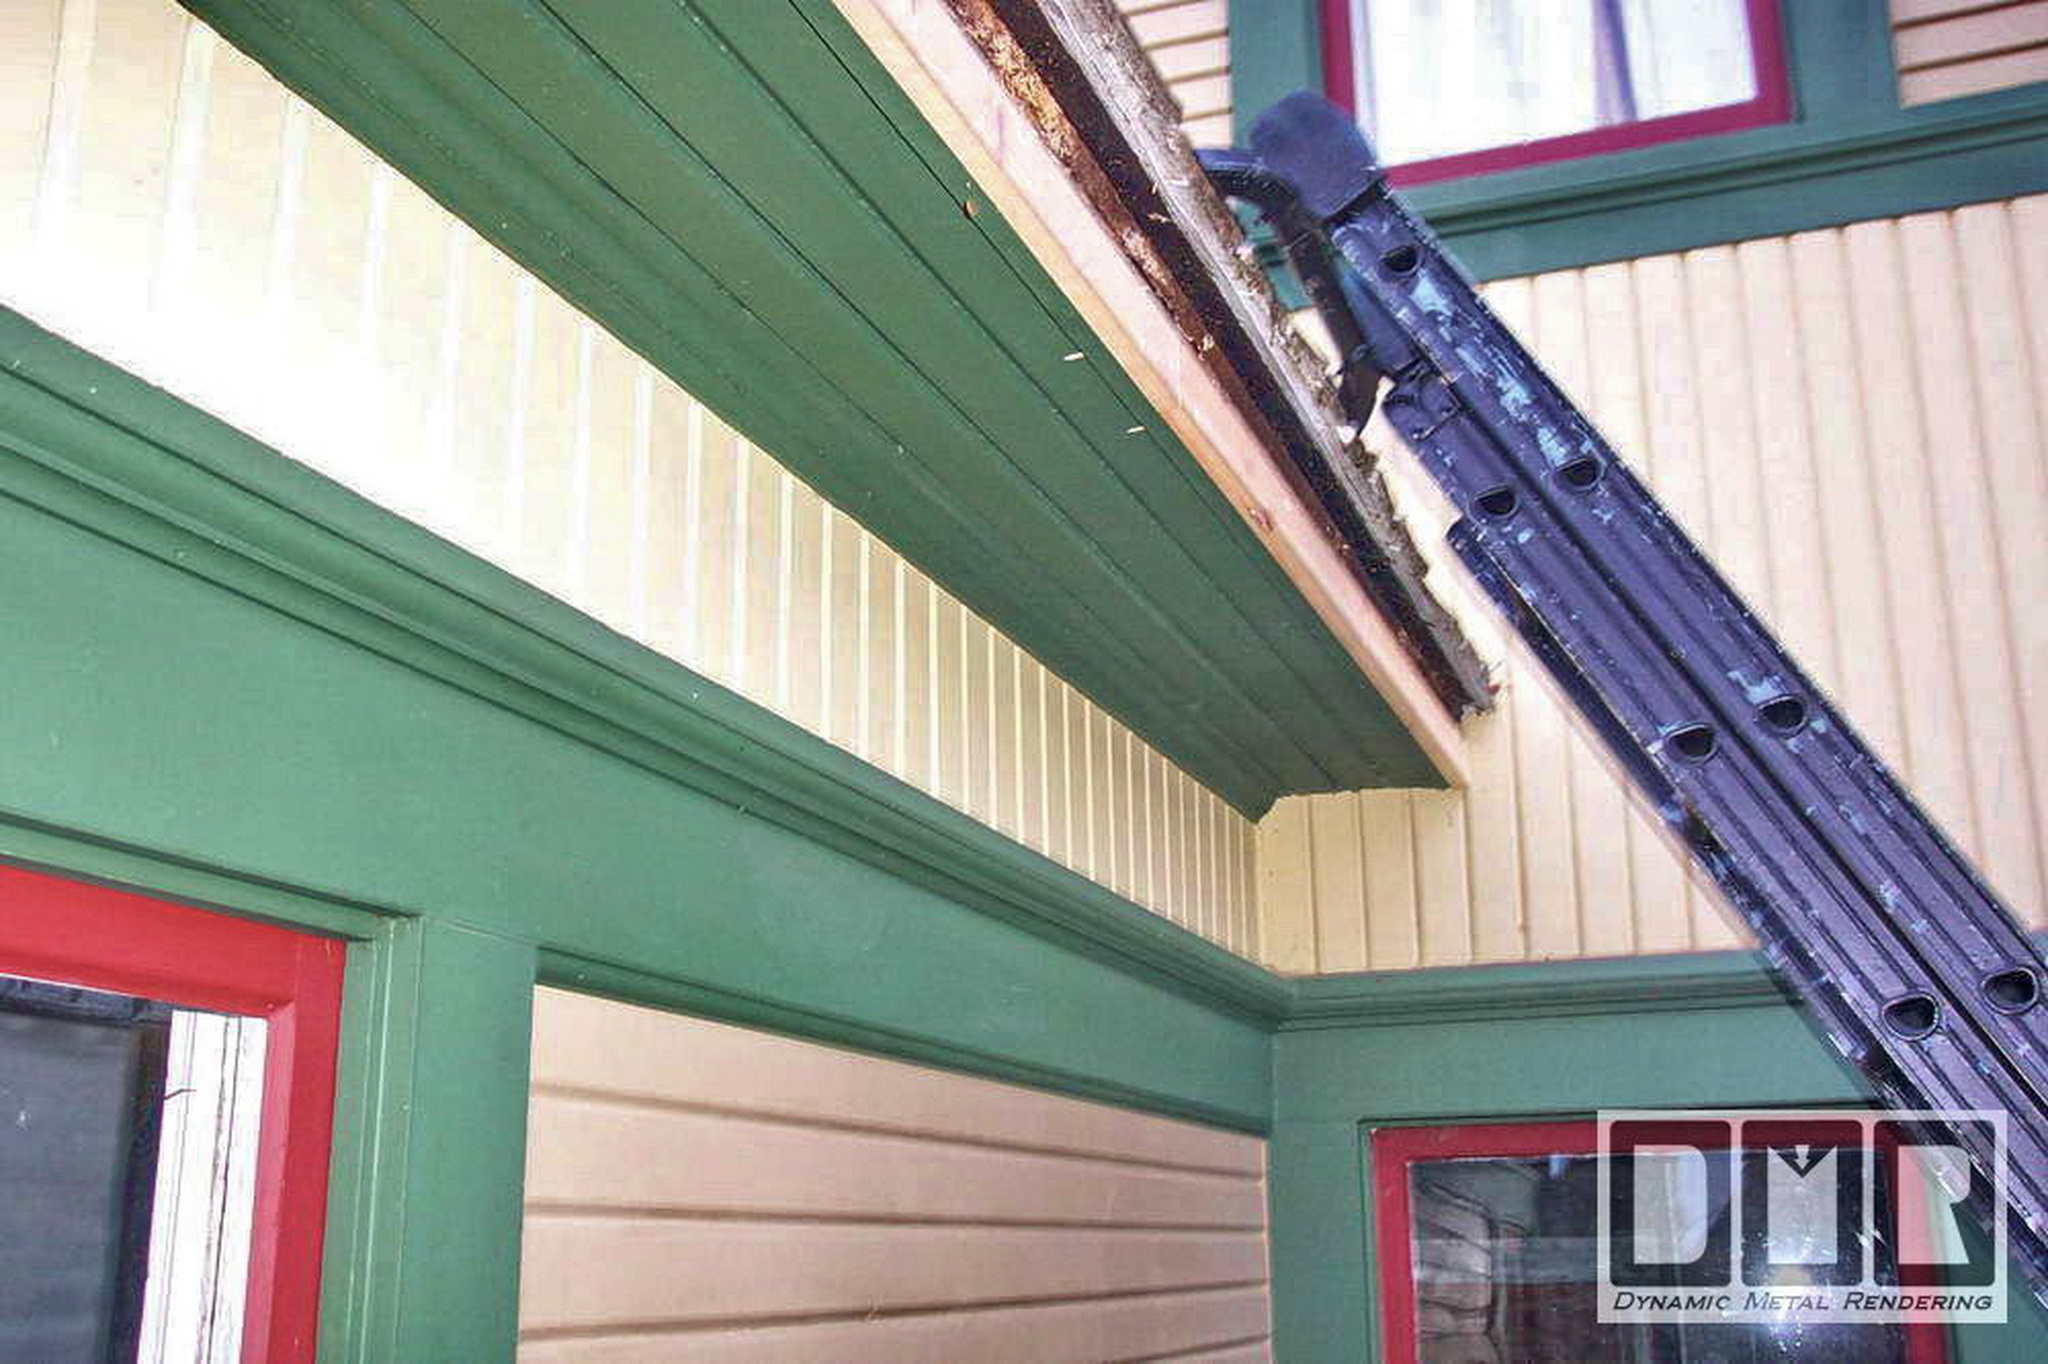
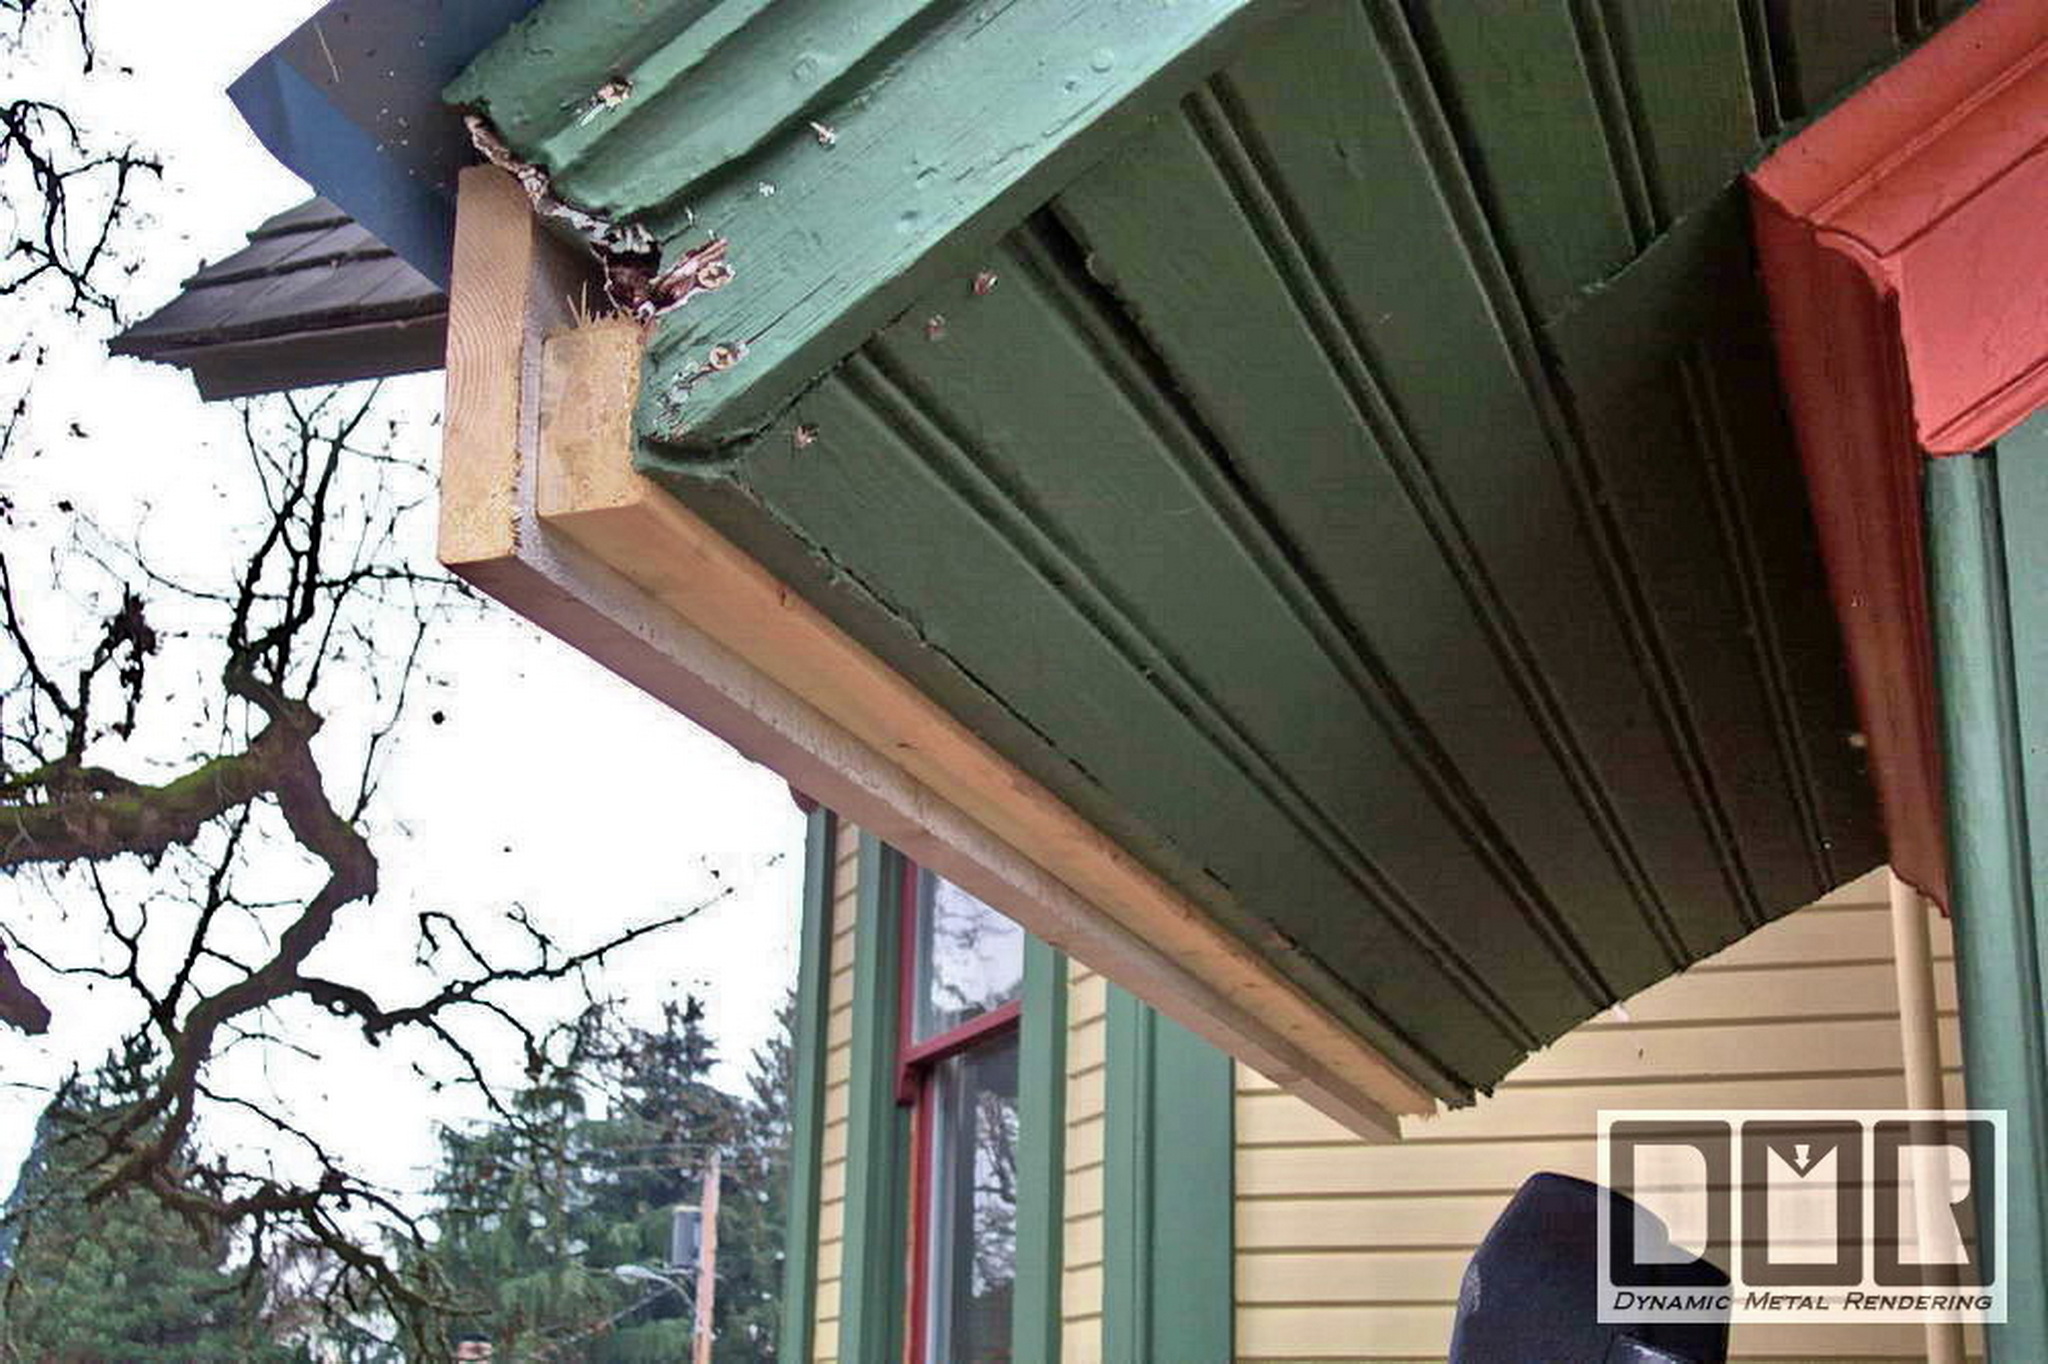
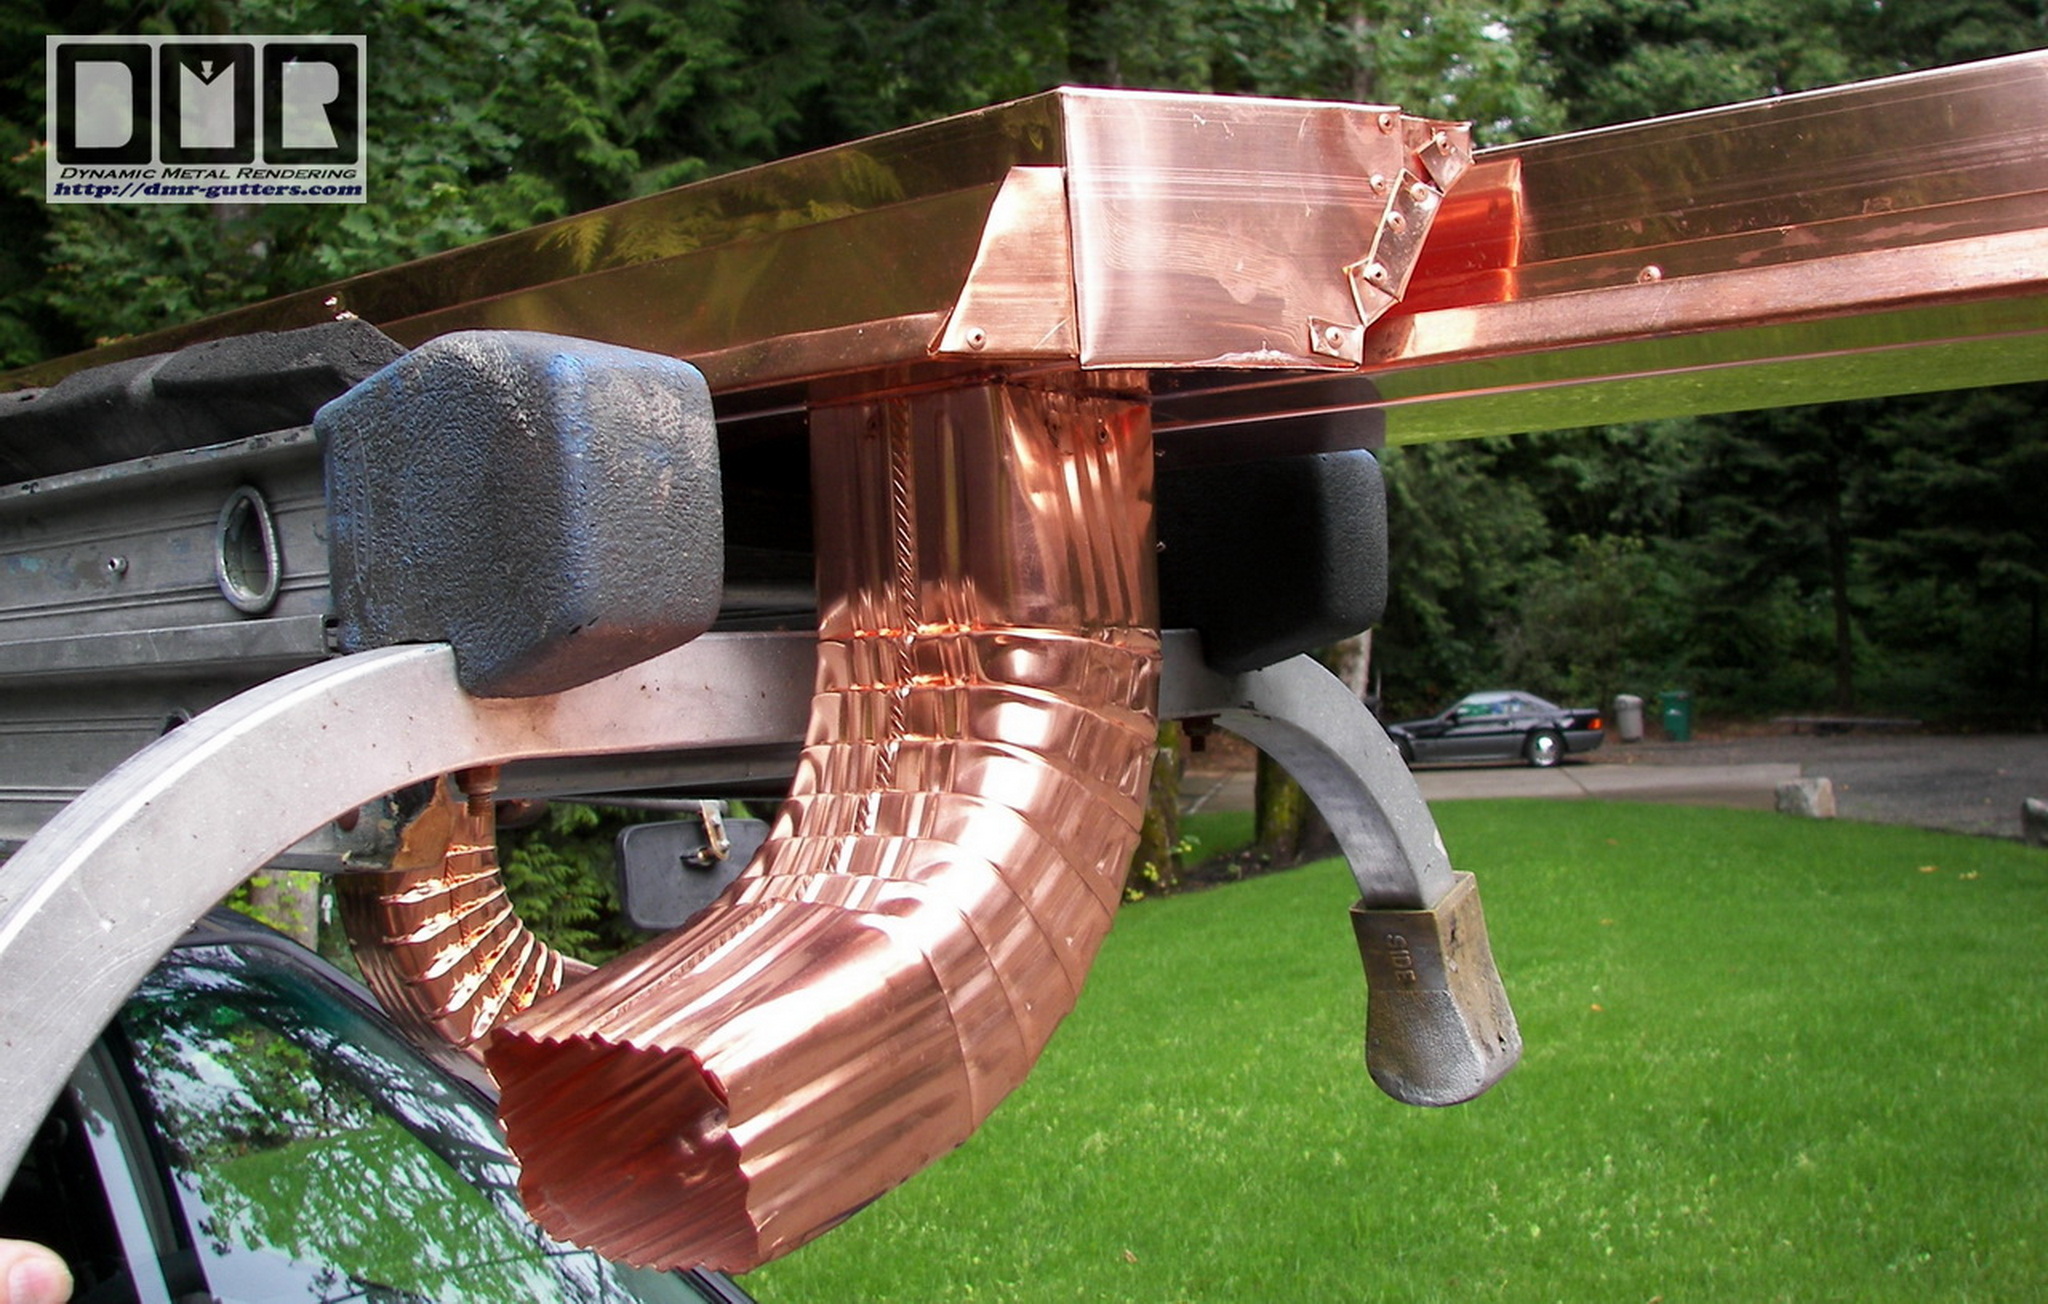
When I took the old gutters down, I not only
needed to get the gutter measurements, but I had to carefully
visualize and calculate the angles and measurements for the size of
the boards and the custom sheet metal fabrication needed here.
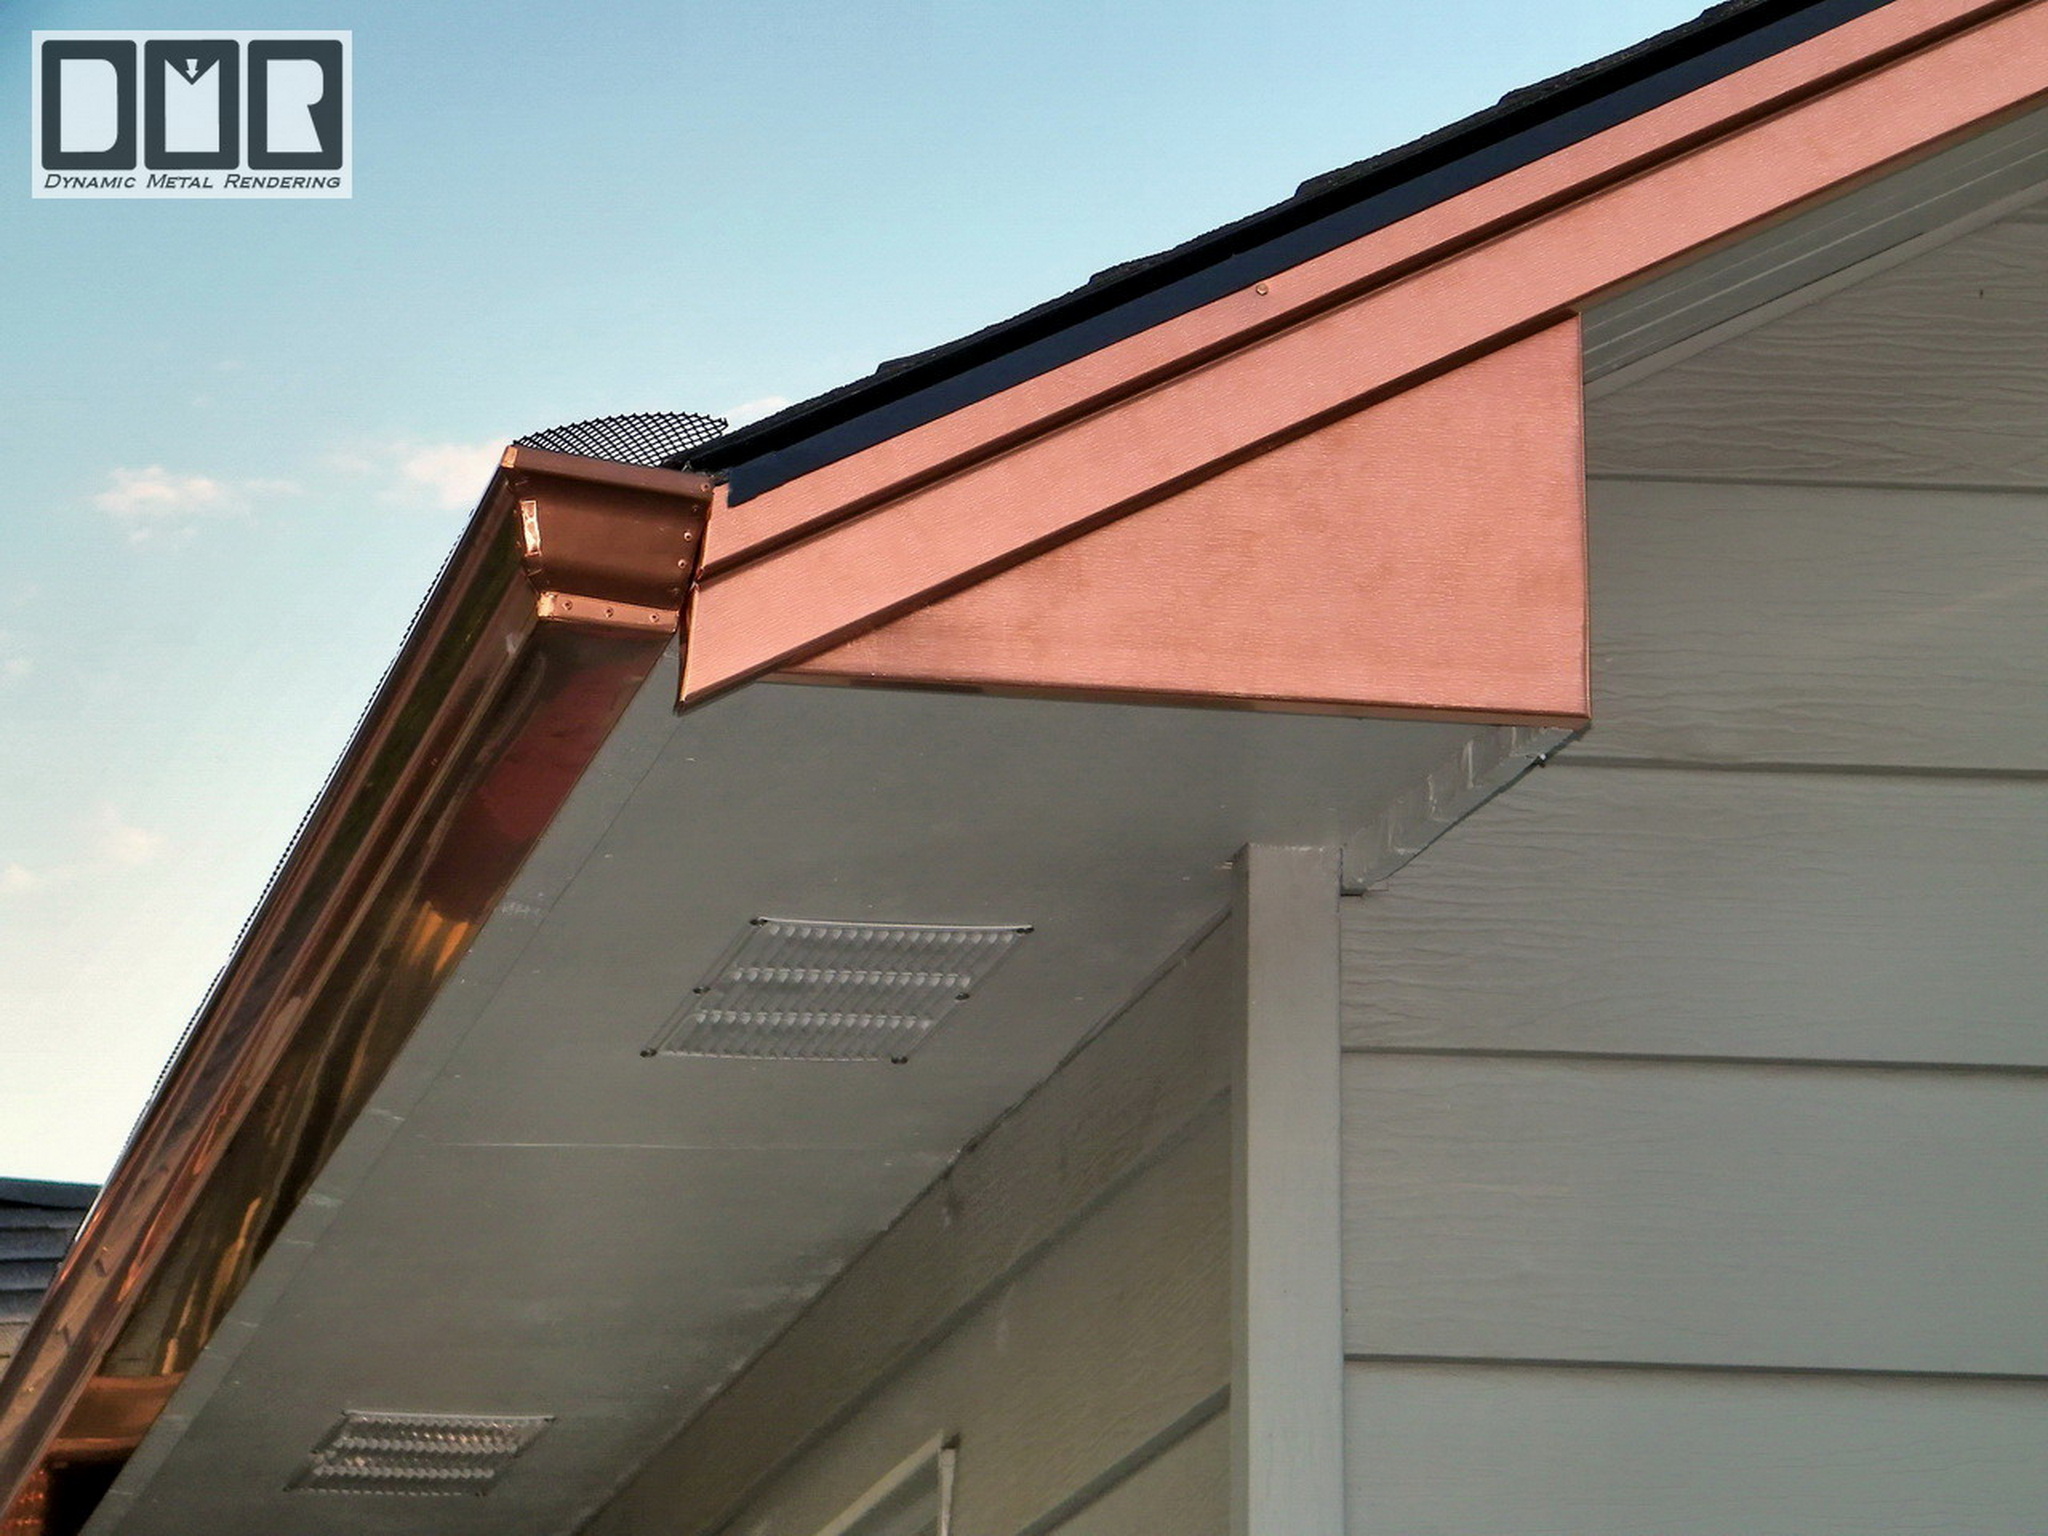
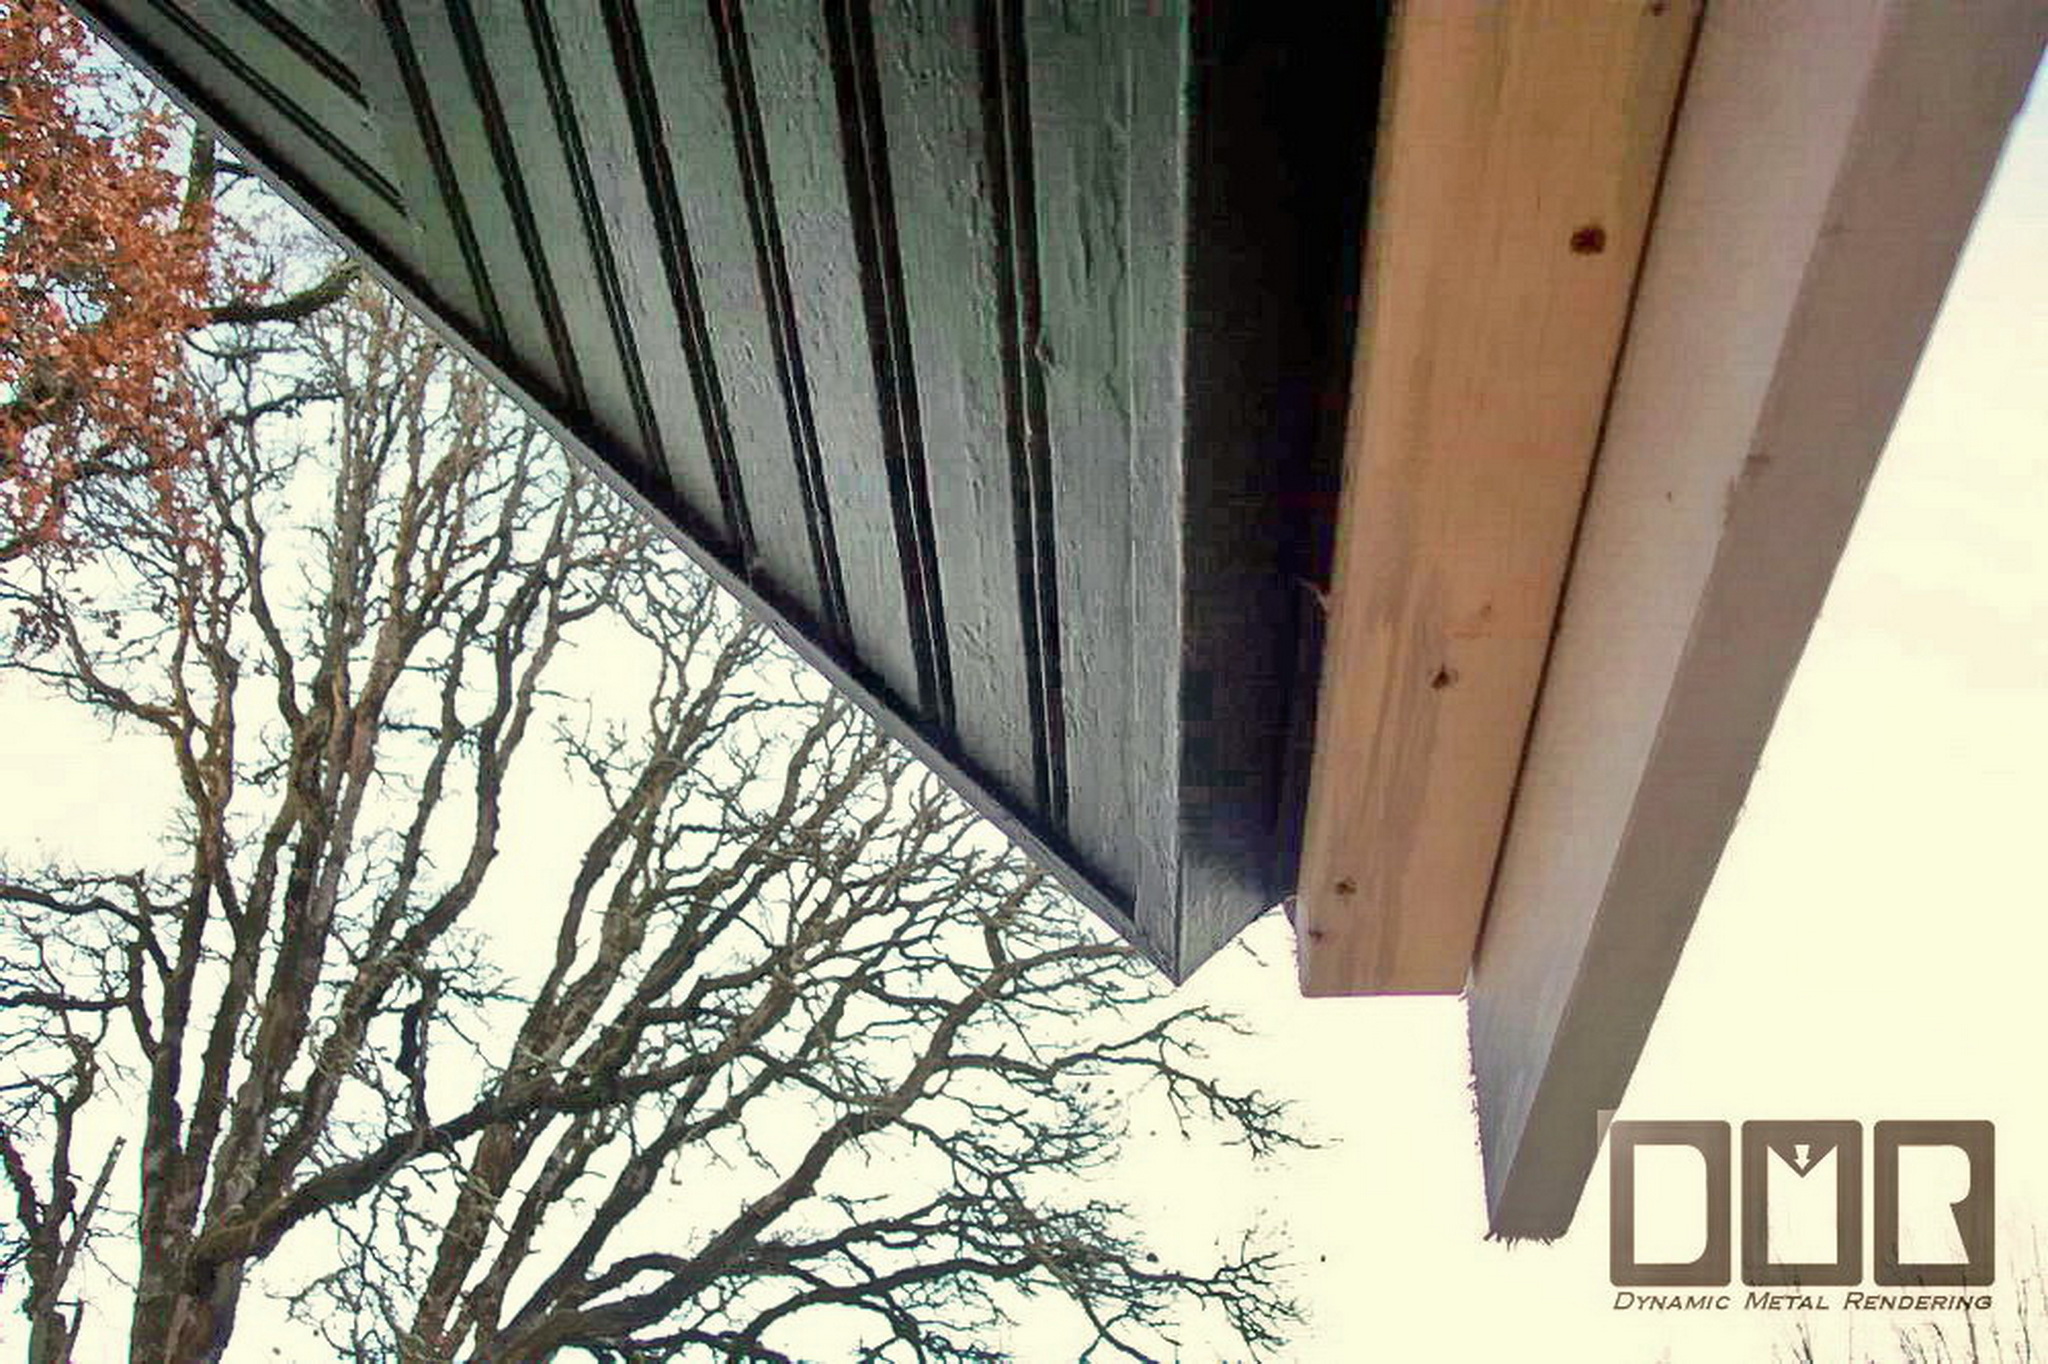
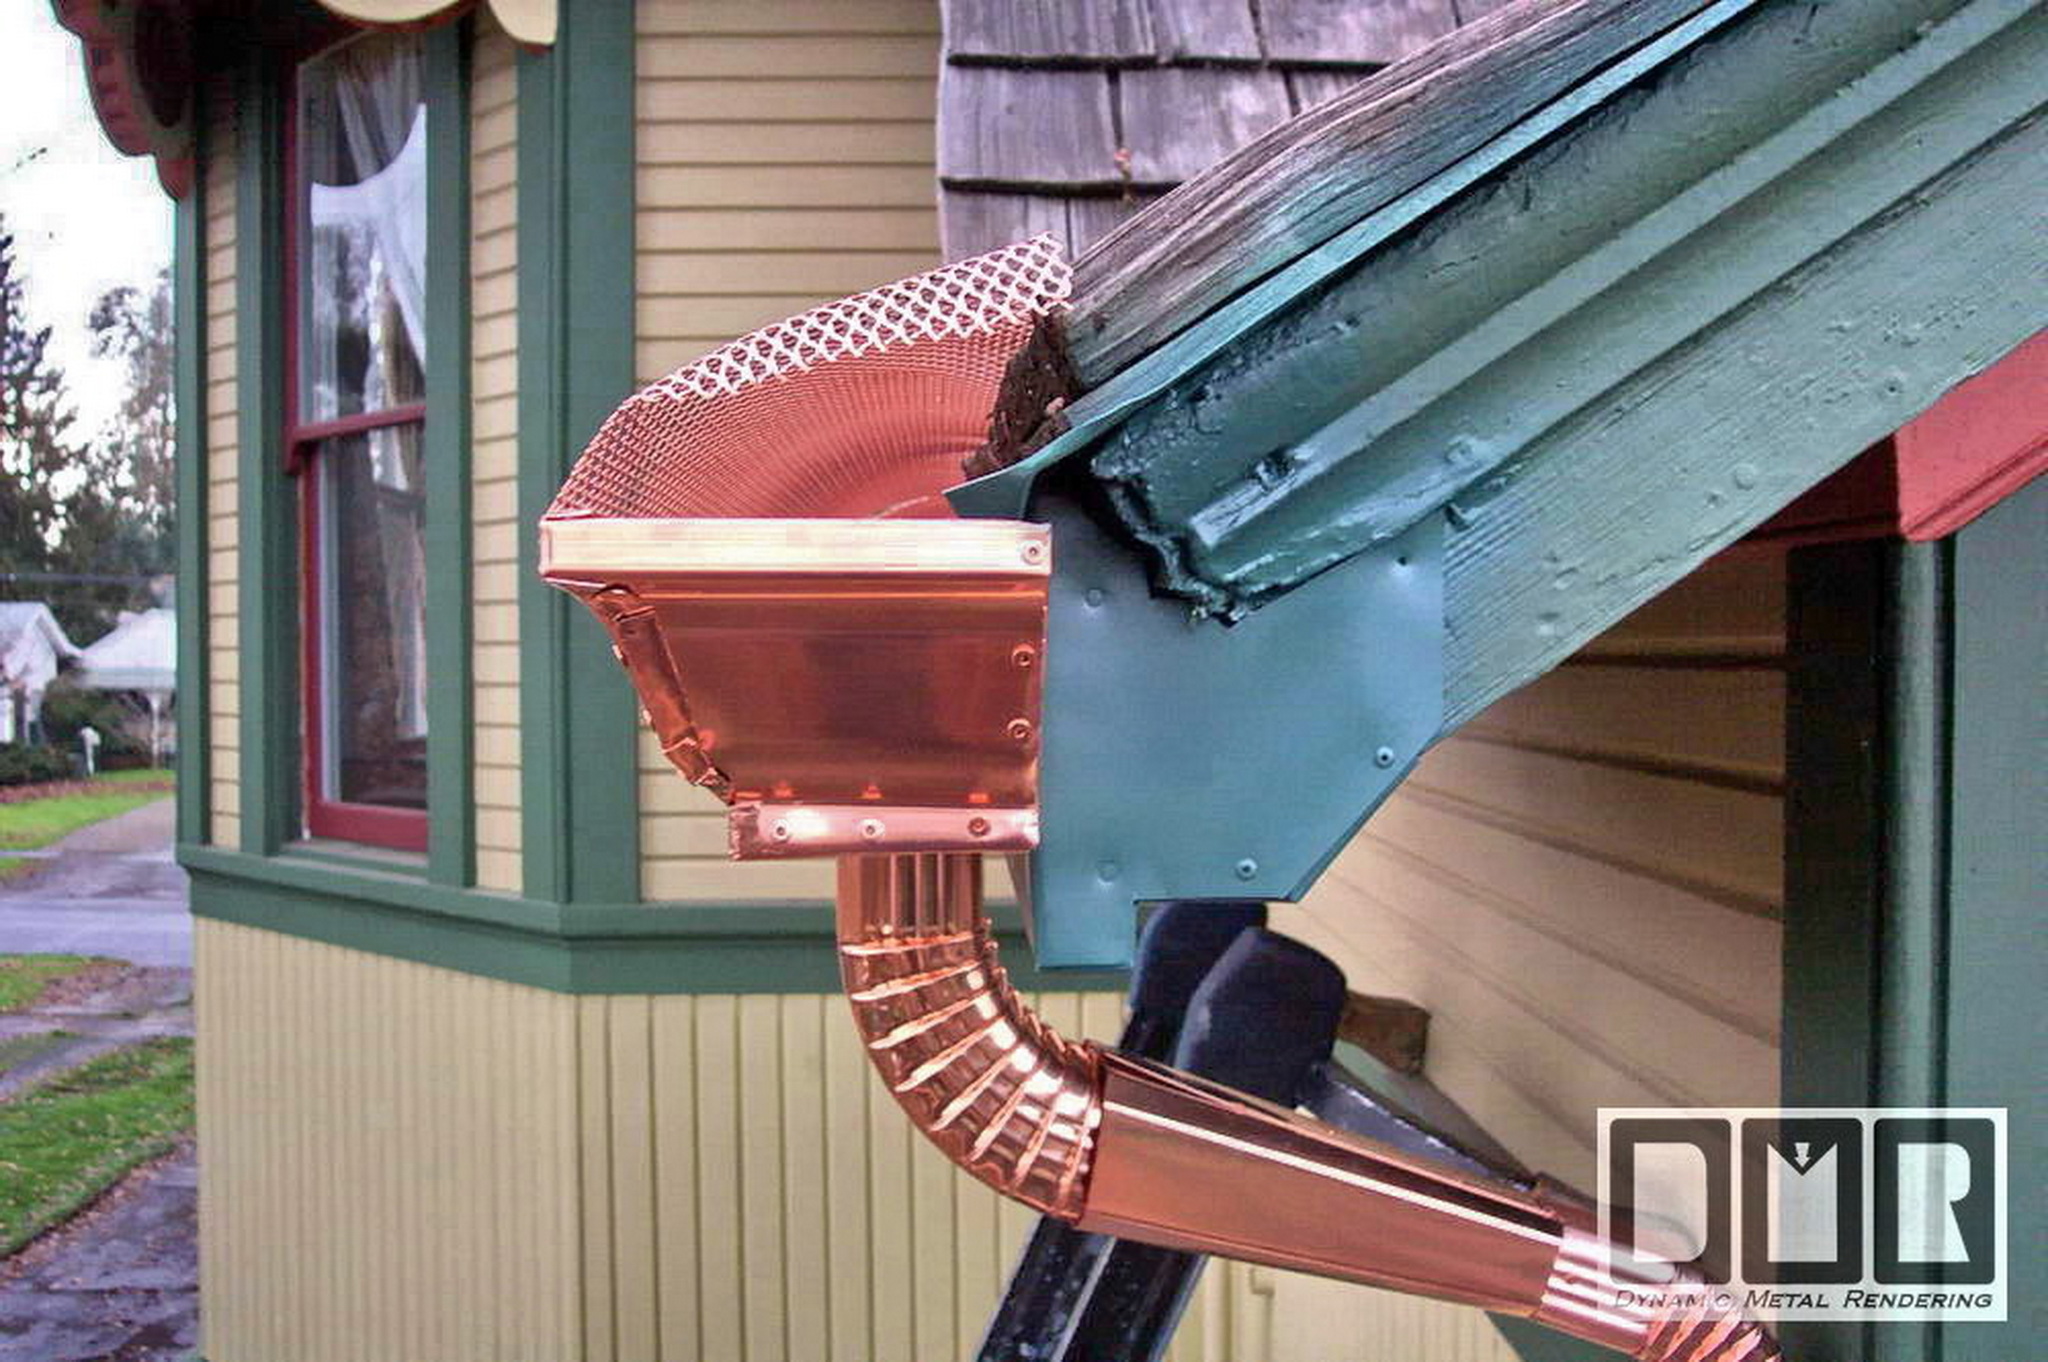
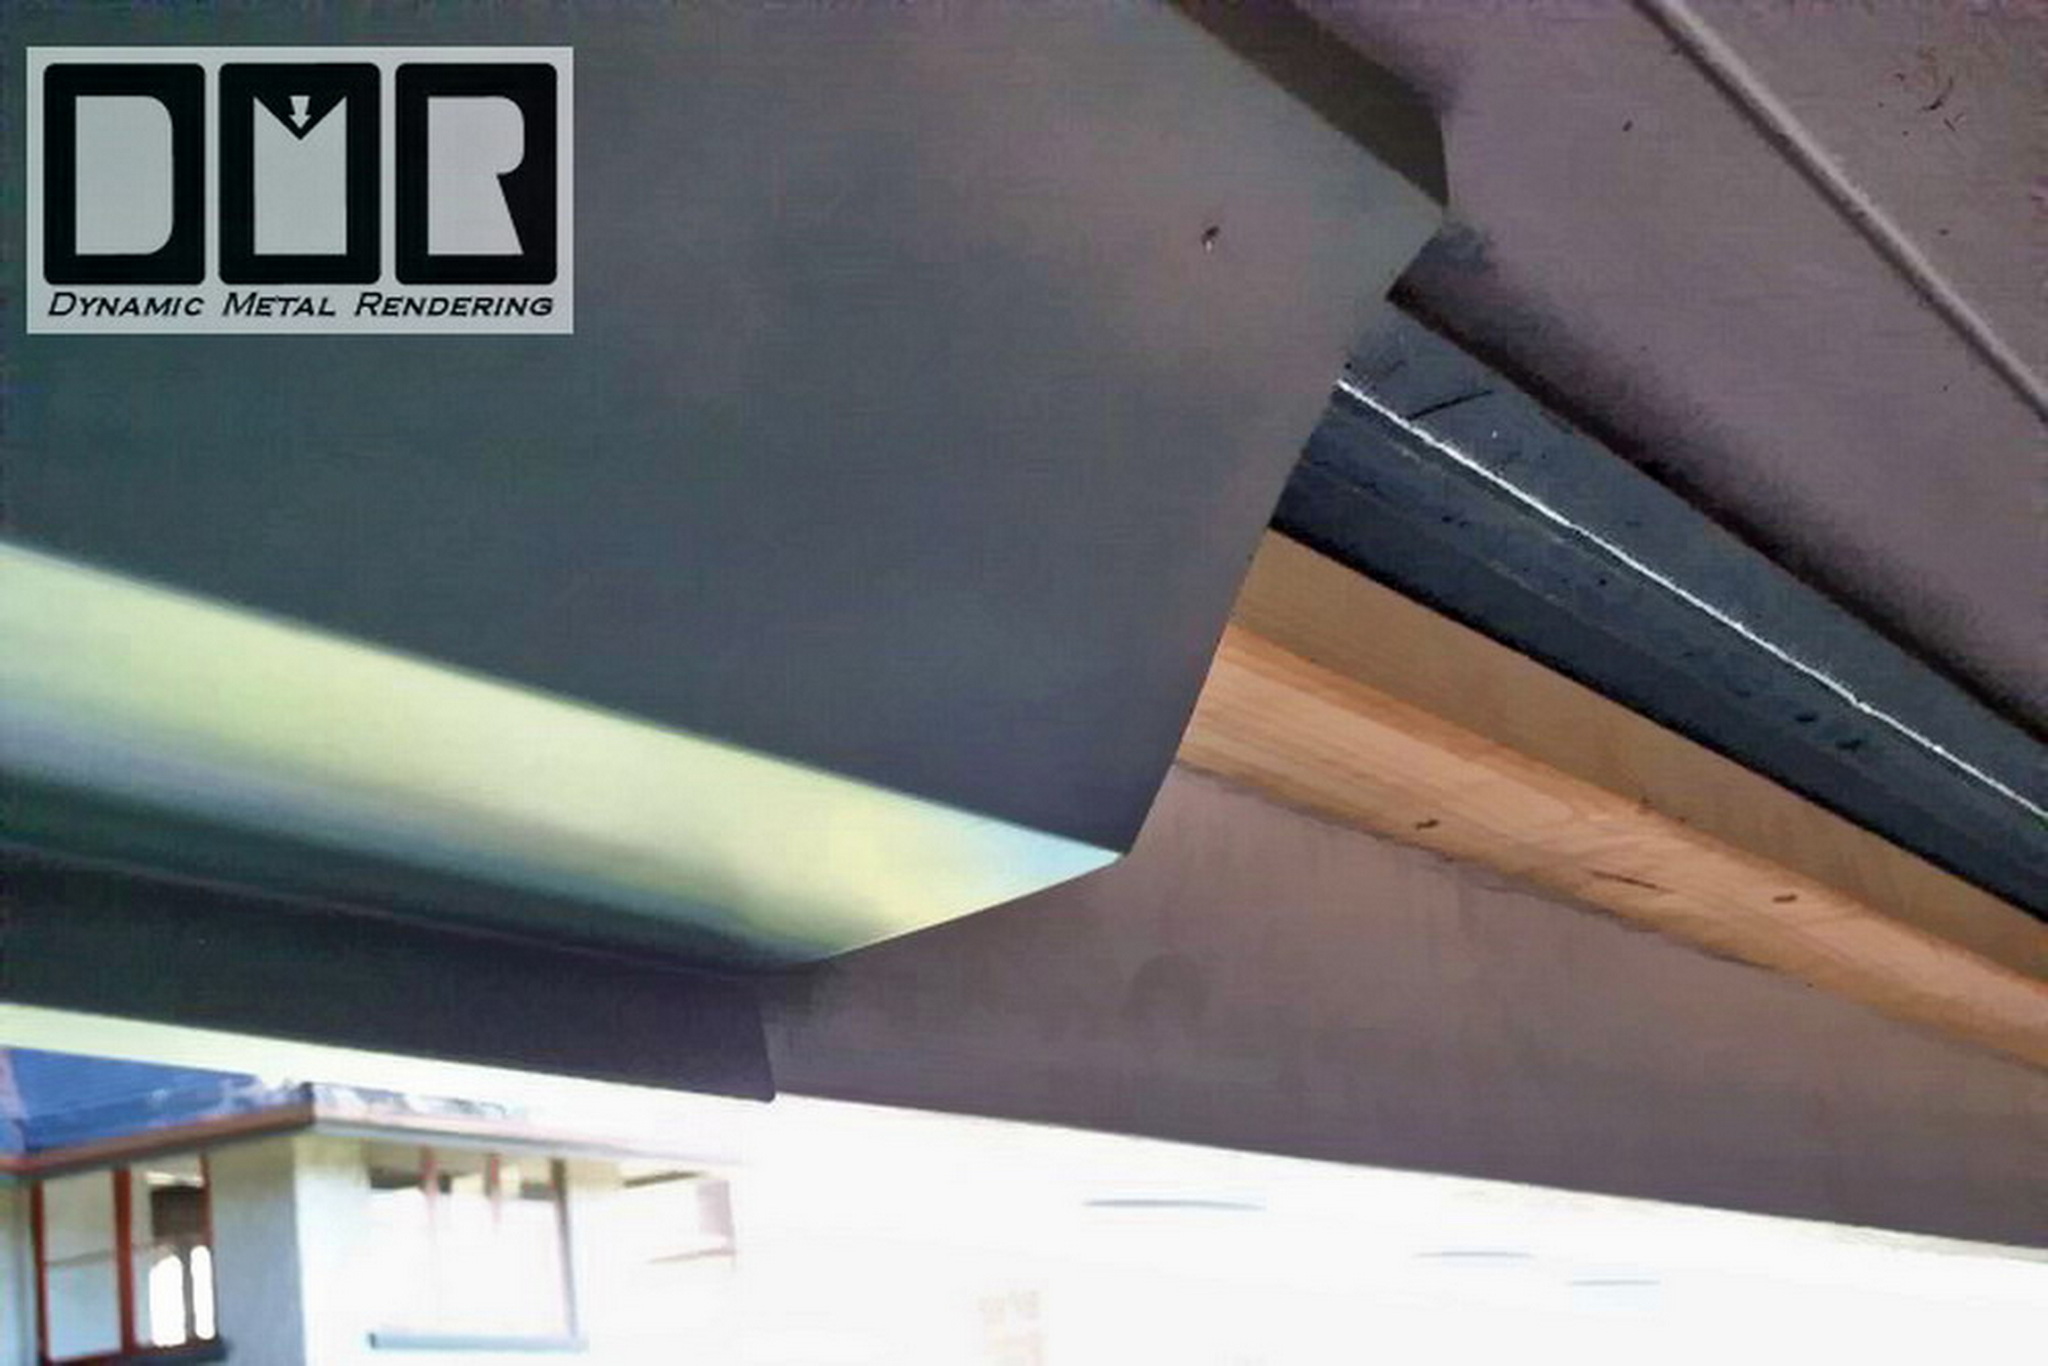
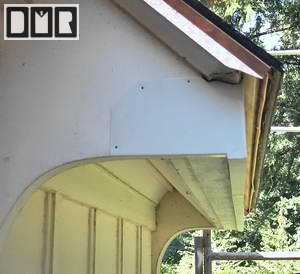
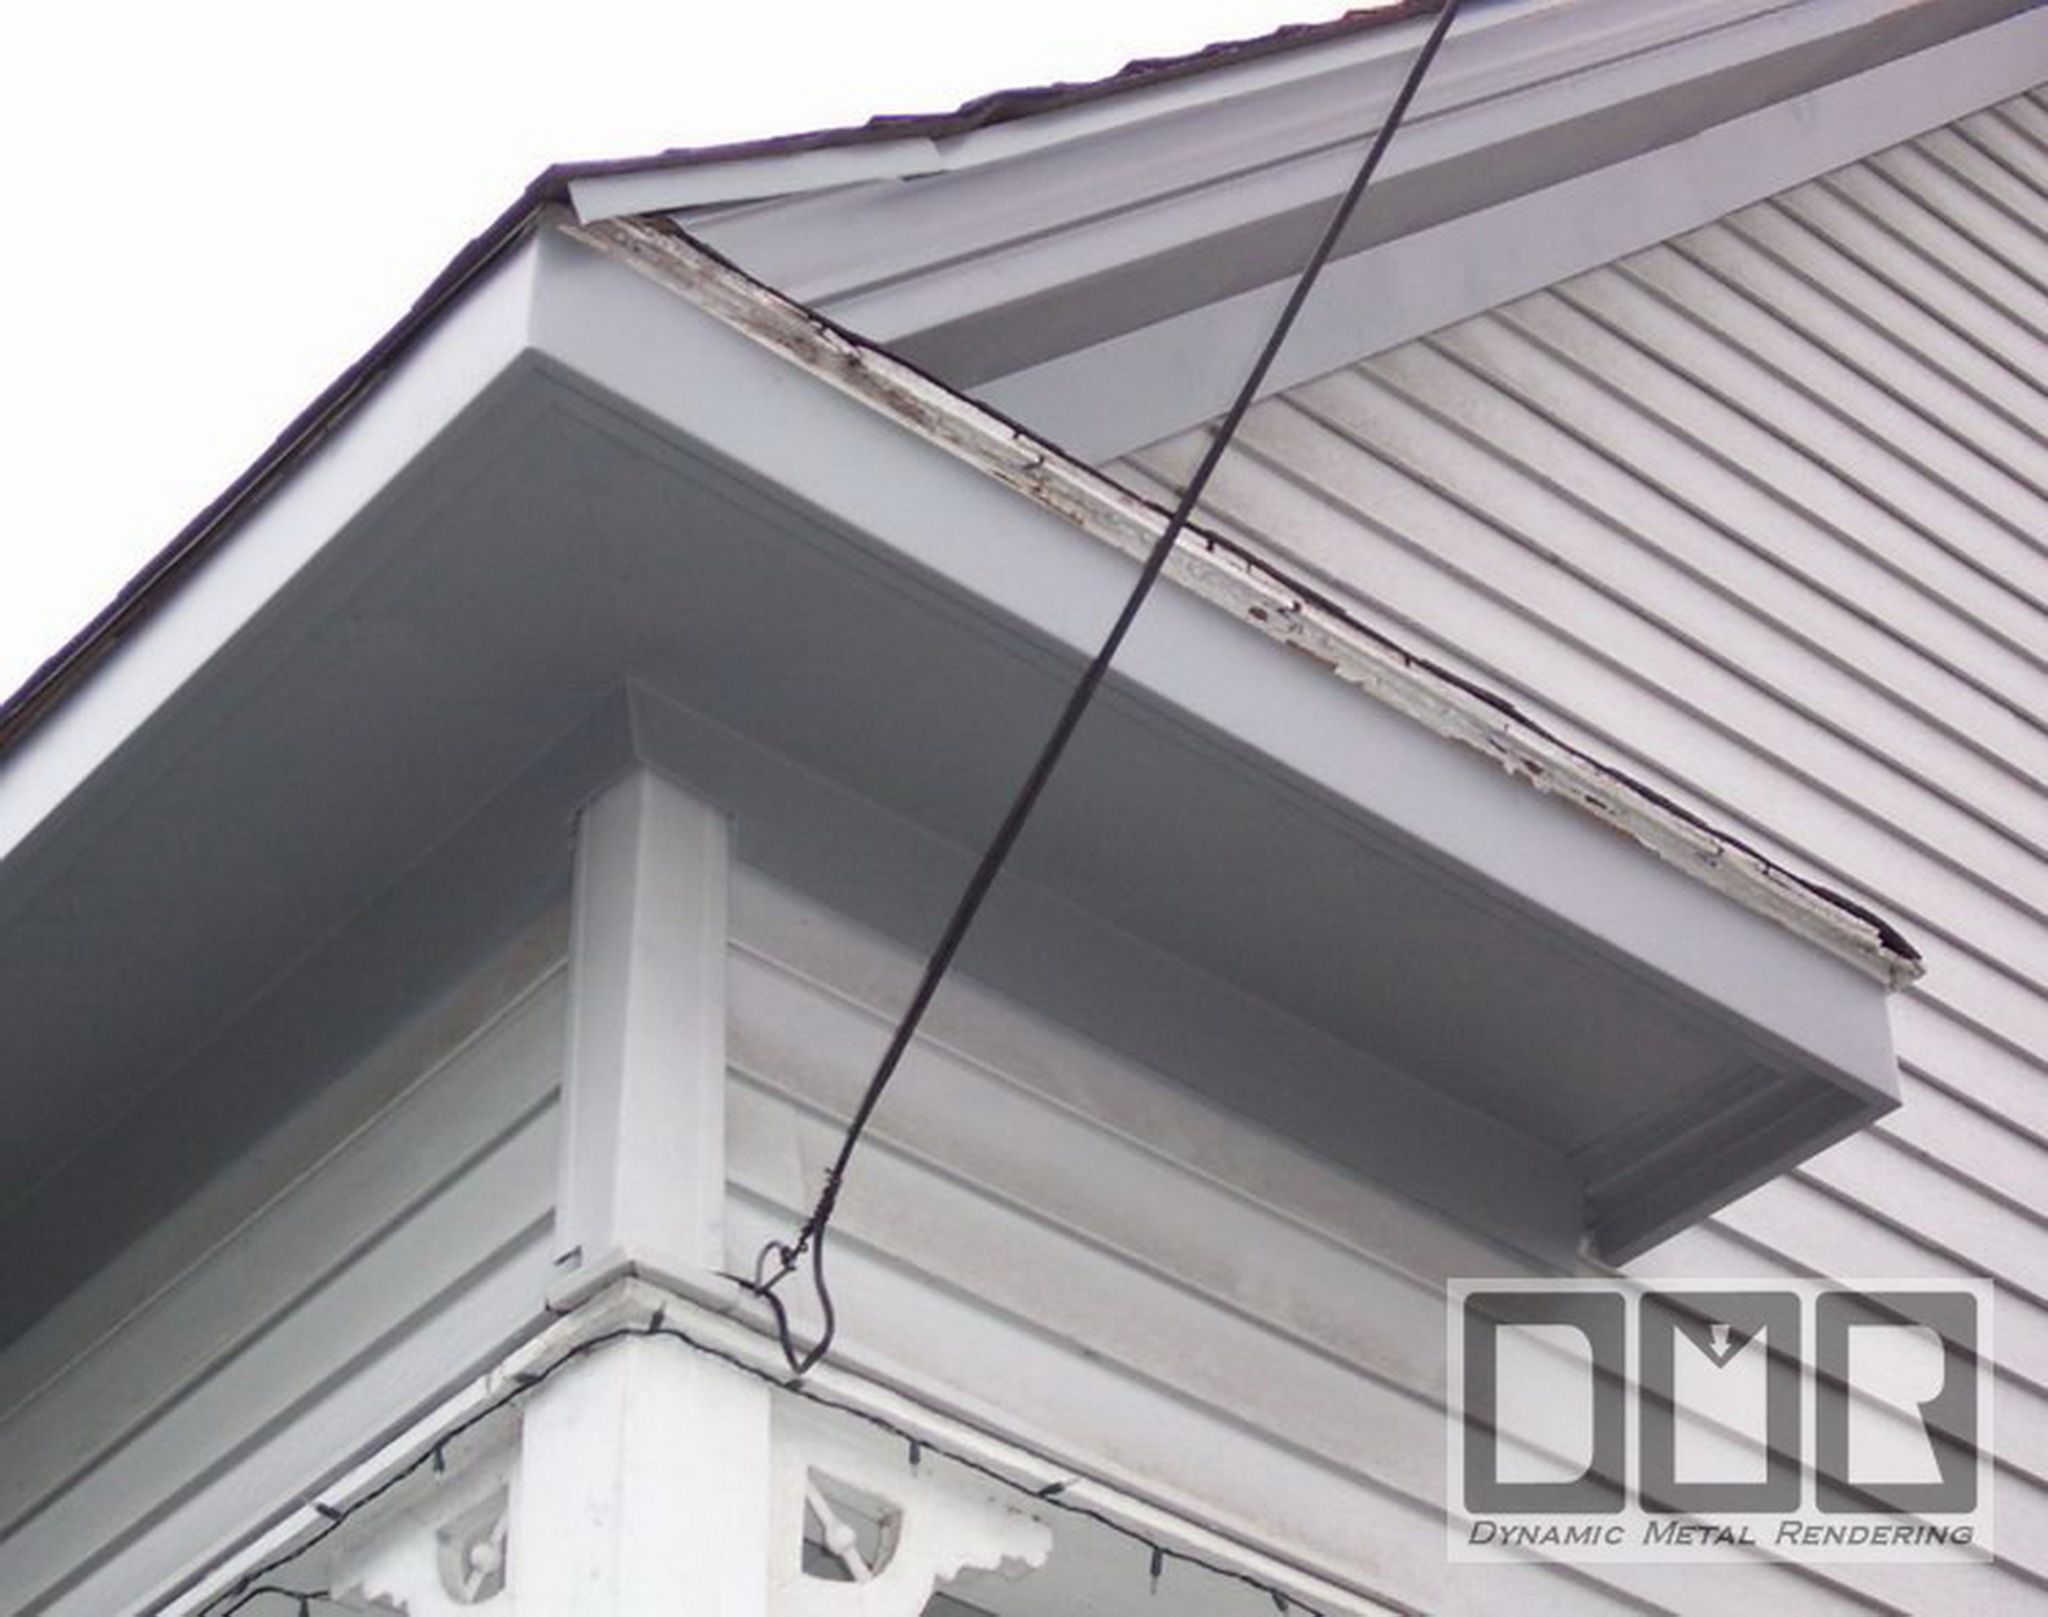
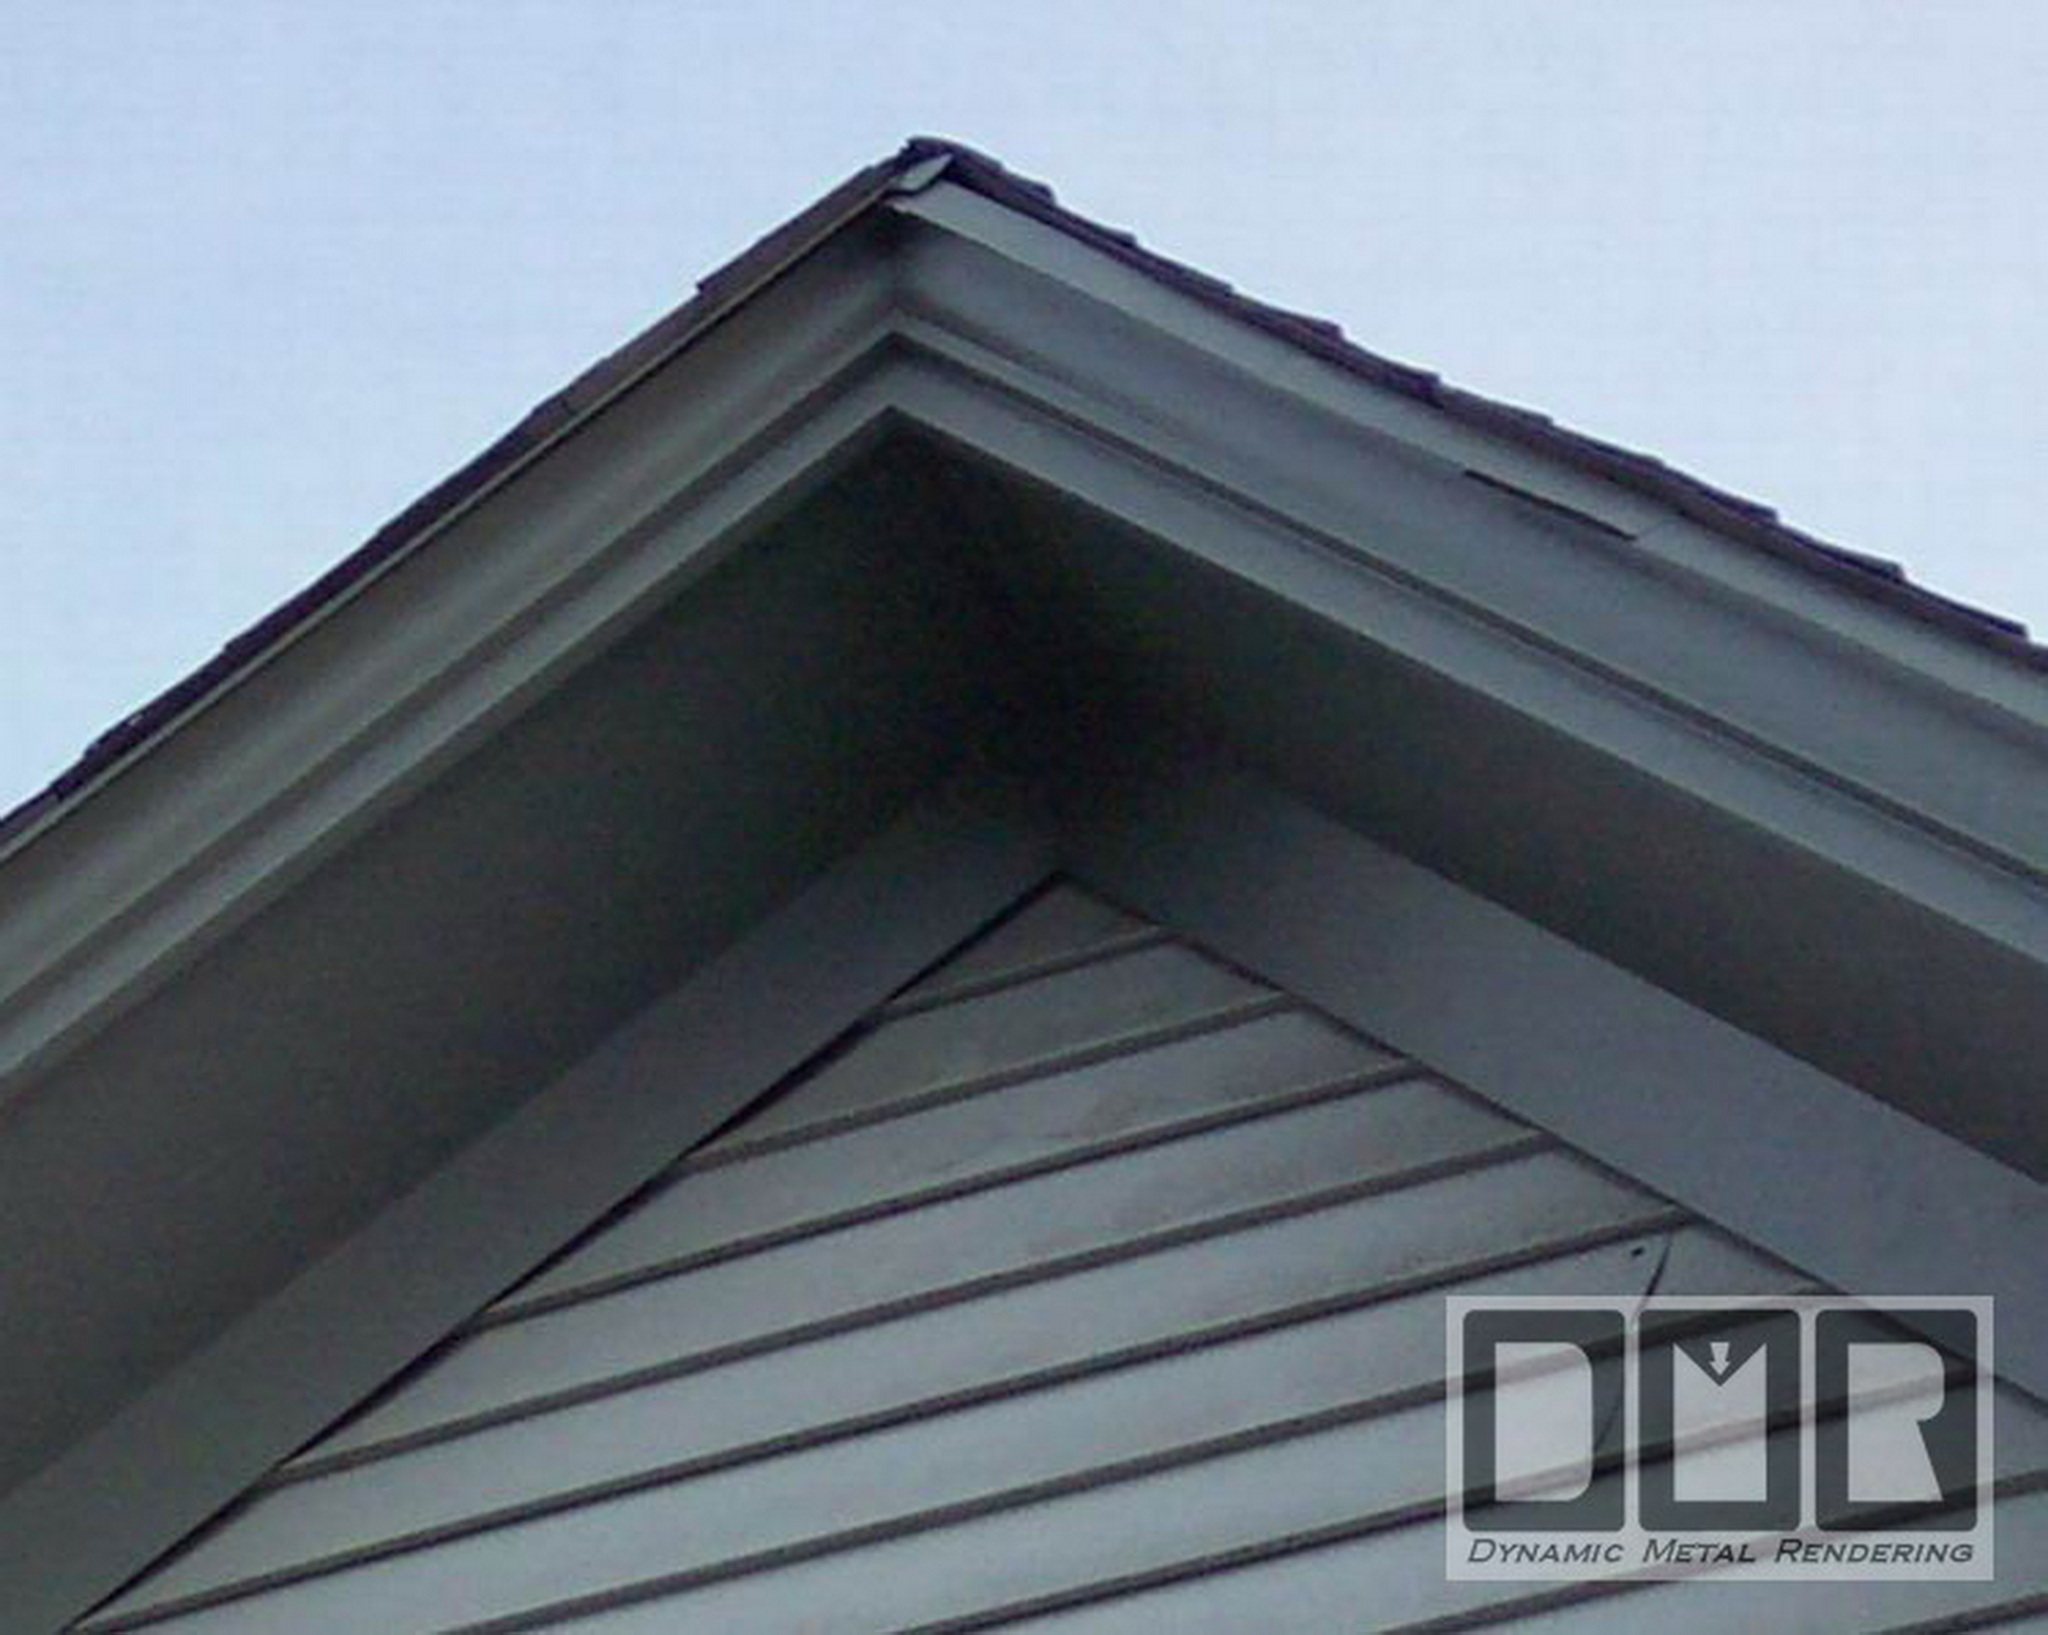
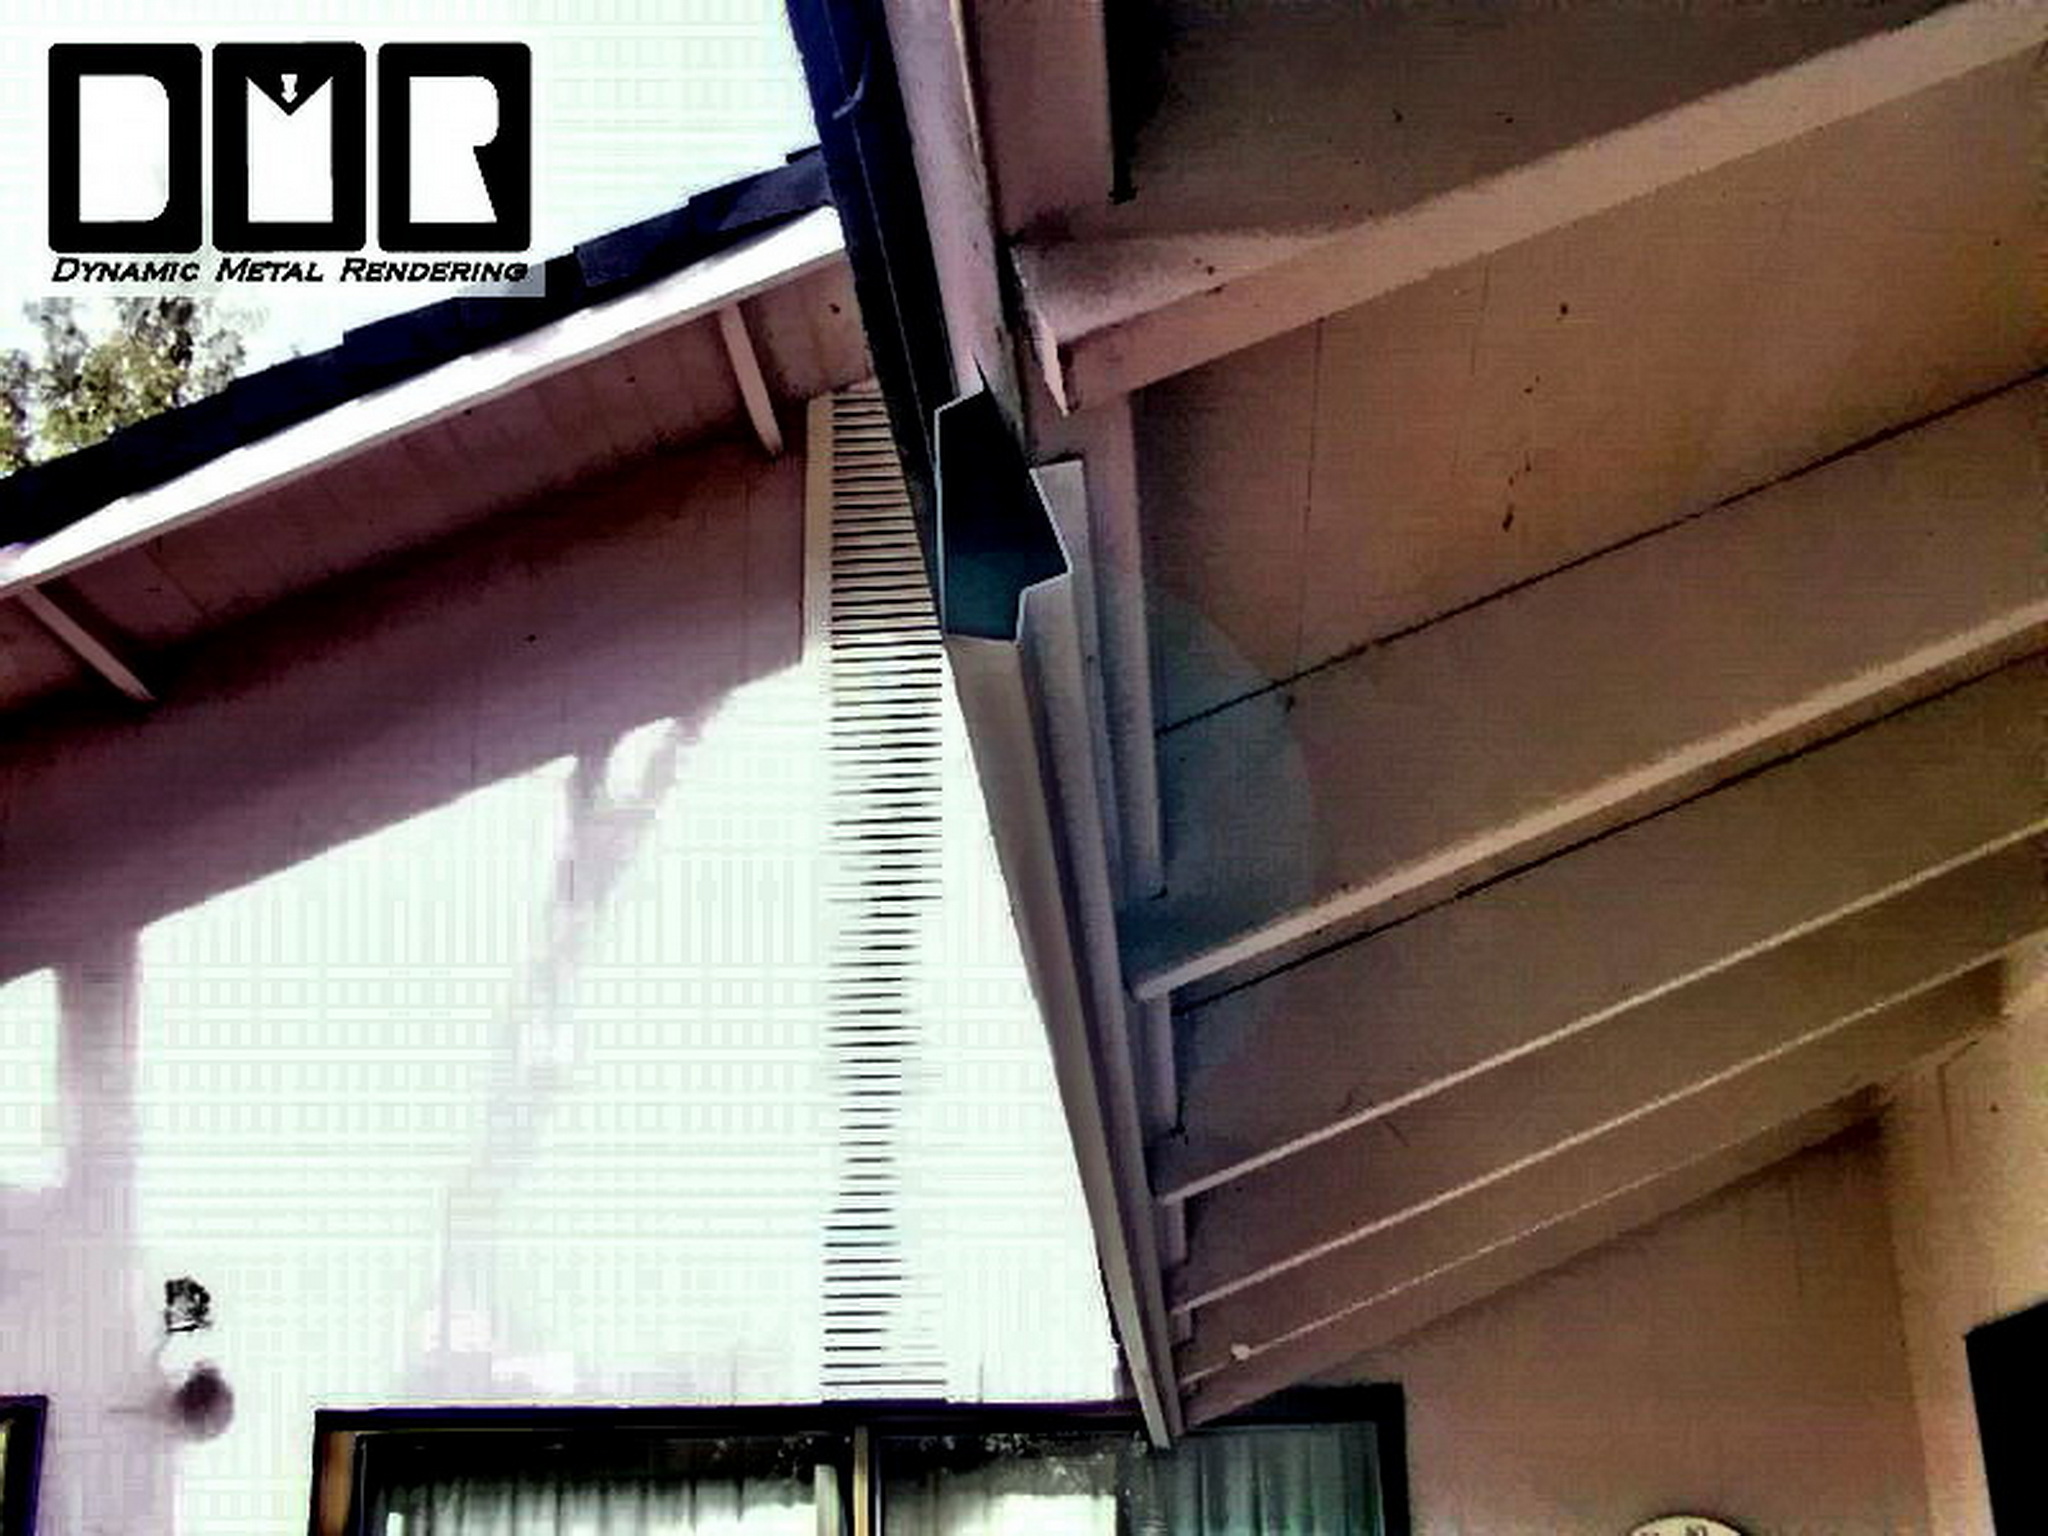
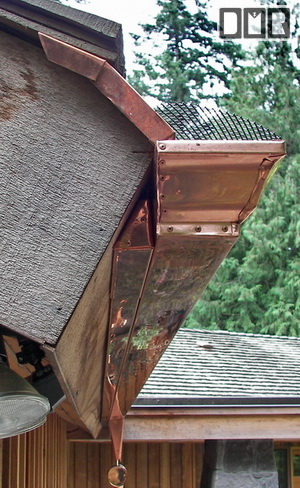
This house has most of it's gutters over 2
stories high. It was a very steep roof of a 12/12 pitch. That
is a 45 degree angle, and cannot be walked on. The soffit was
also at this 45 degree pitch. This was the best thing I could come
up with to resolve this problem so I had a vertical fascia board to
attach the gutter to, and have it look like it was made to fit the
style of the house.
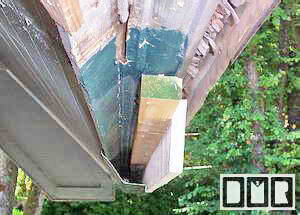
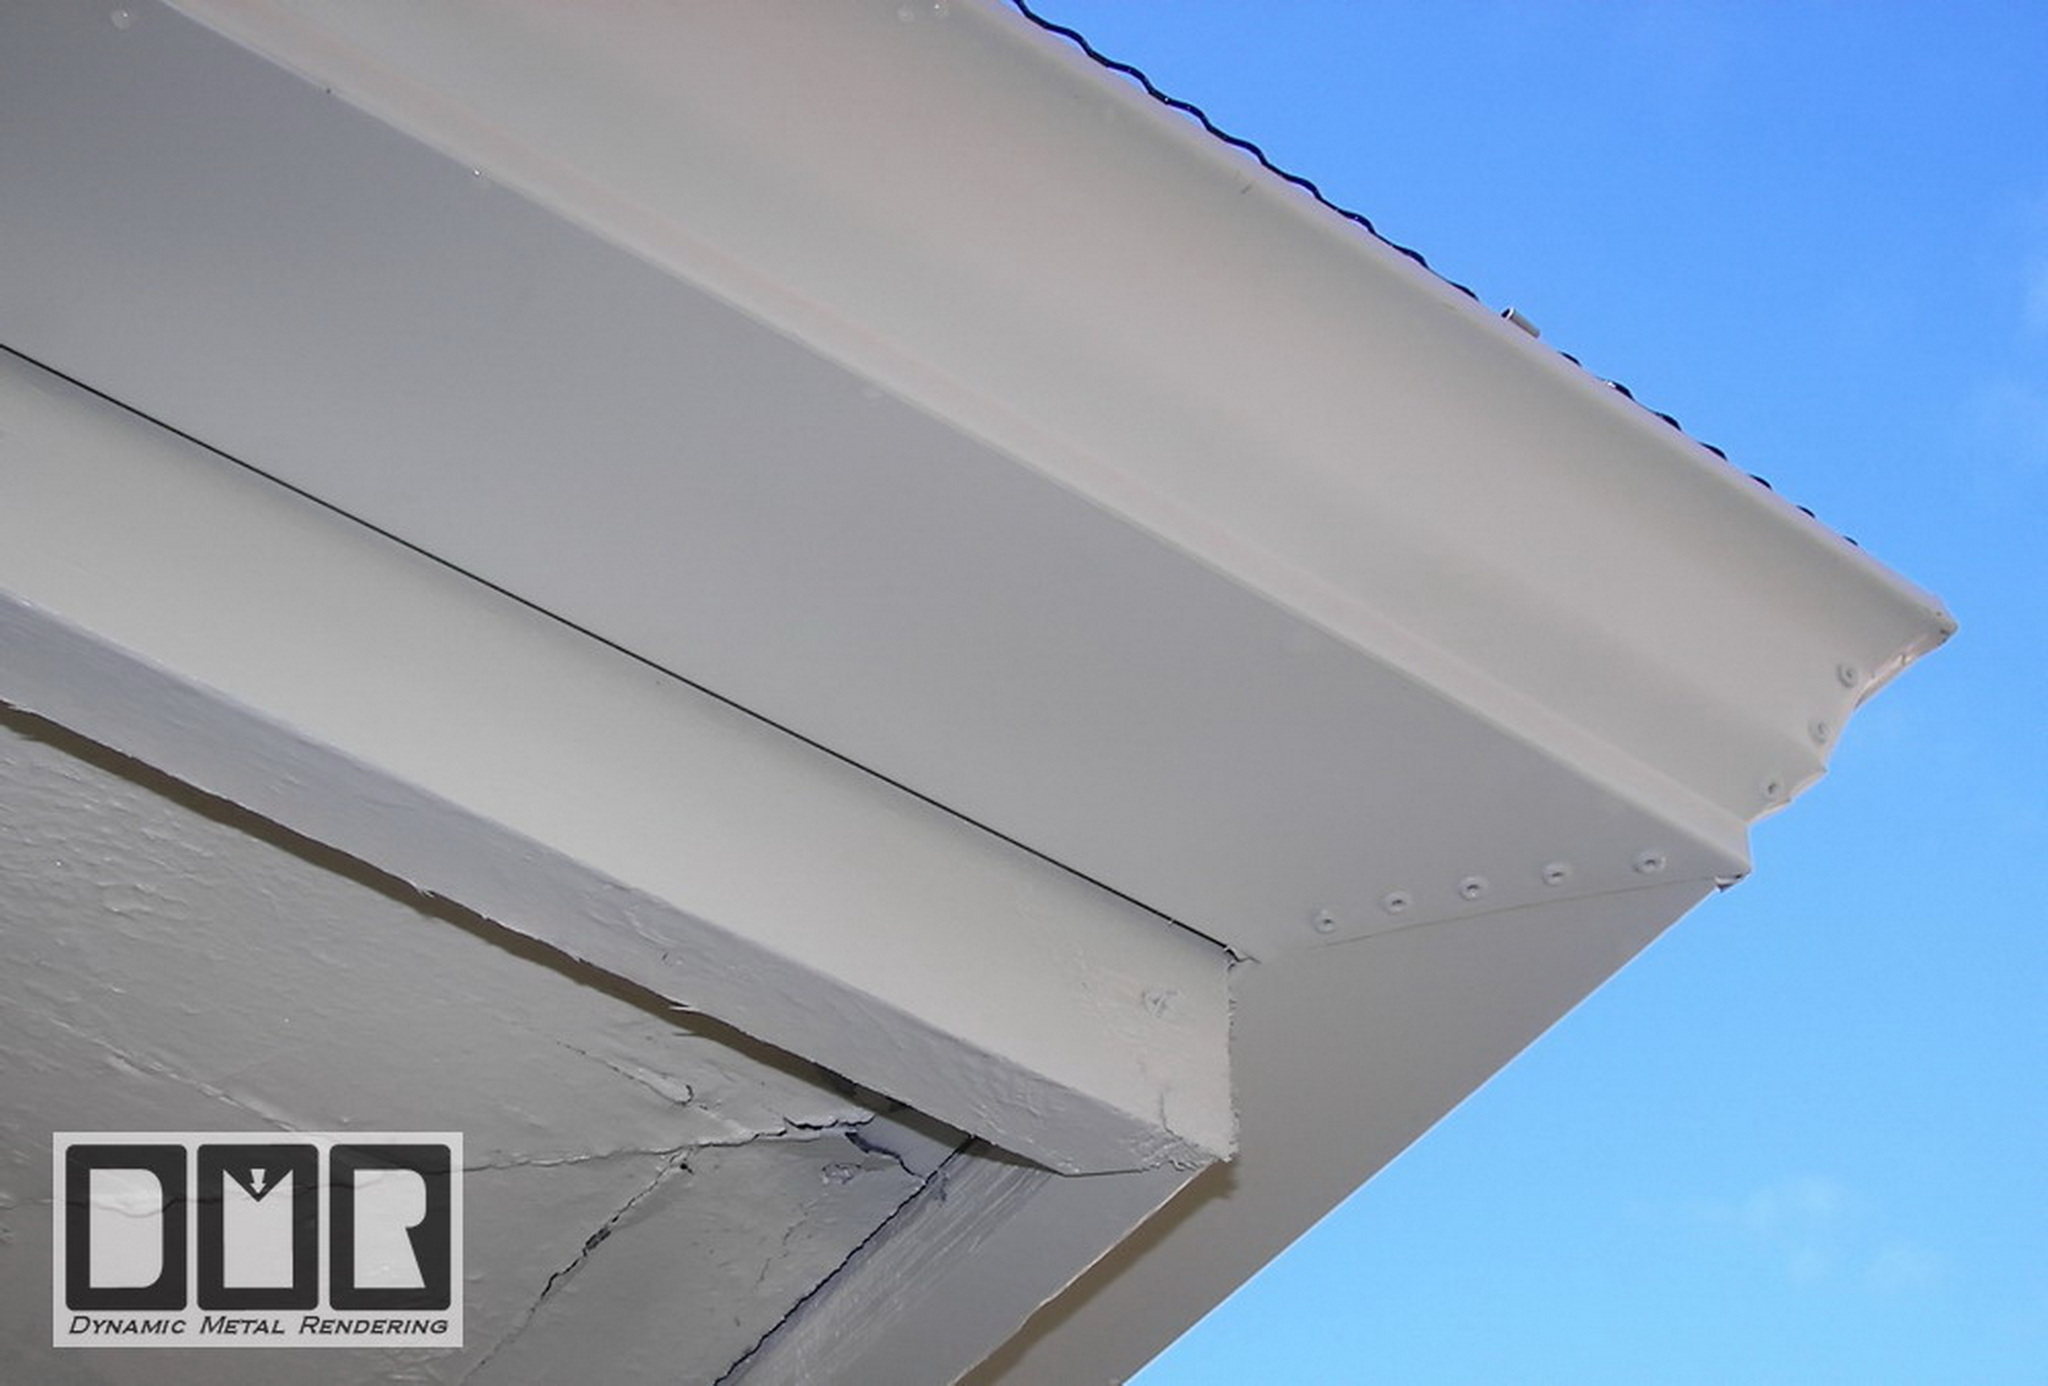
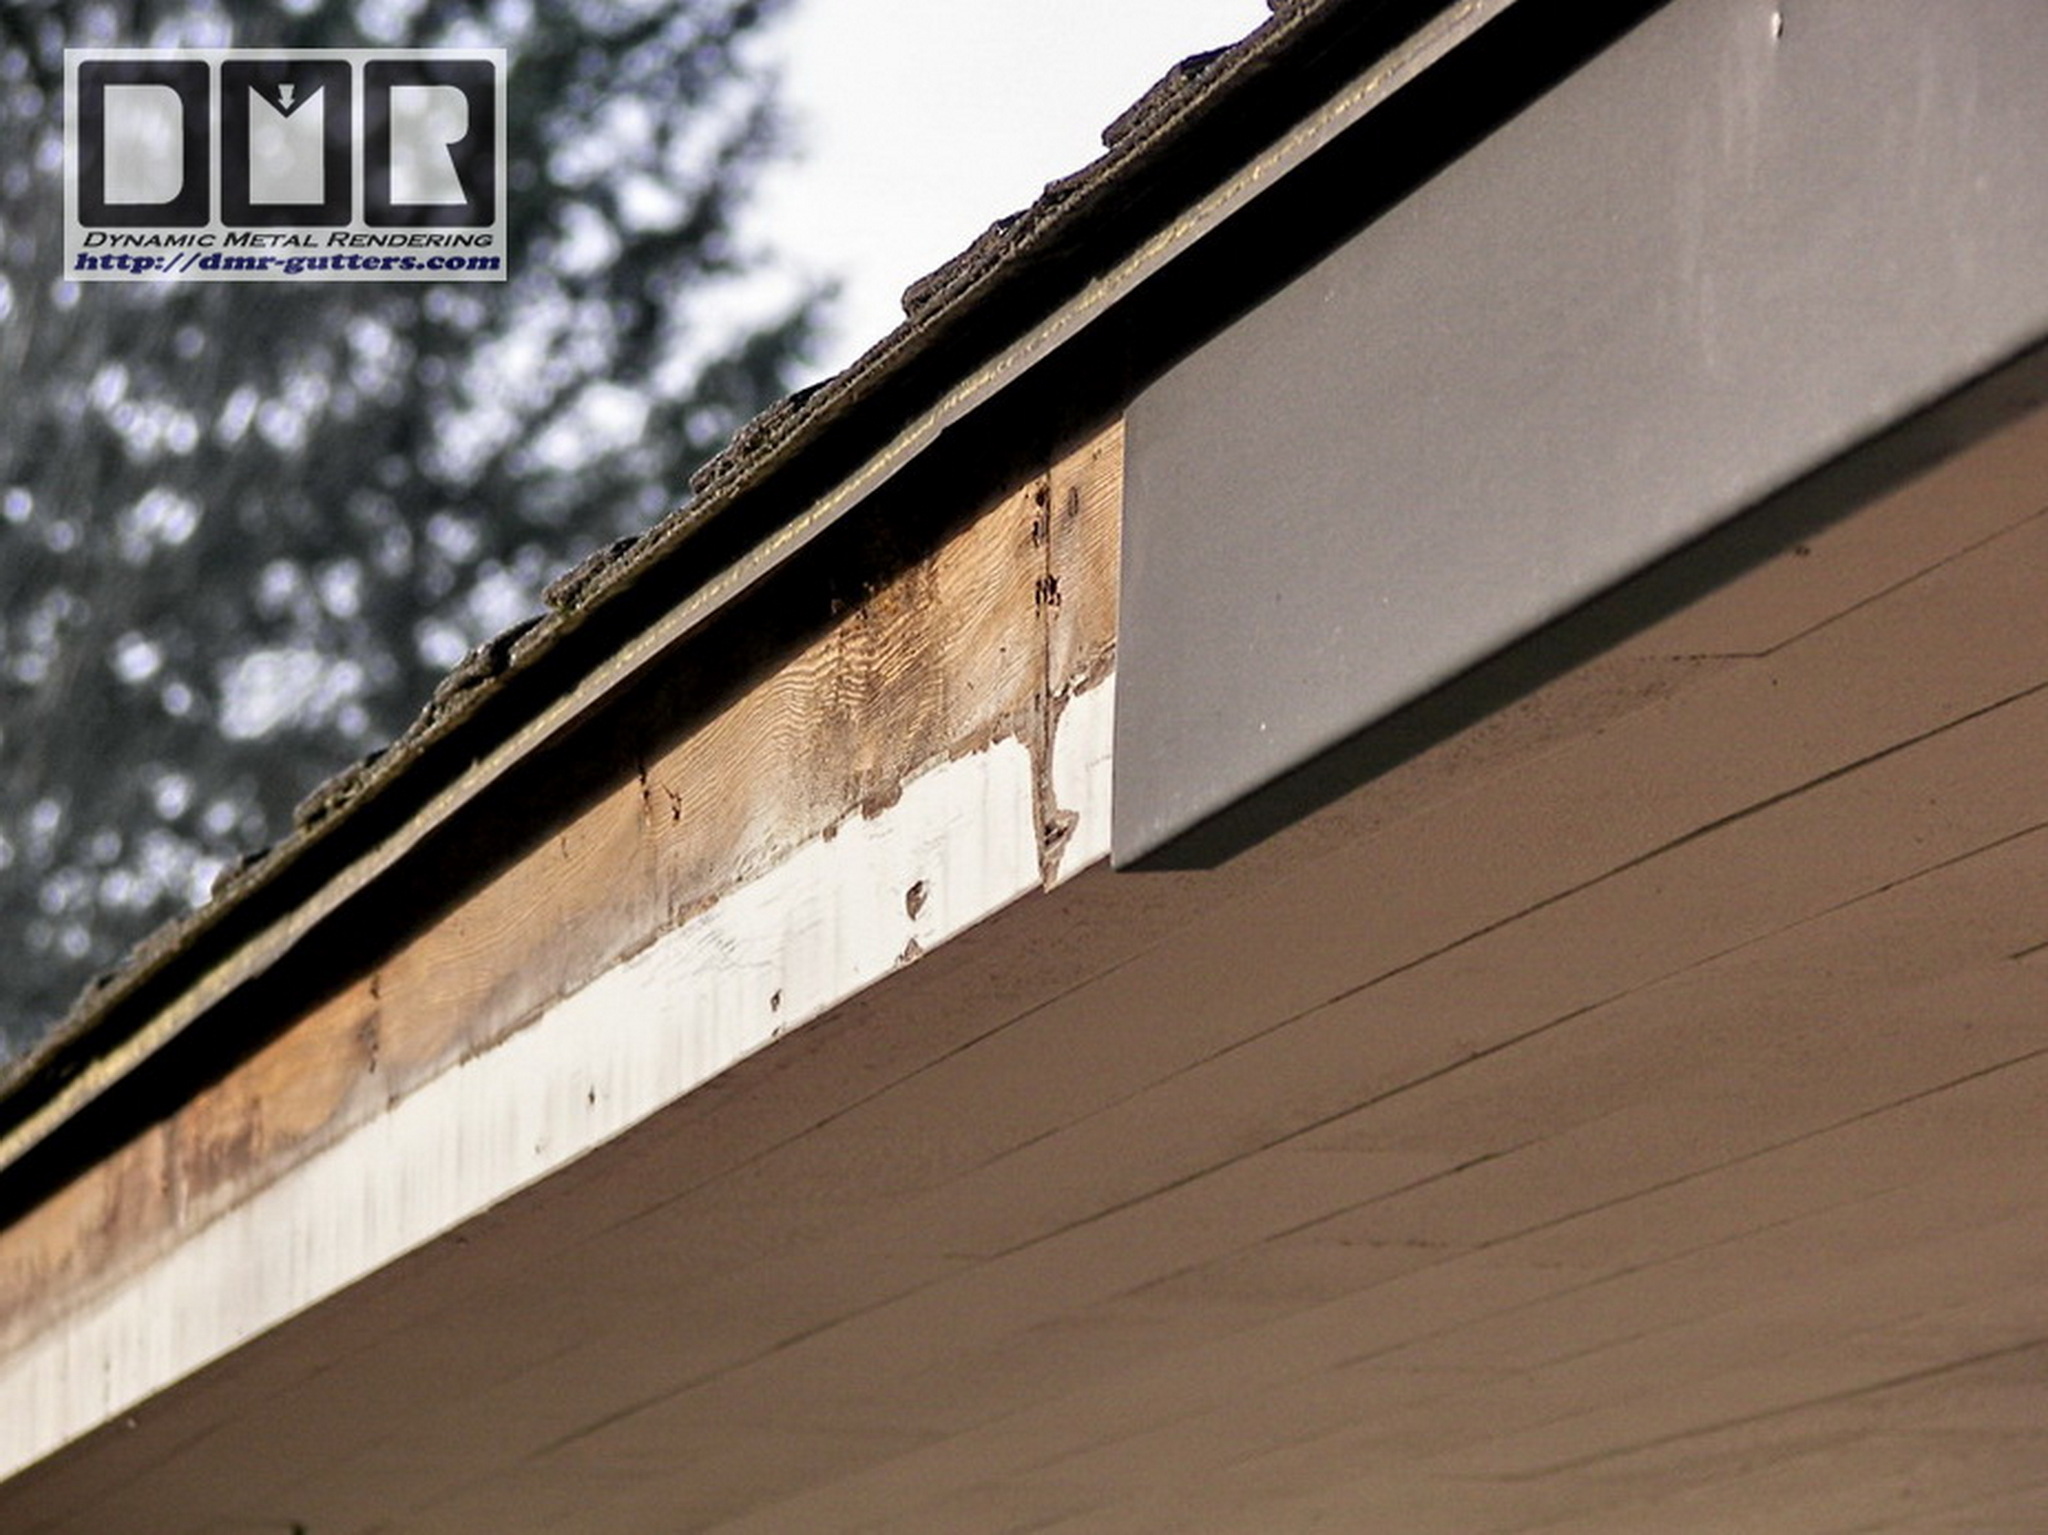
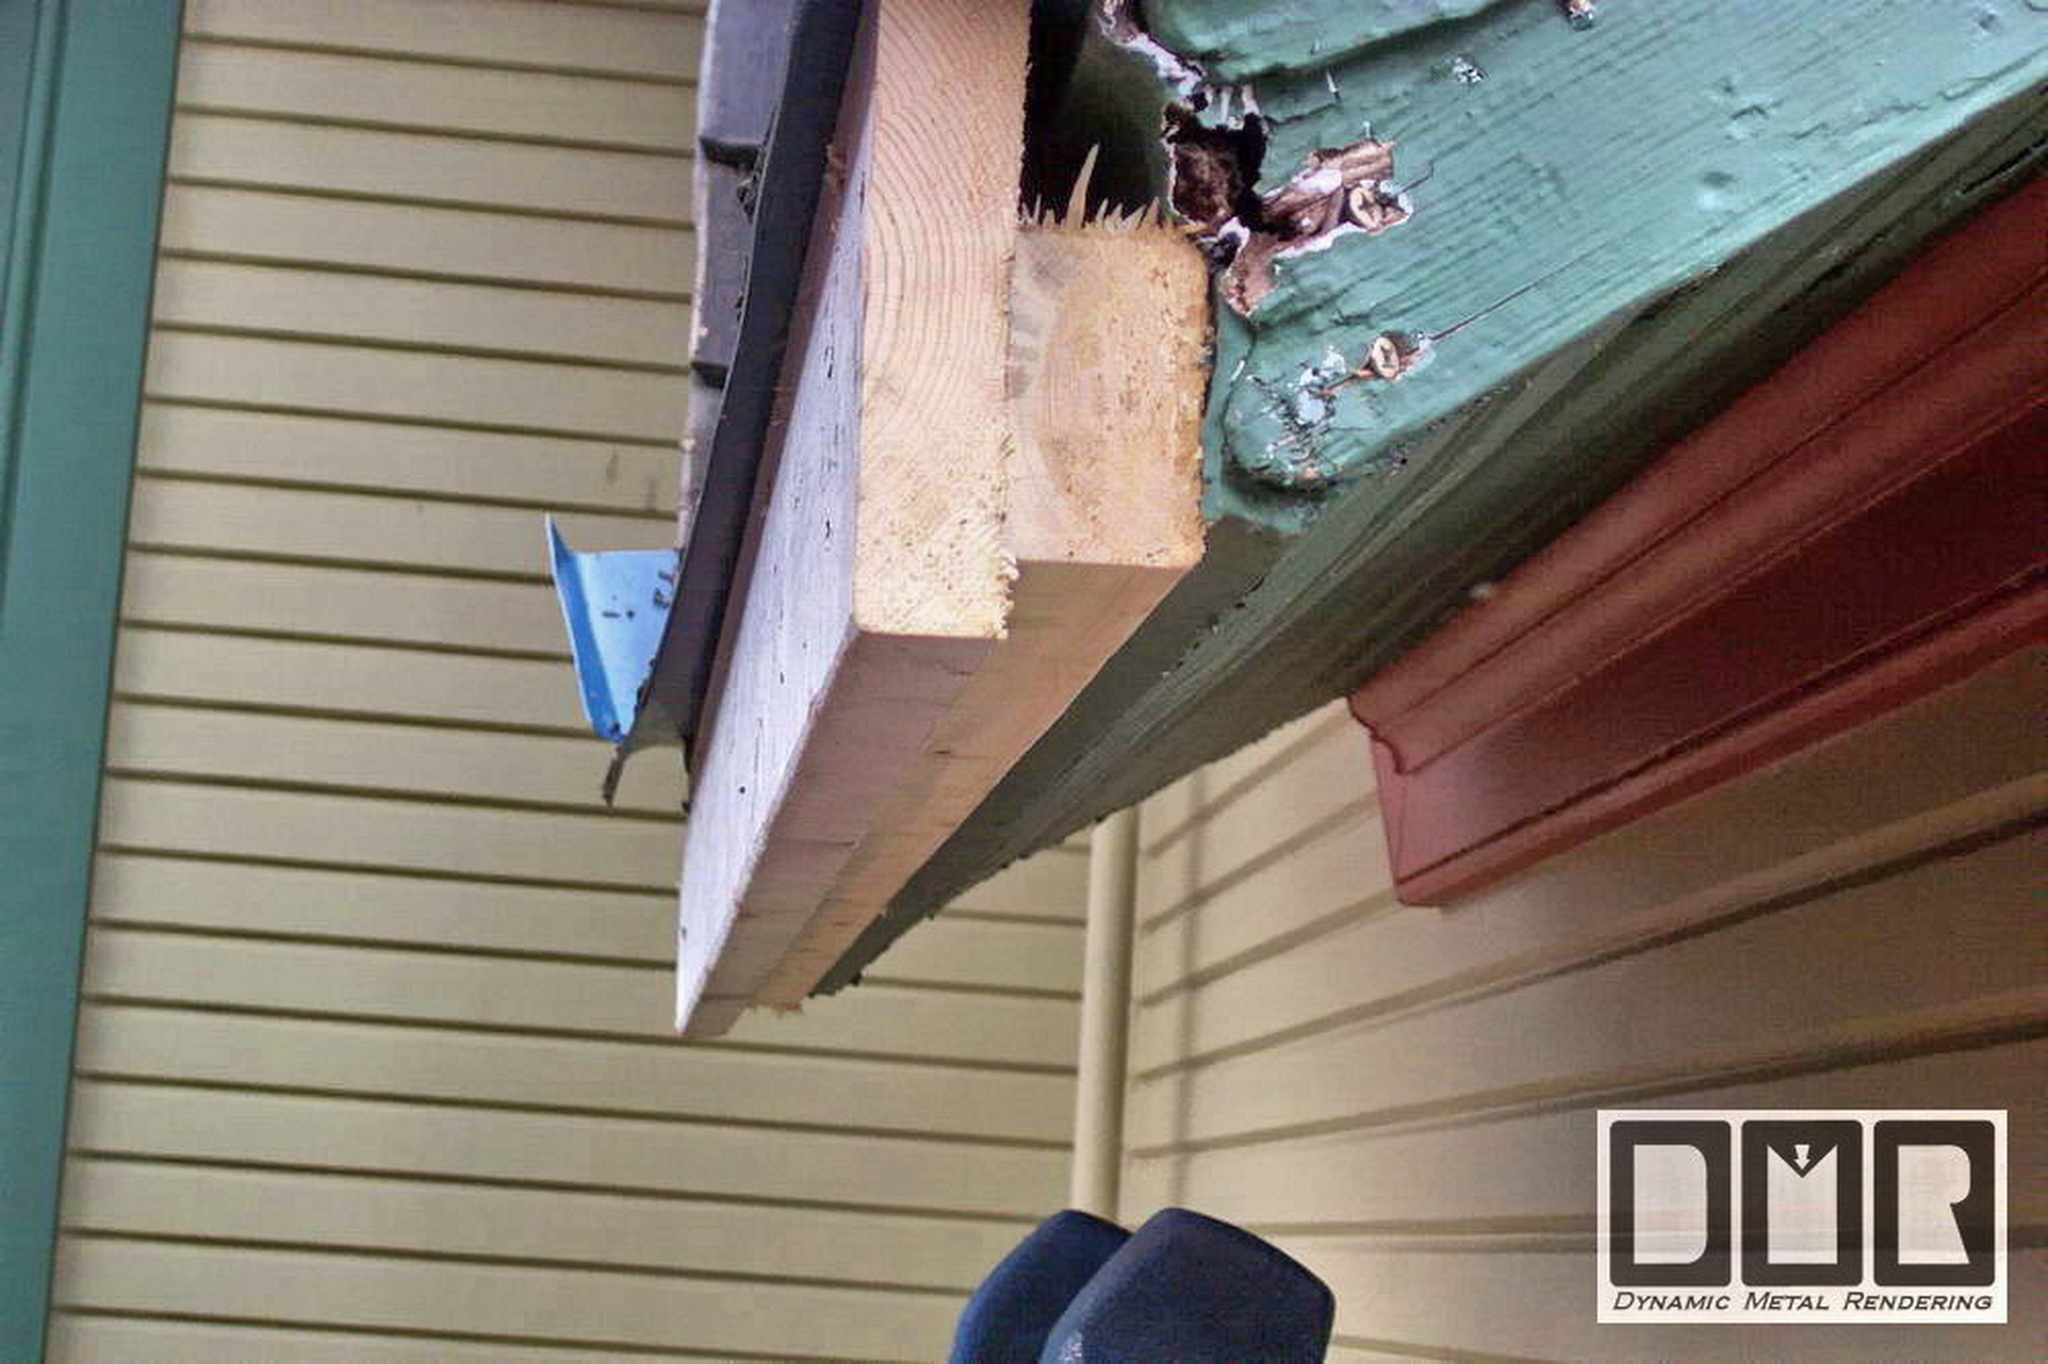
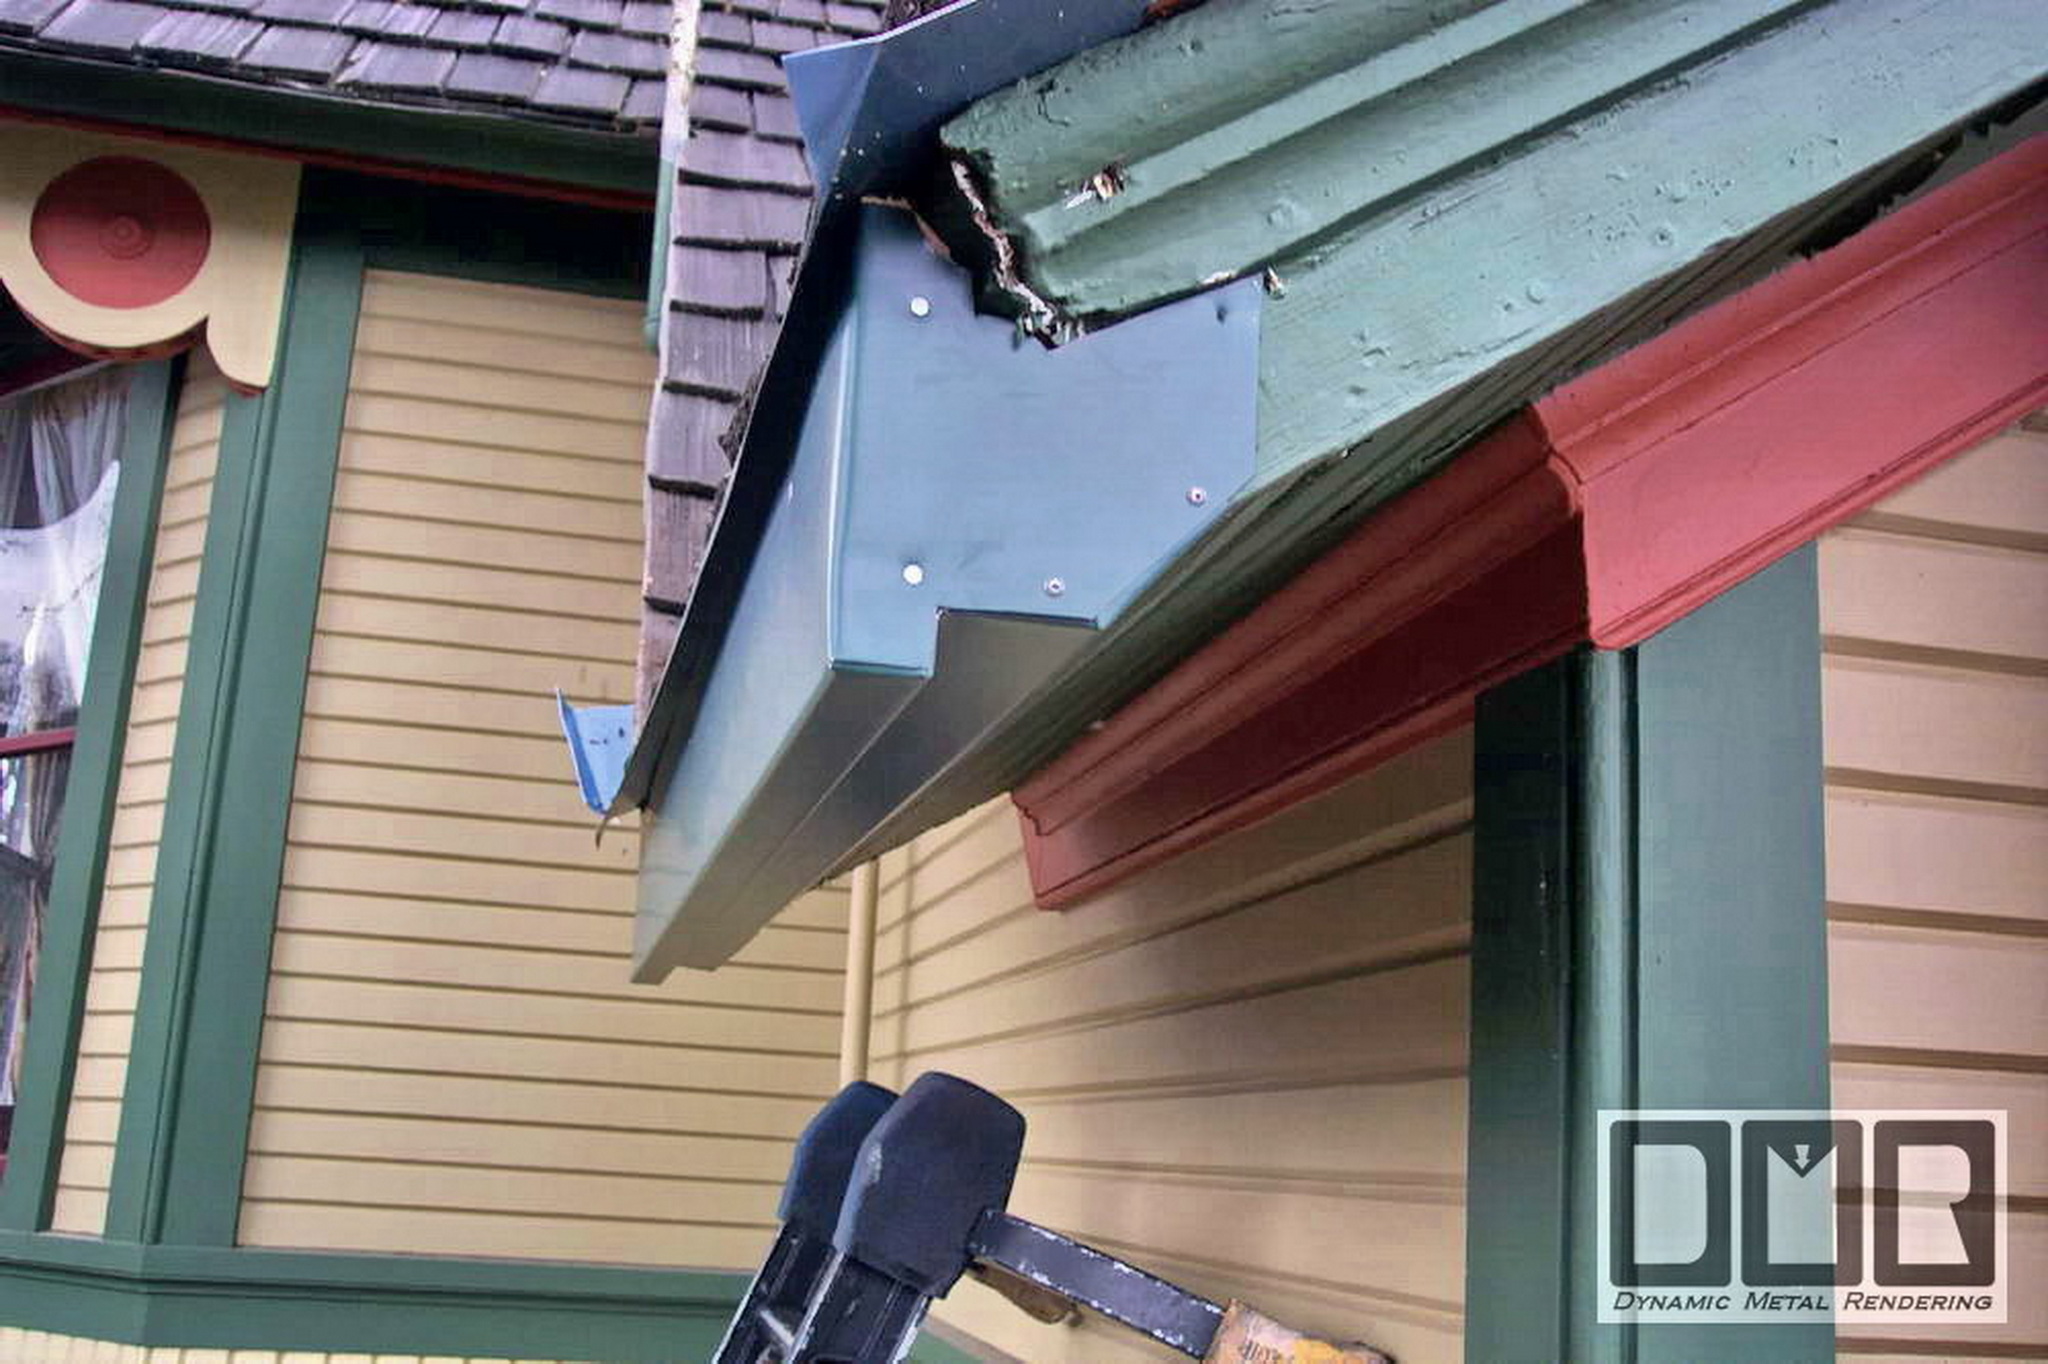
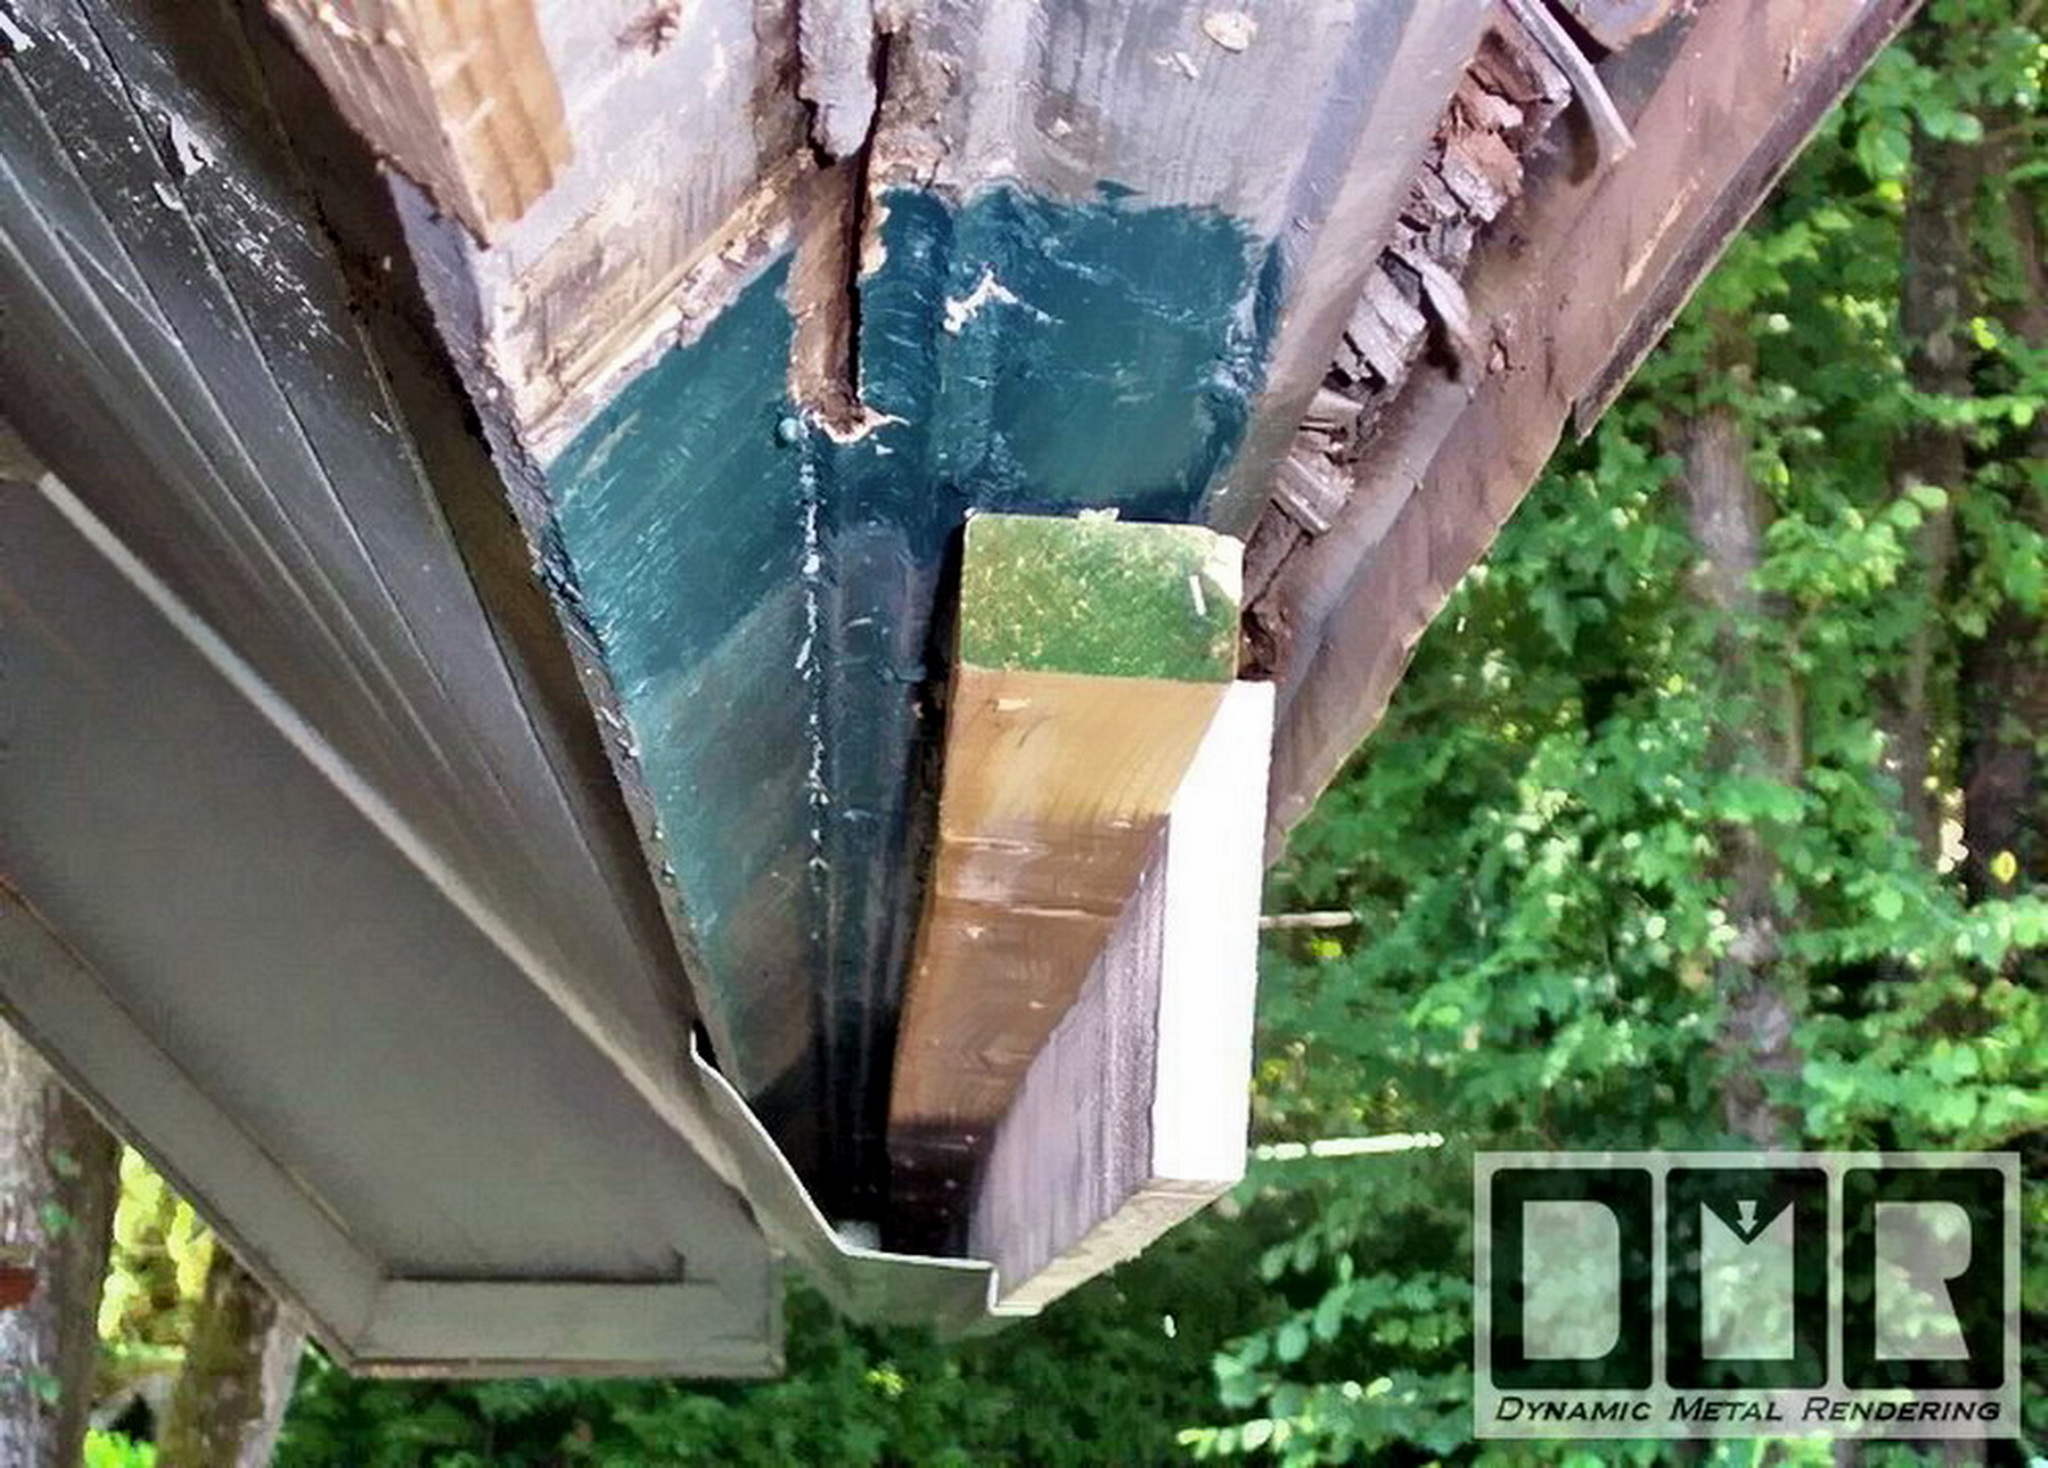
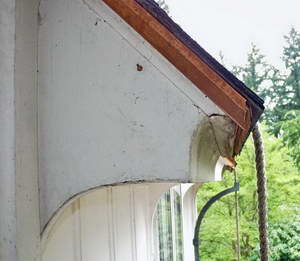
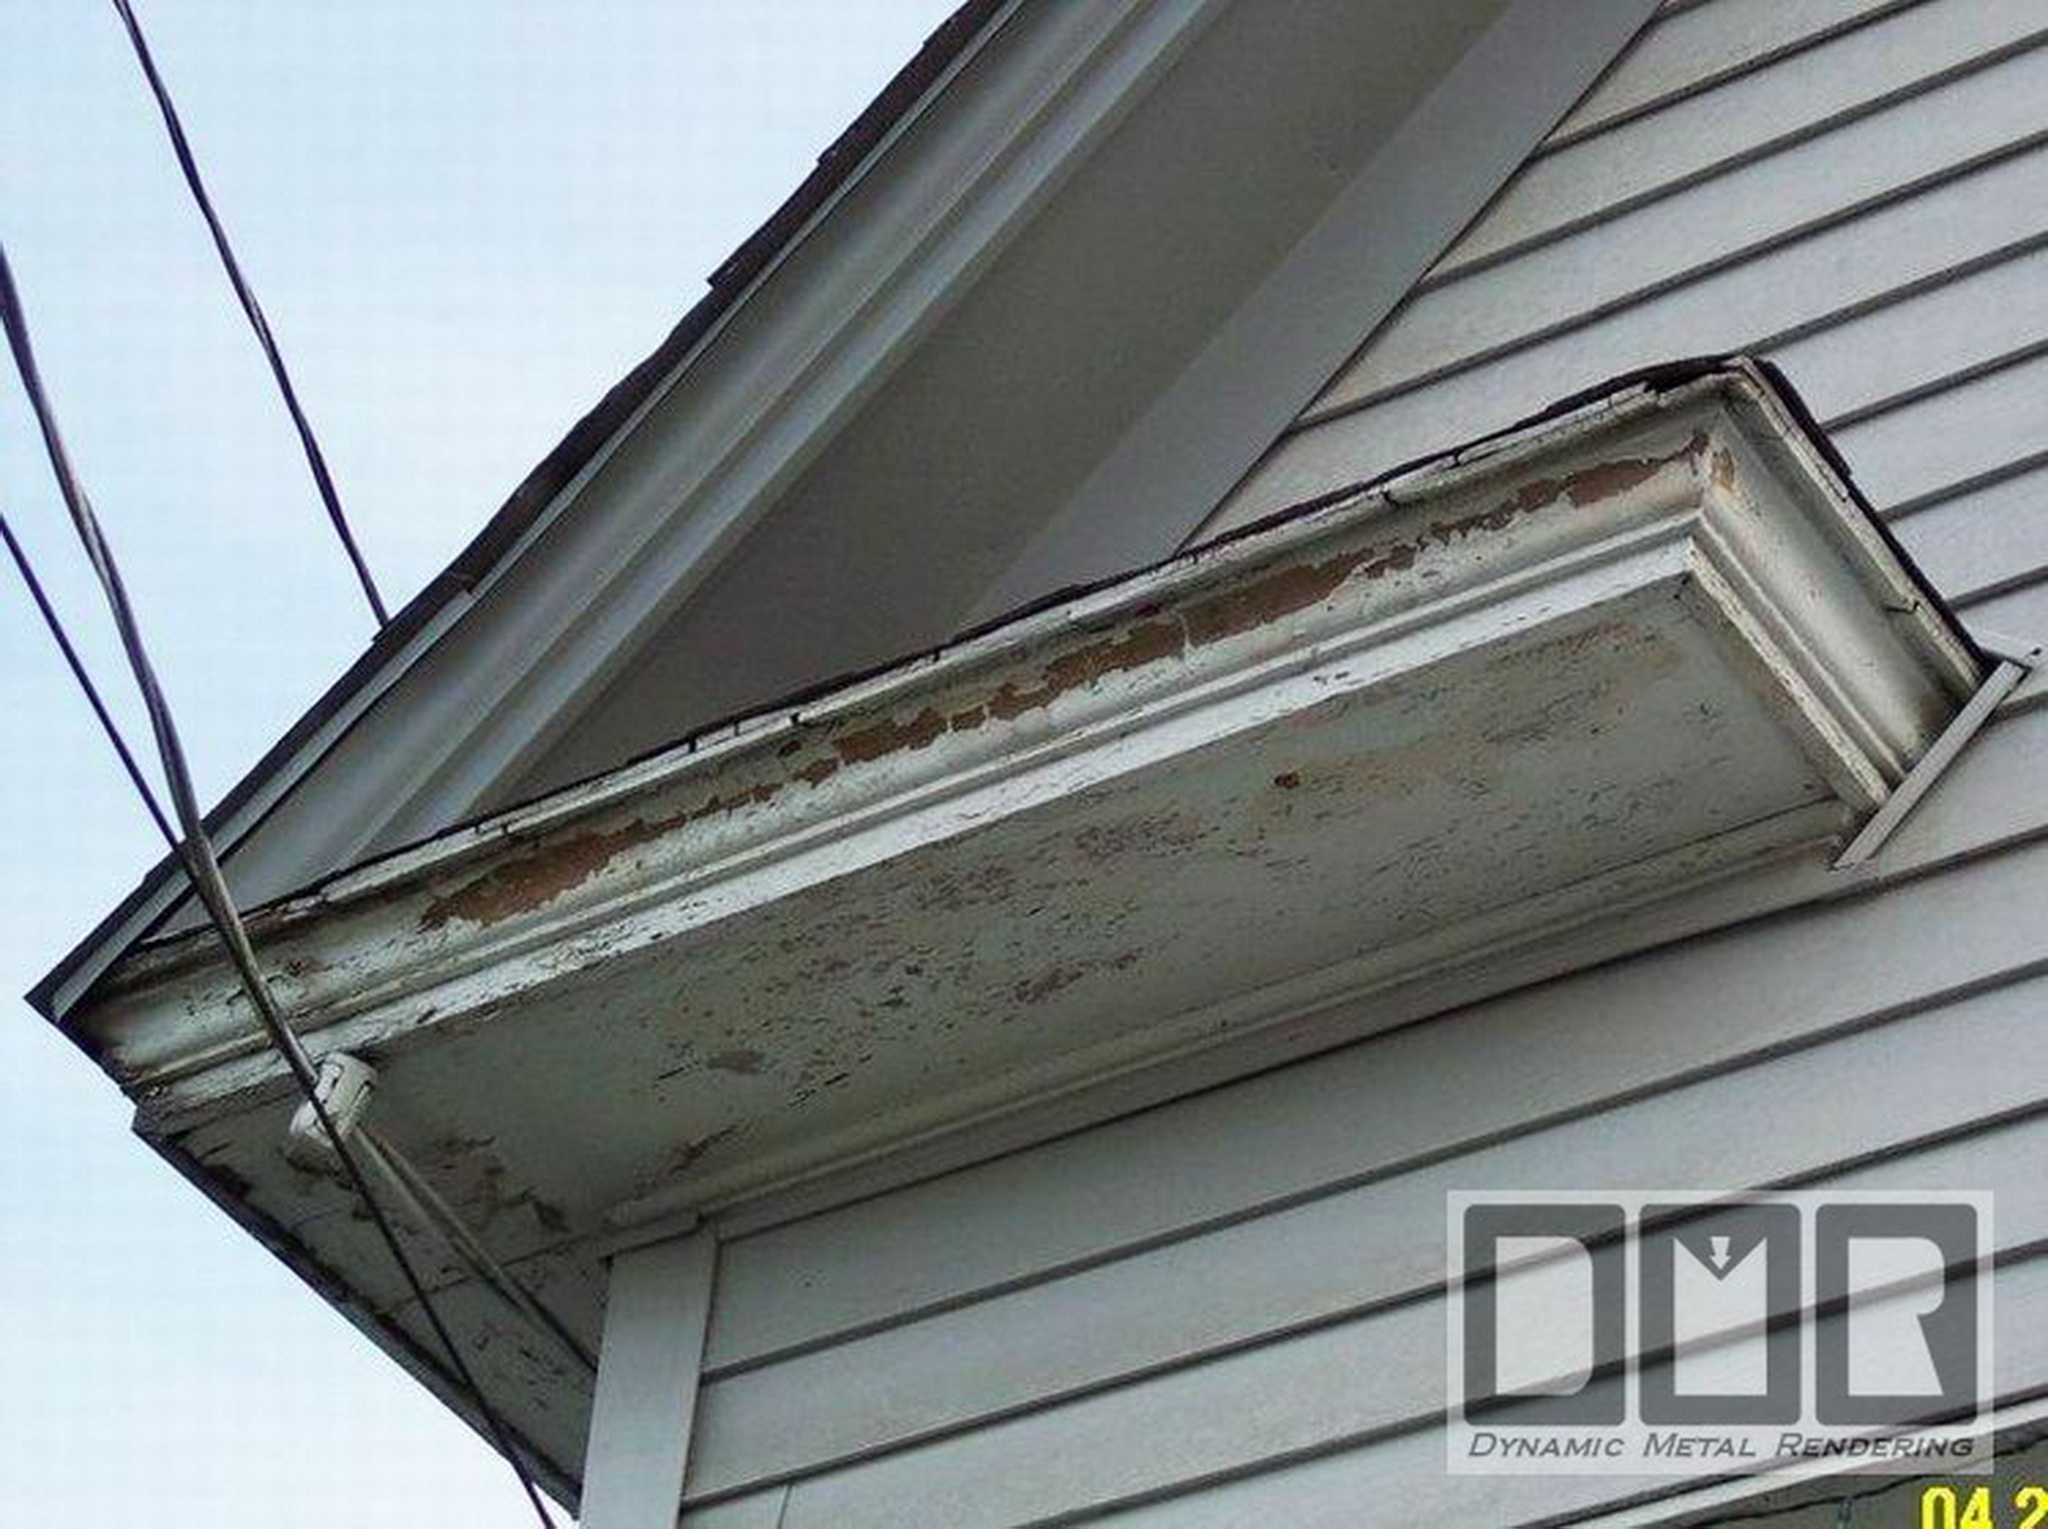
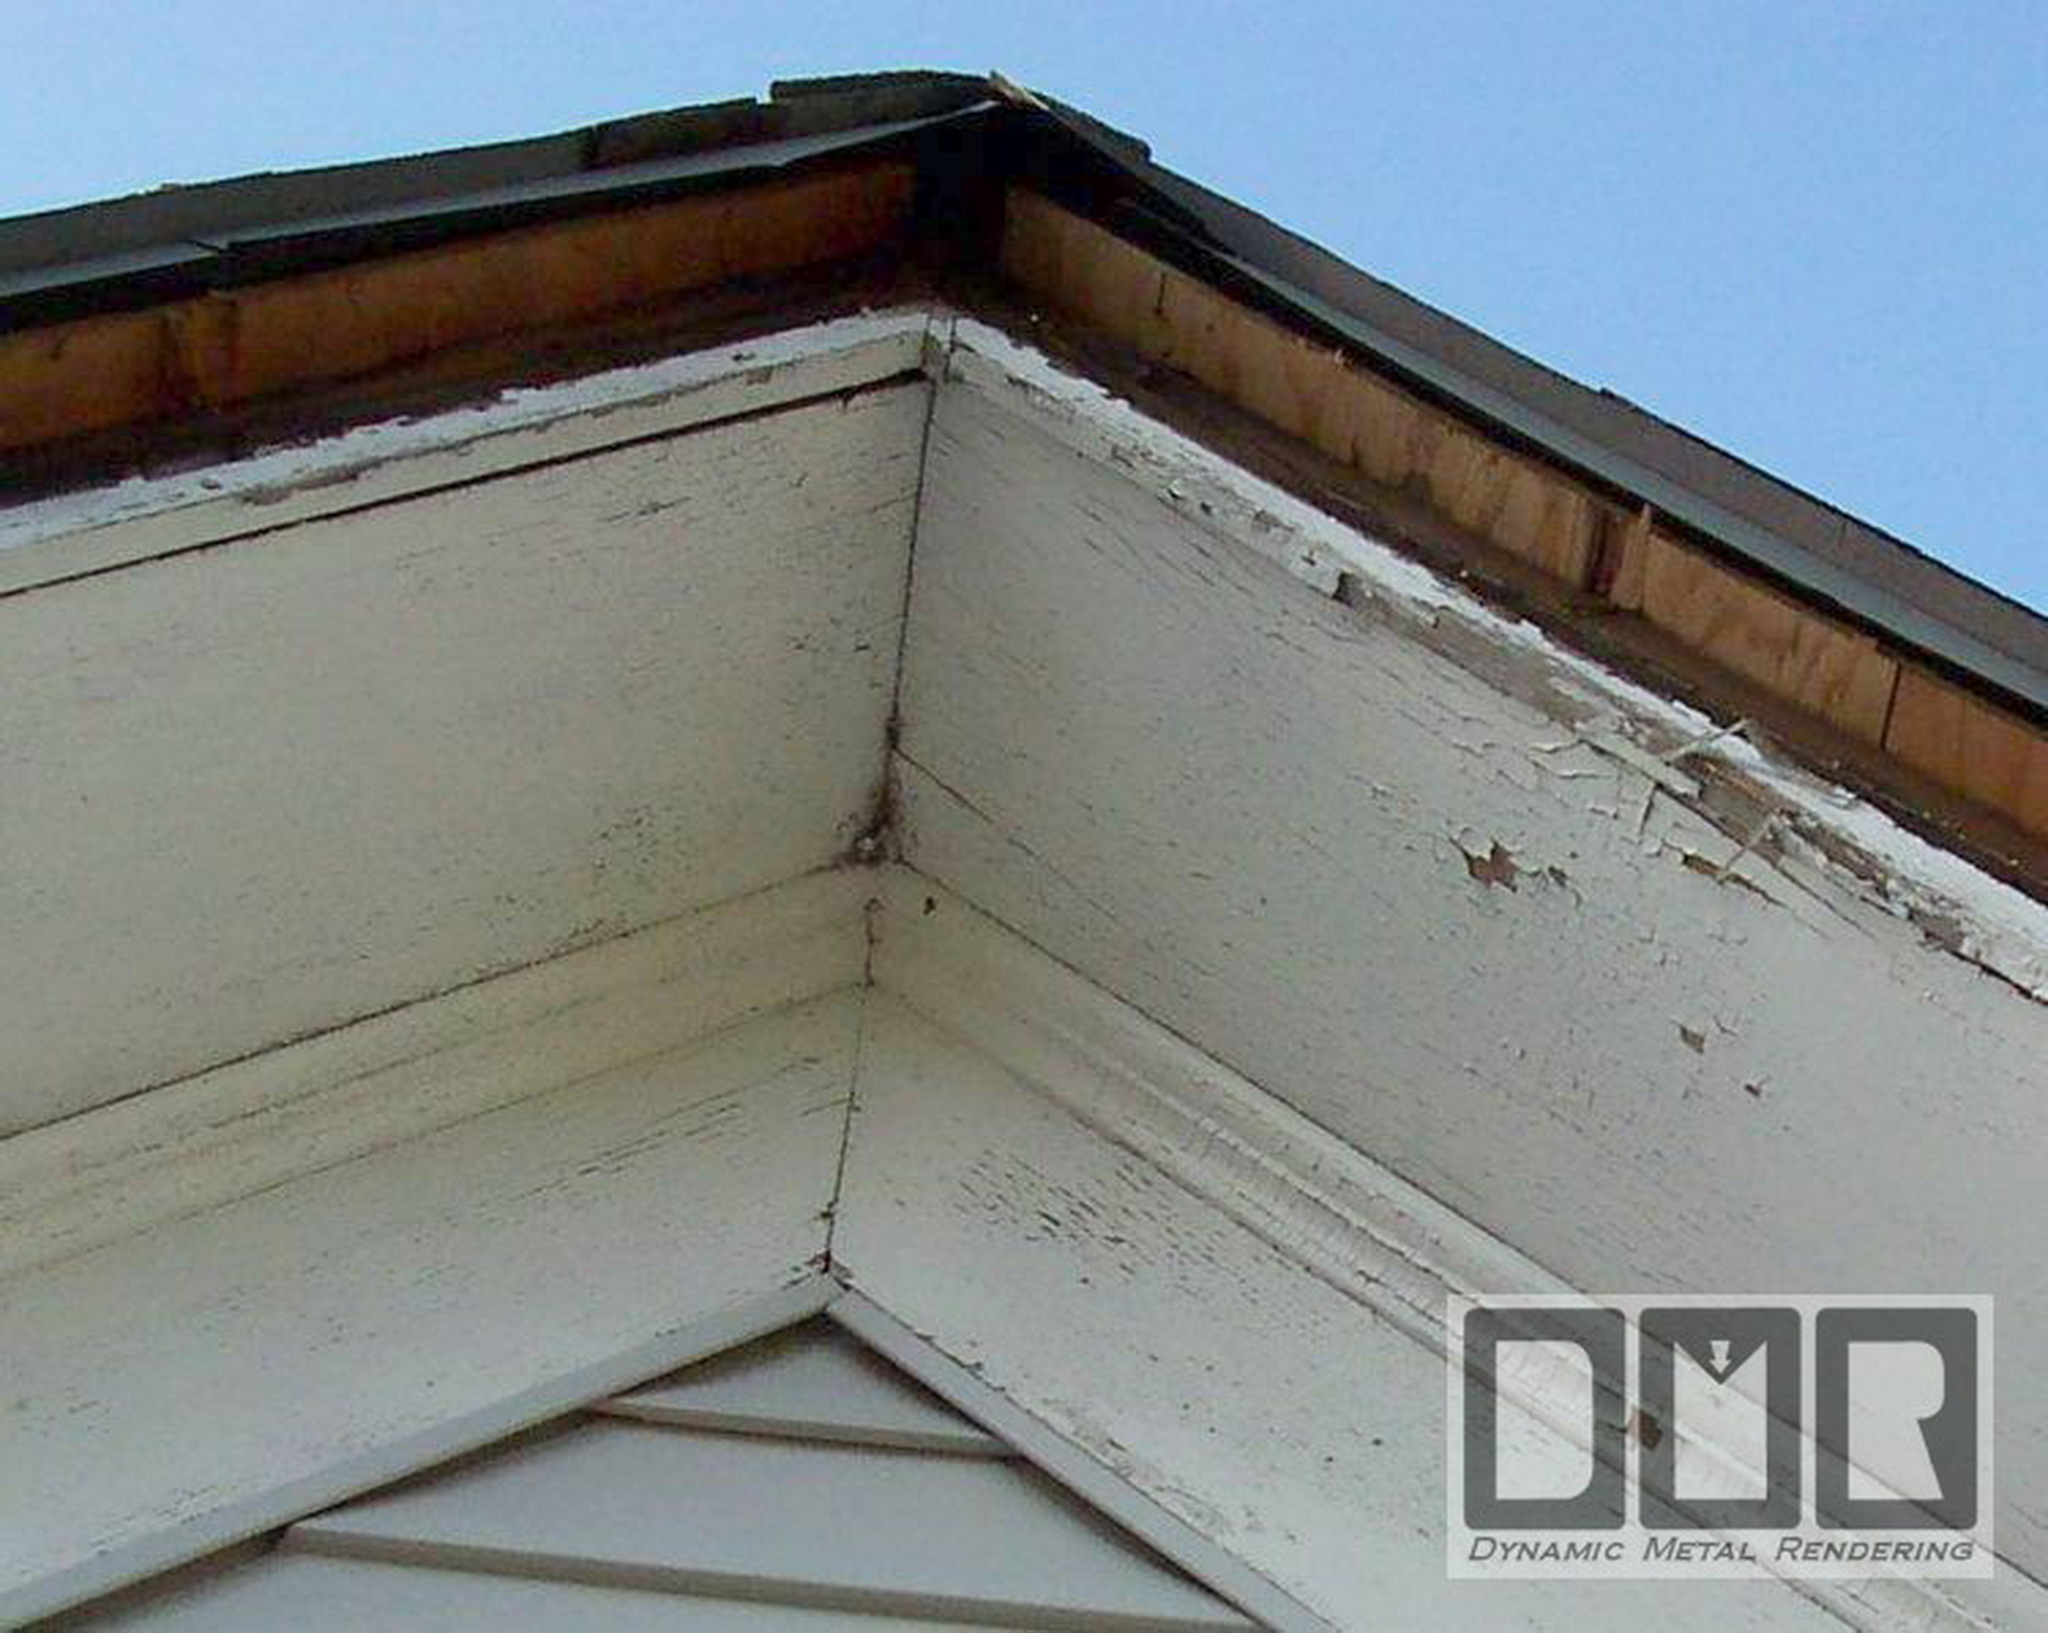
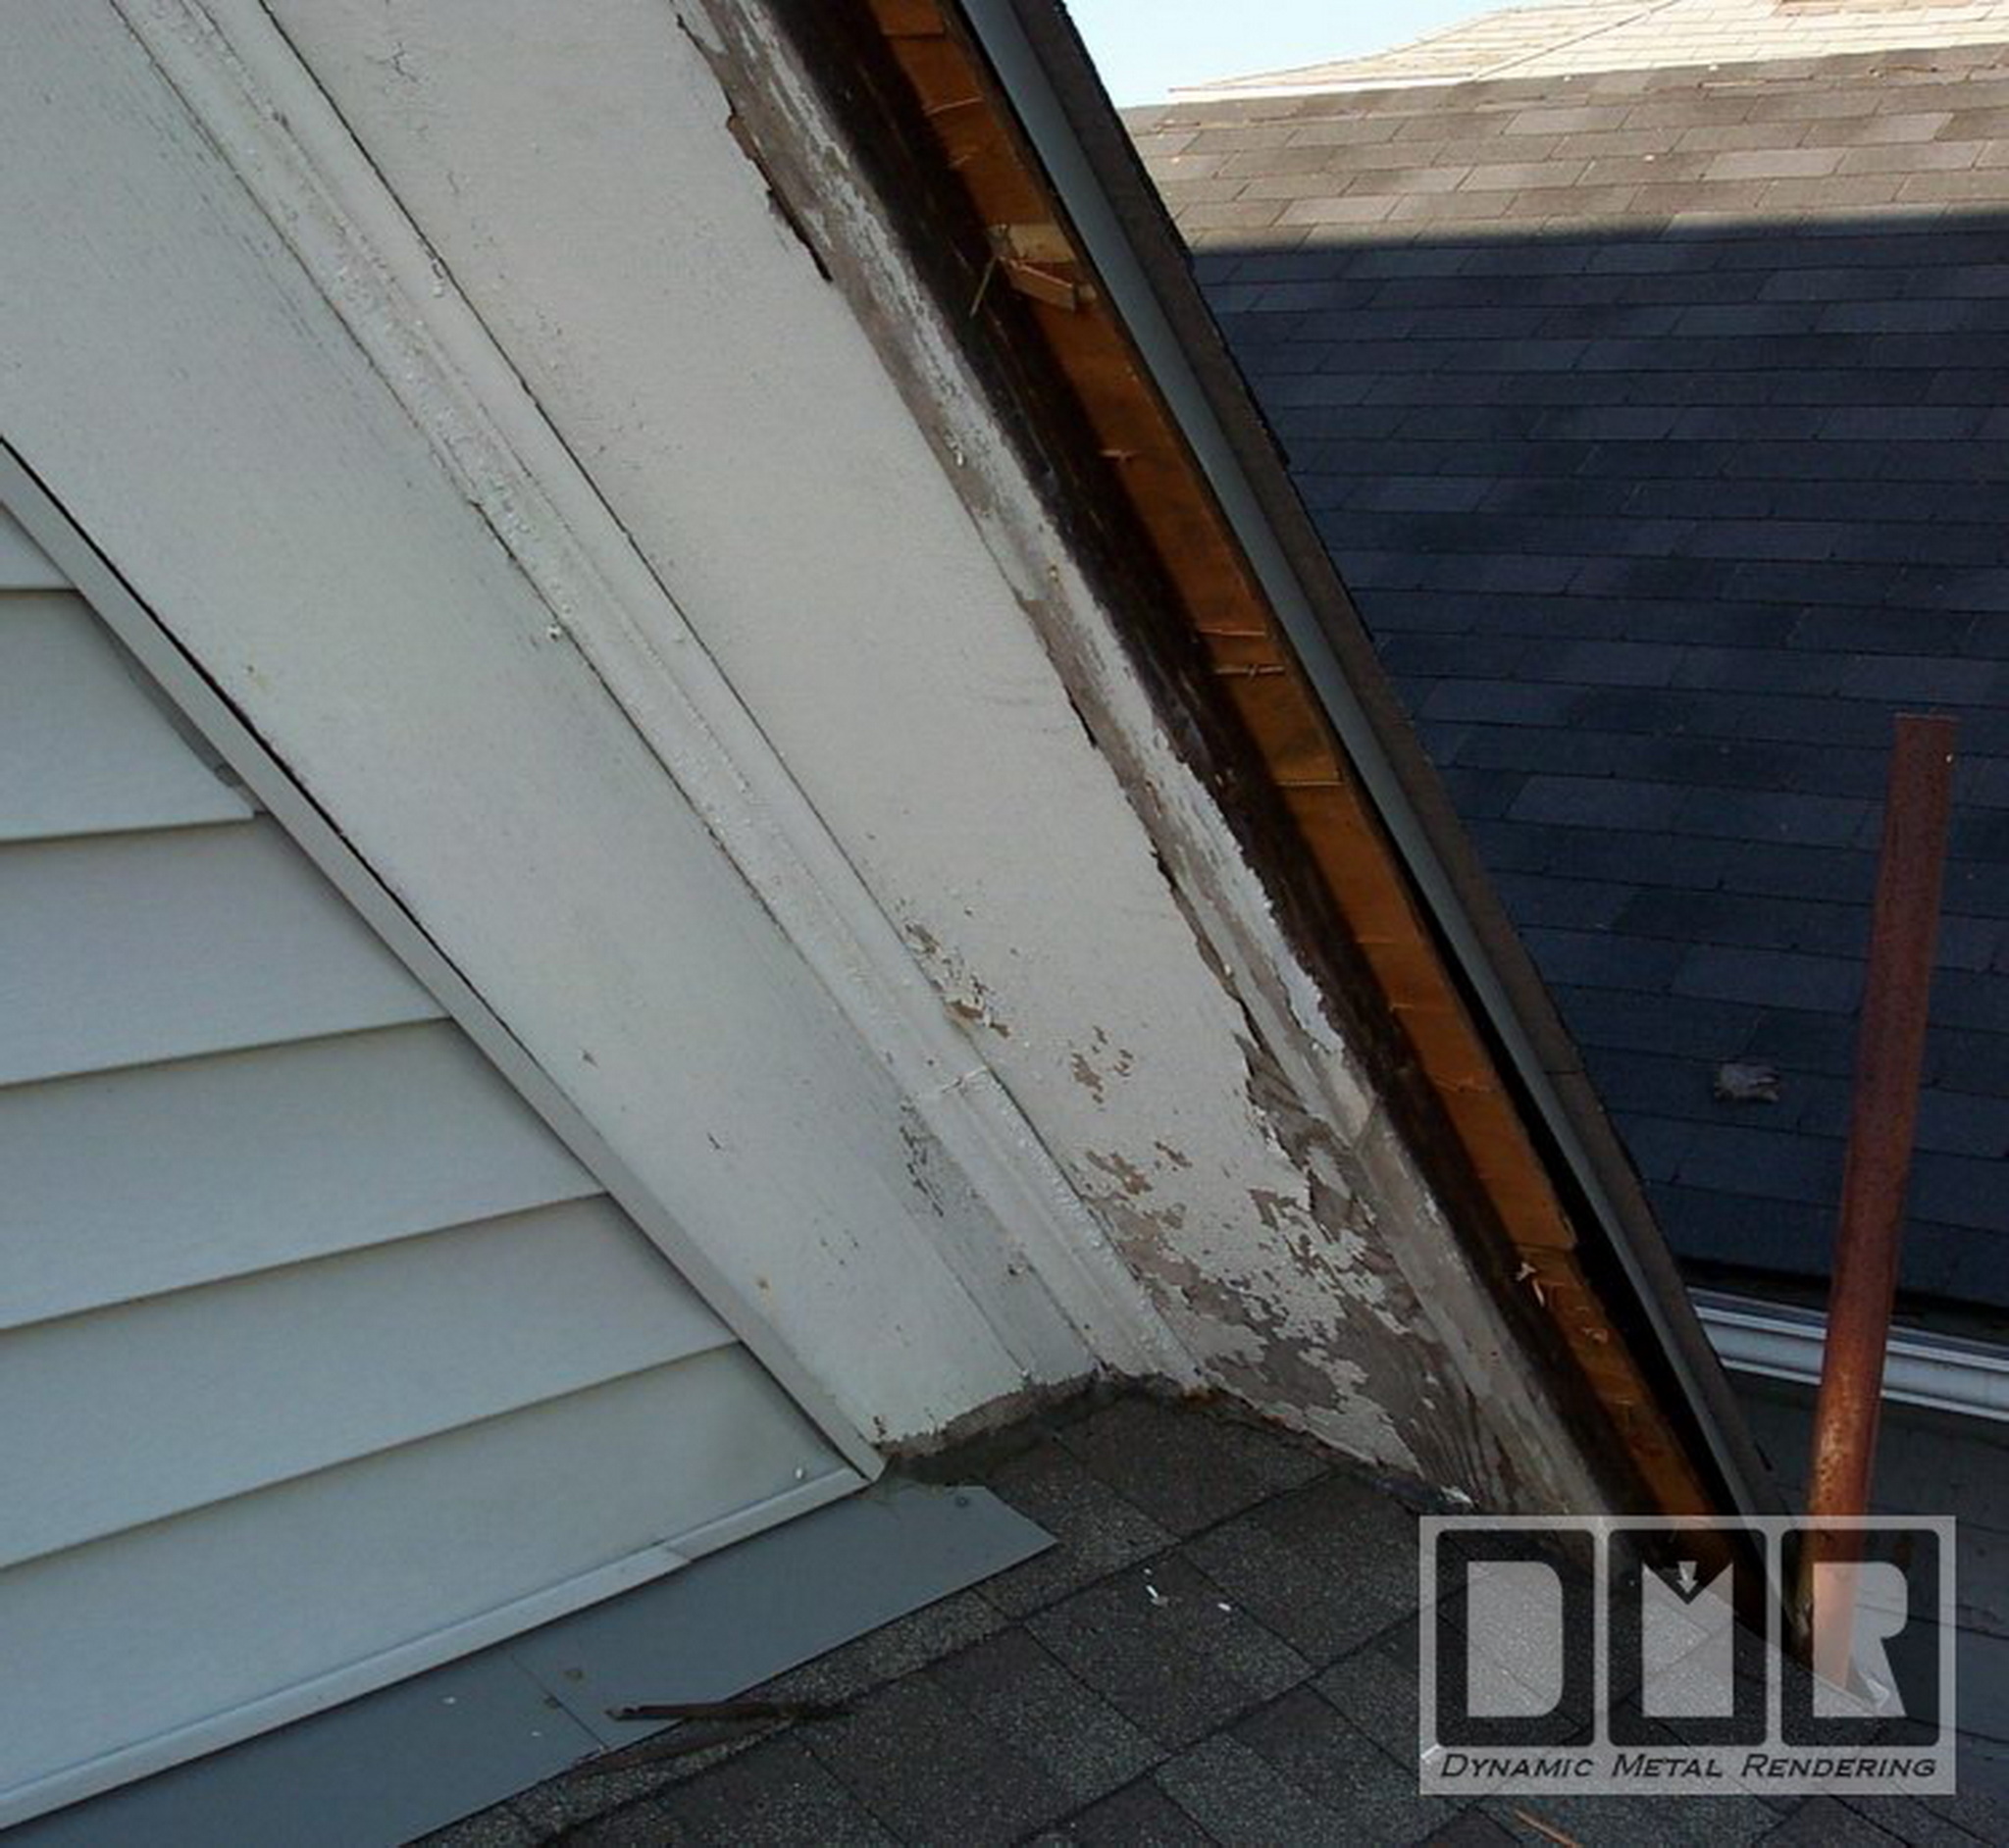
They place this wood
molding up just under the edge of the roof, but this one was
especially difficult, since the molding was horizontal, instead of
at a 45 degree angle. There was nothing to screw the fascia
board onto at all. Some of the wood molding was cracked,
broken, rotten, and in some places missing all together.
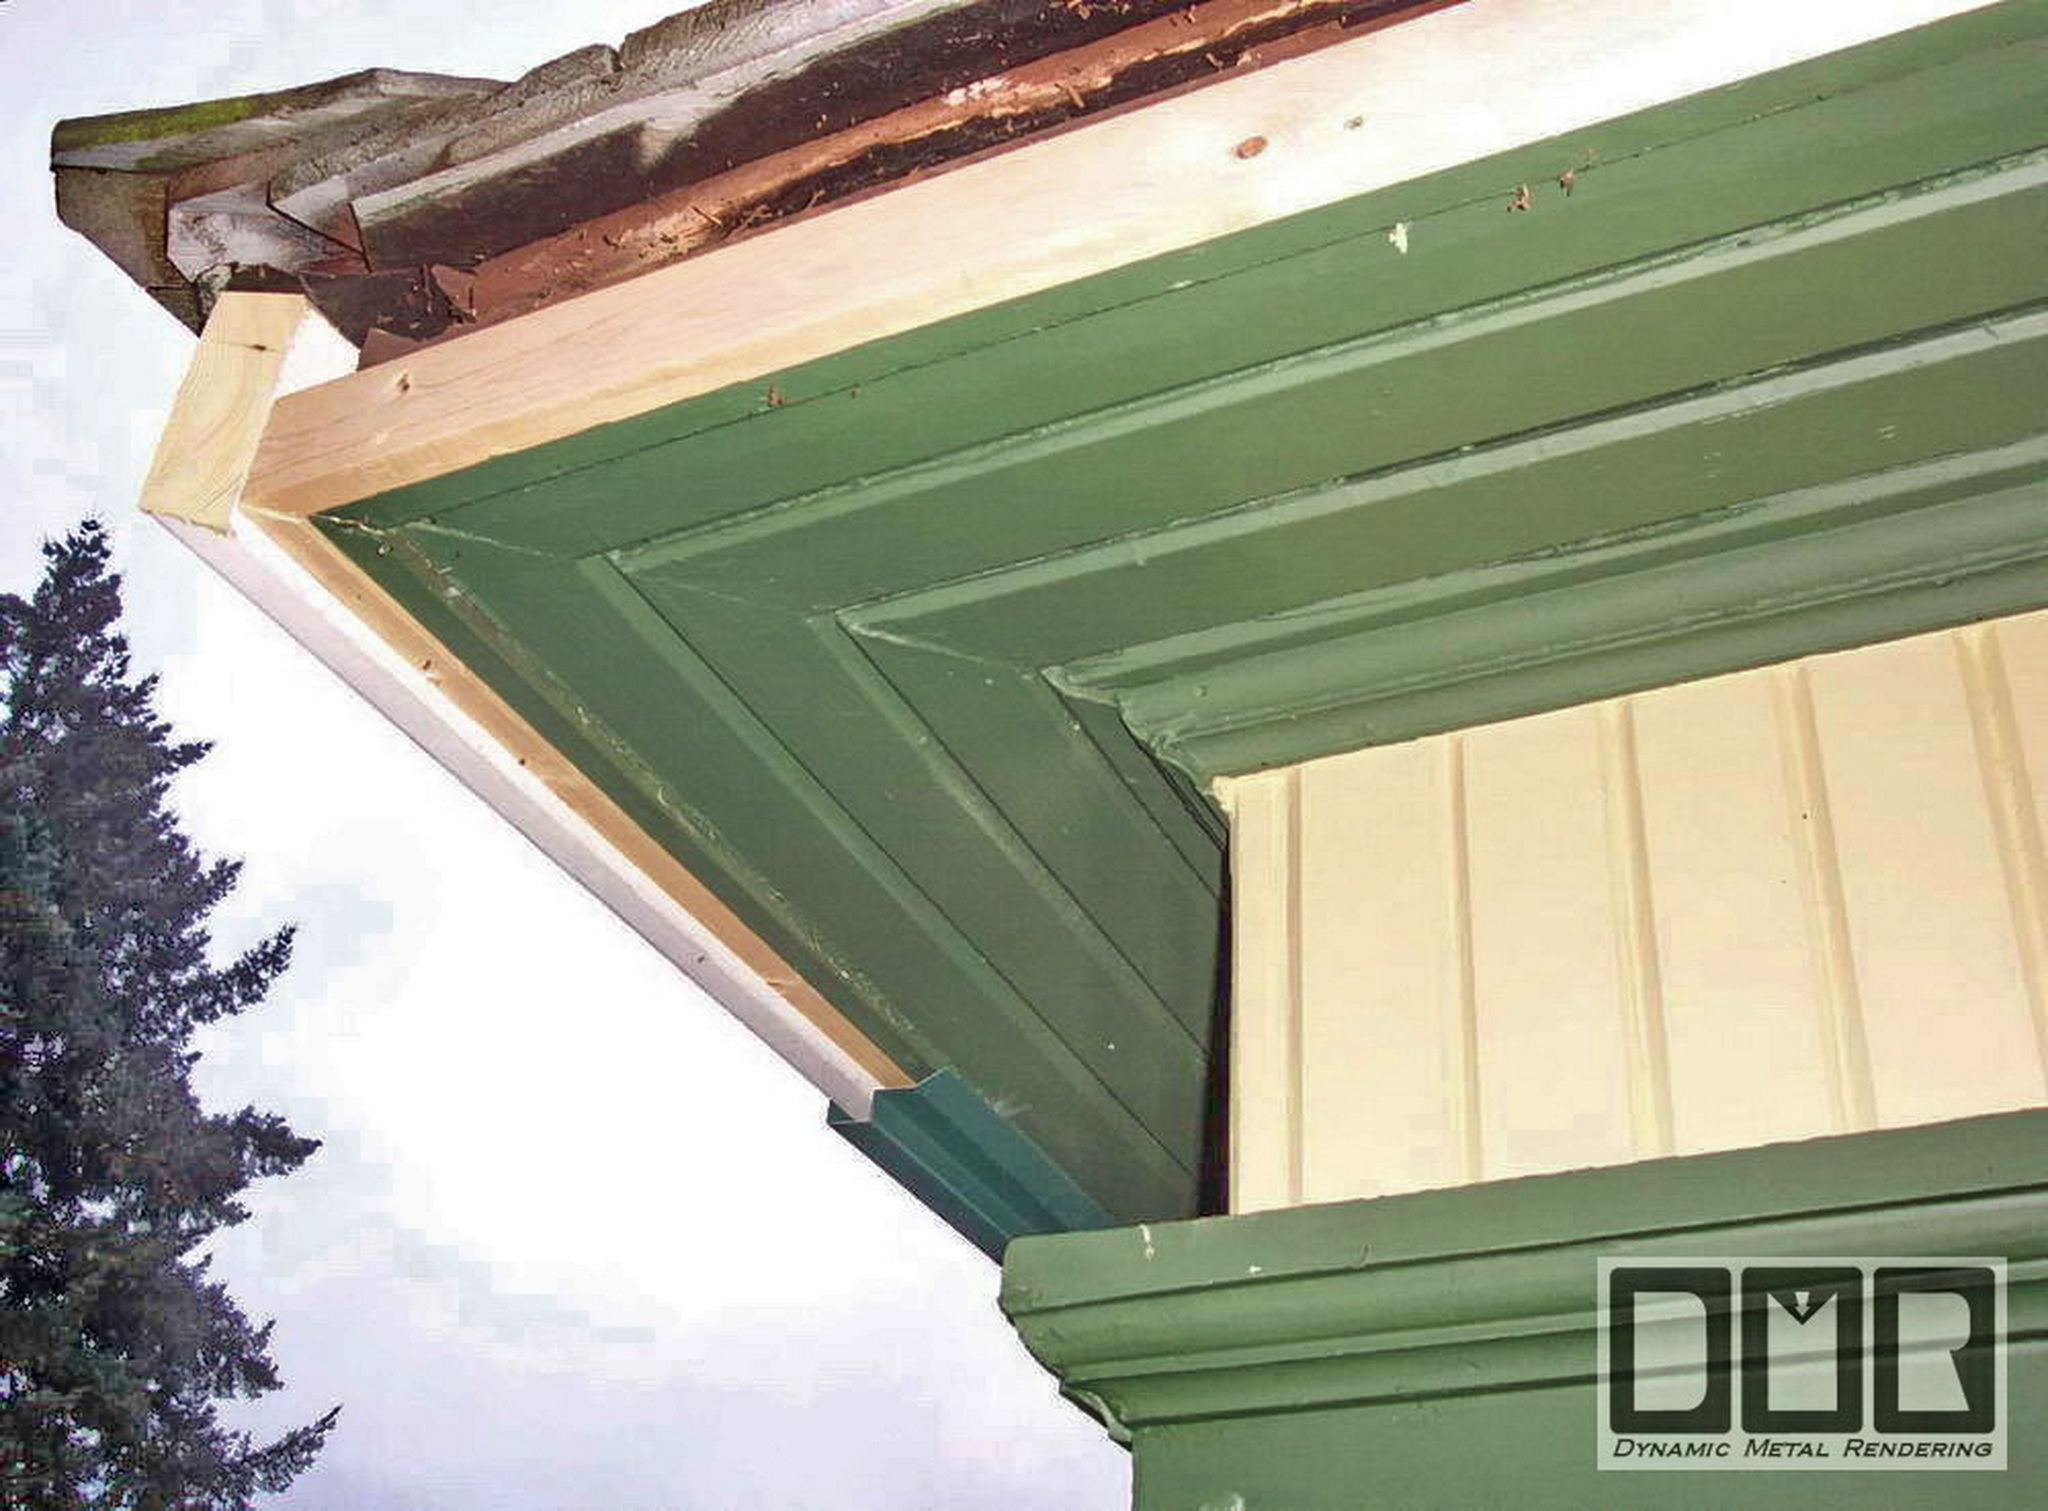
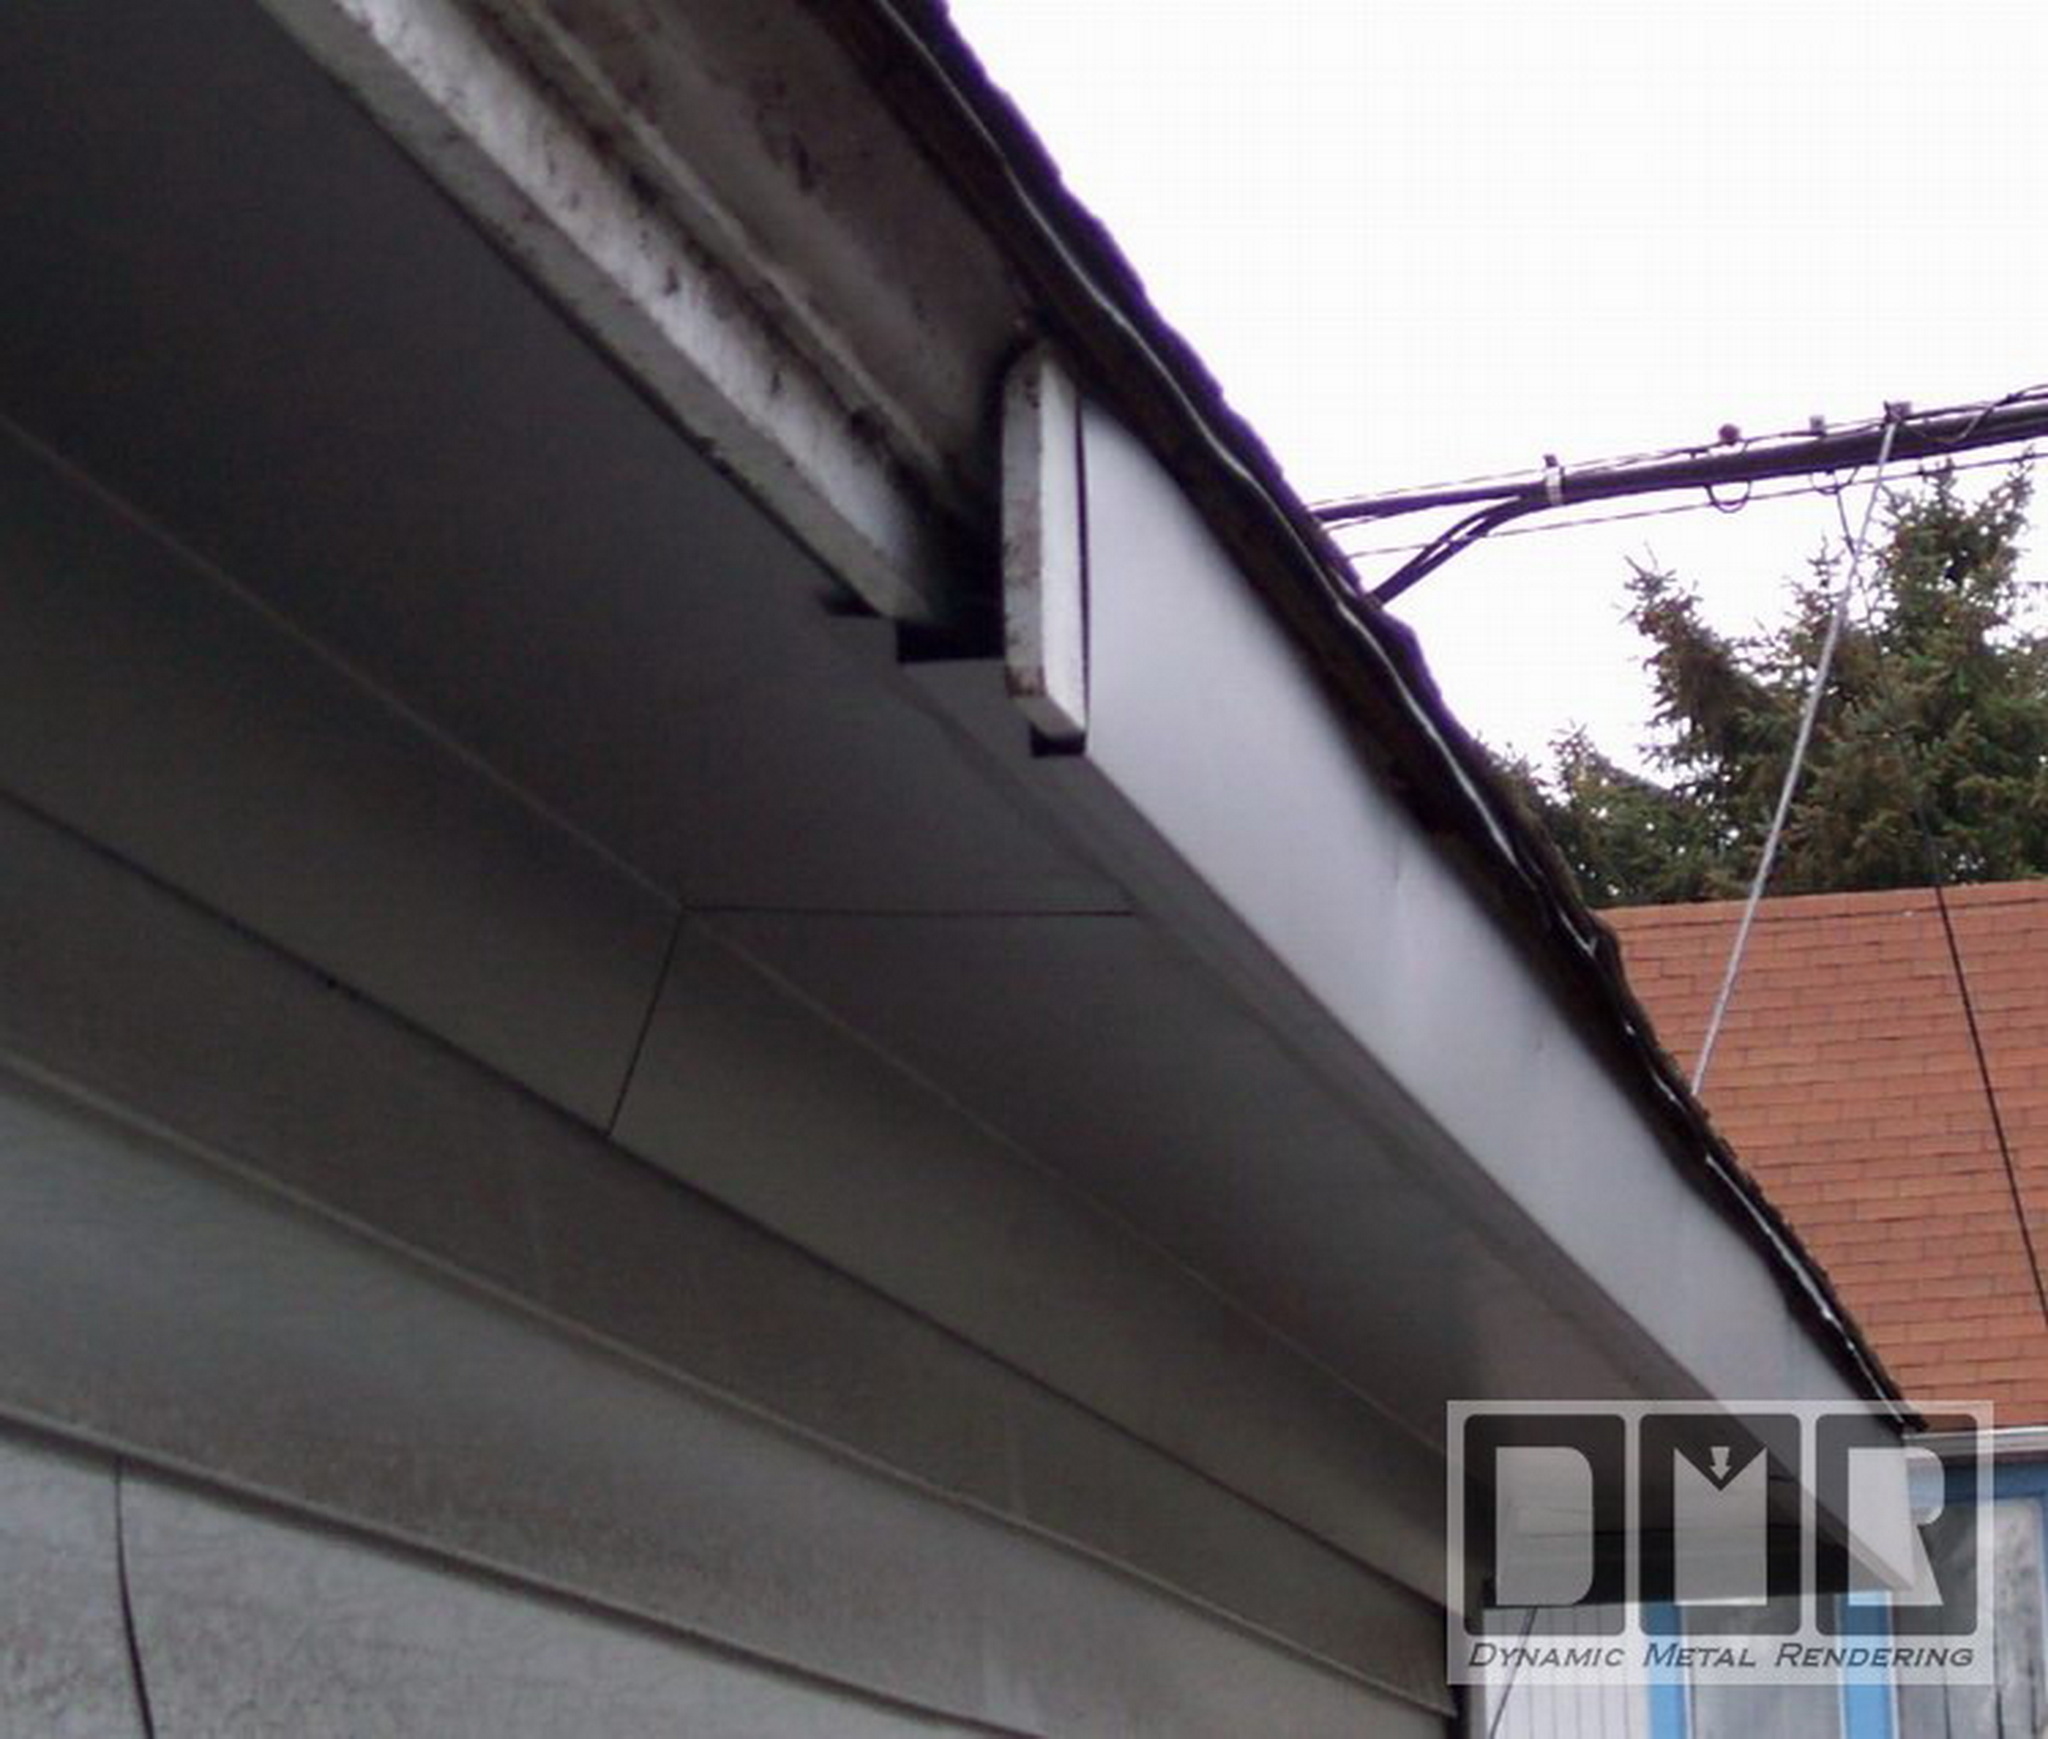
I had to first screw this un-painted board you
see in the middle, straight up into the wood molding, so that I had
something to screw the fascia board onto. Where the wood was
rotten, I had to use extra long screws that would reach through to
the plywood roof, without having the screws puncture the shingles
above.
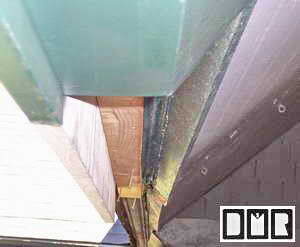
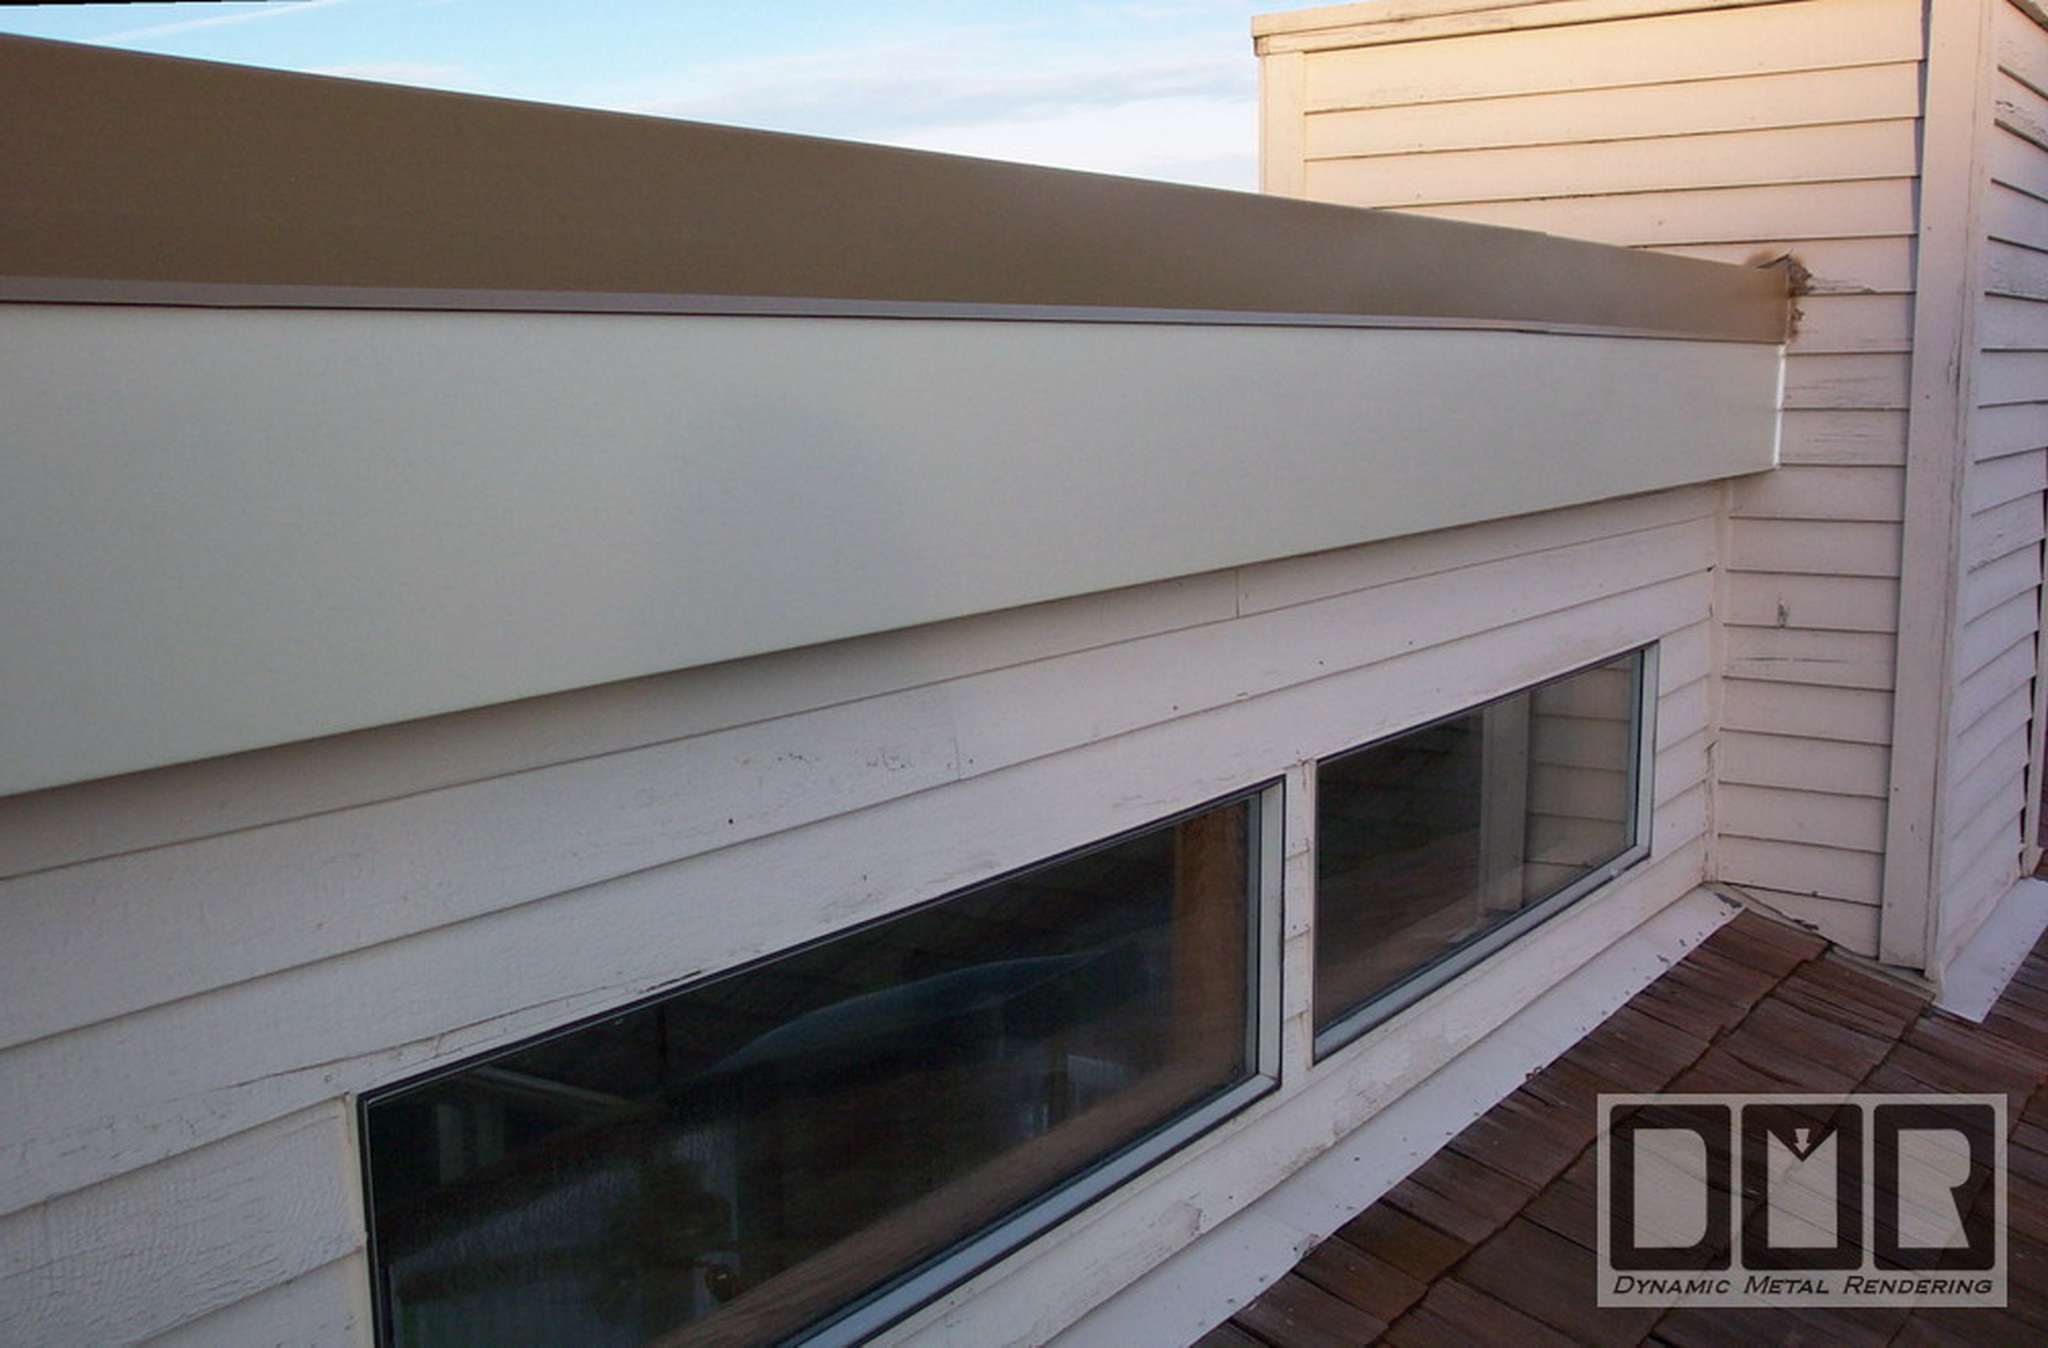
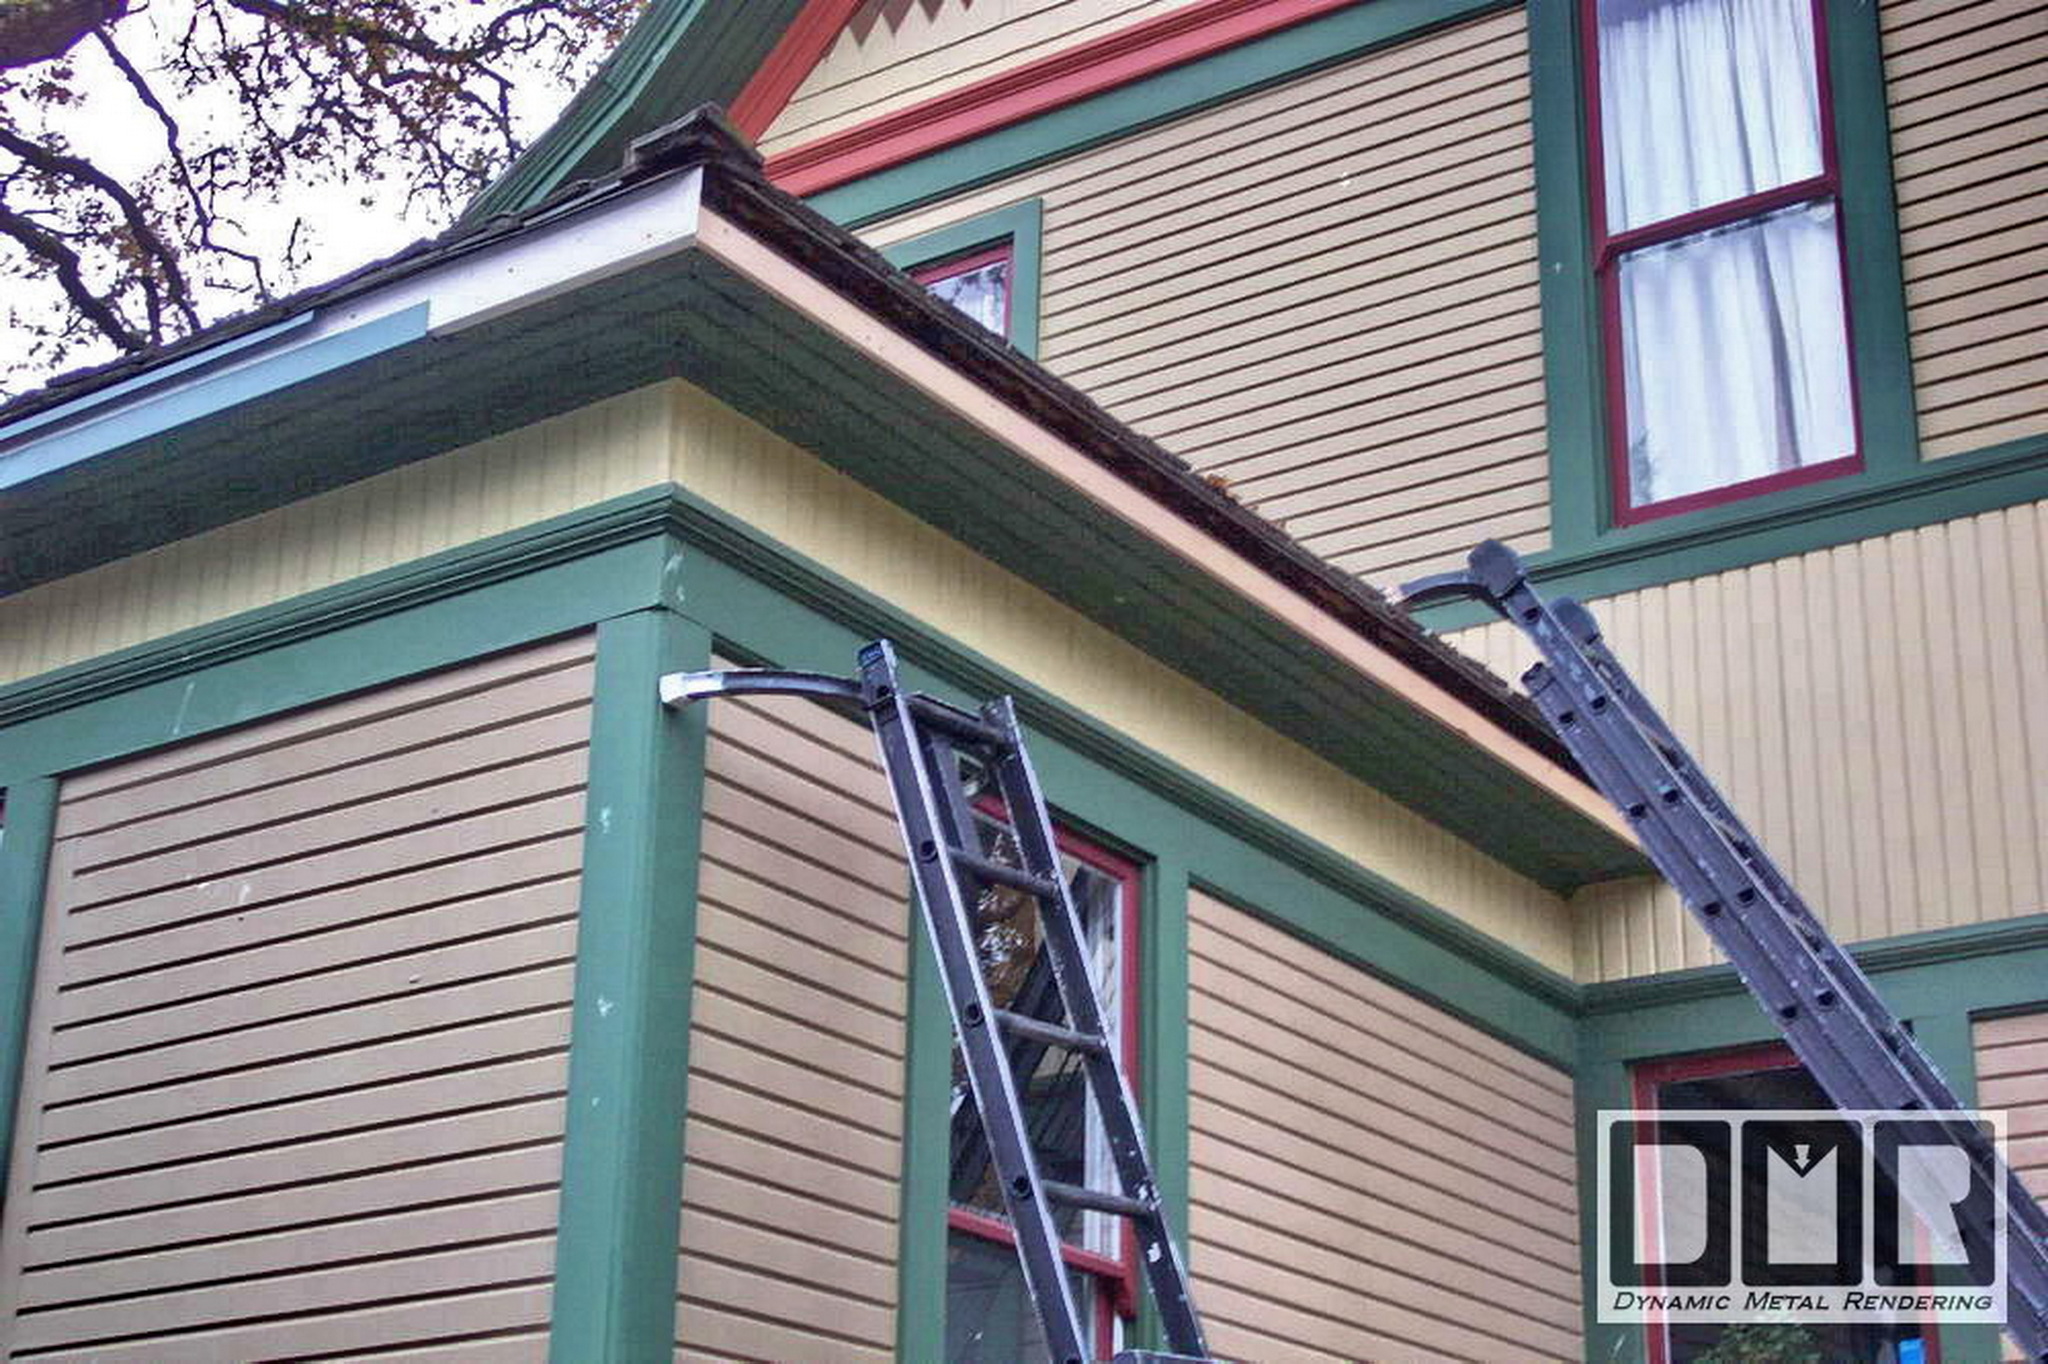
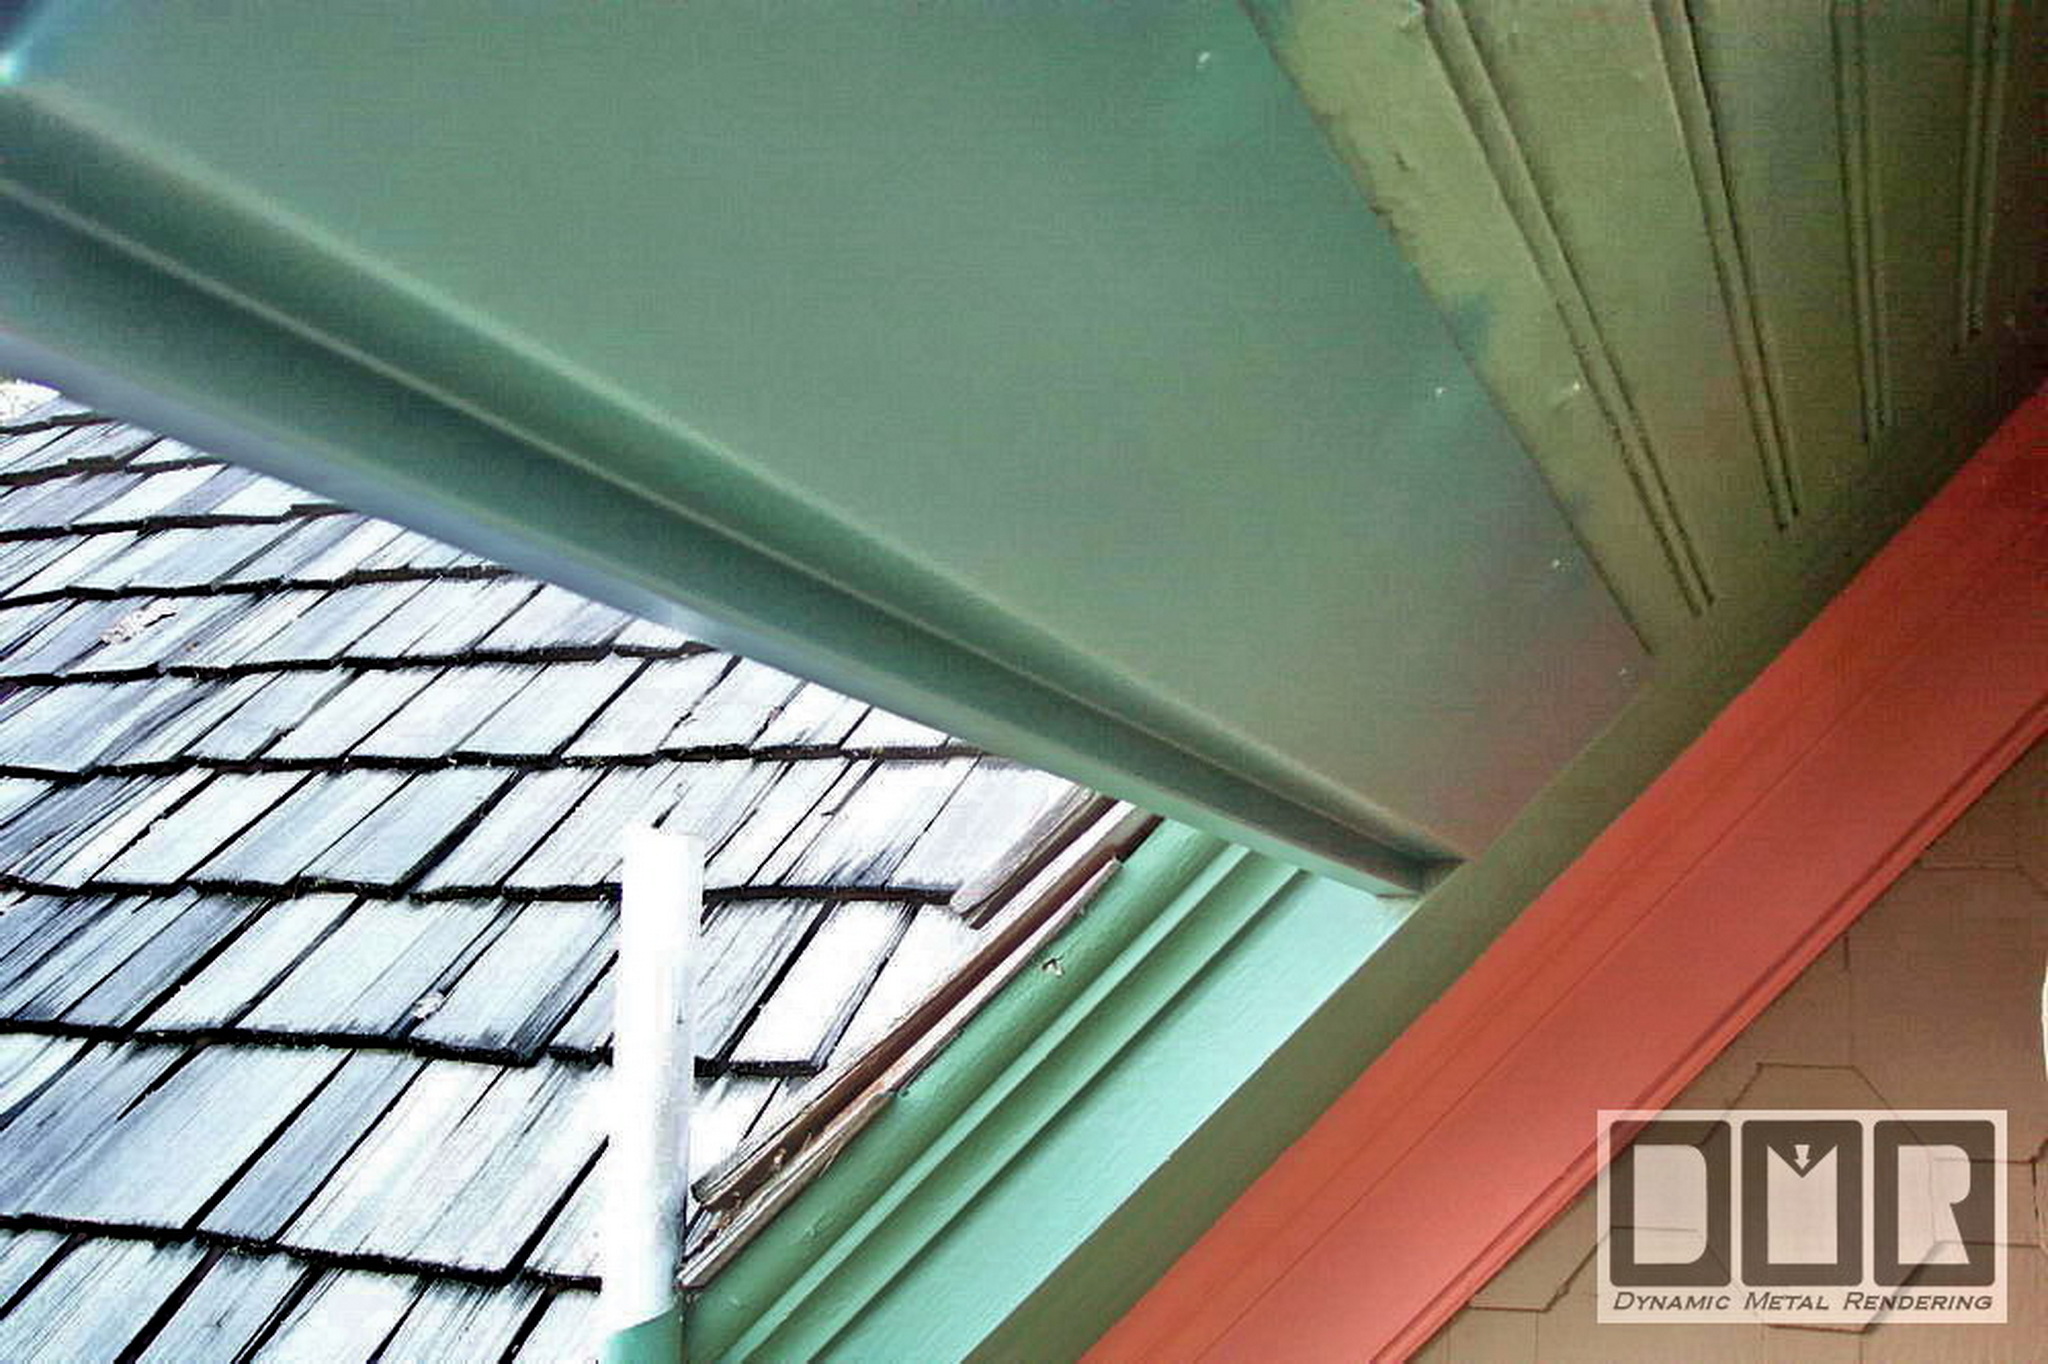
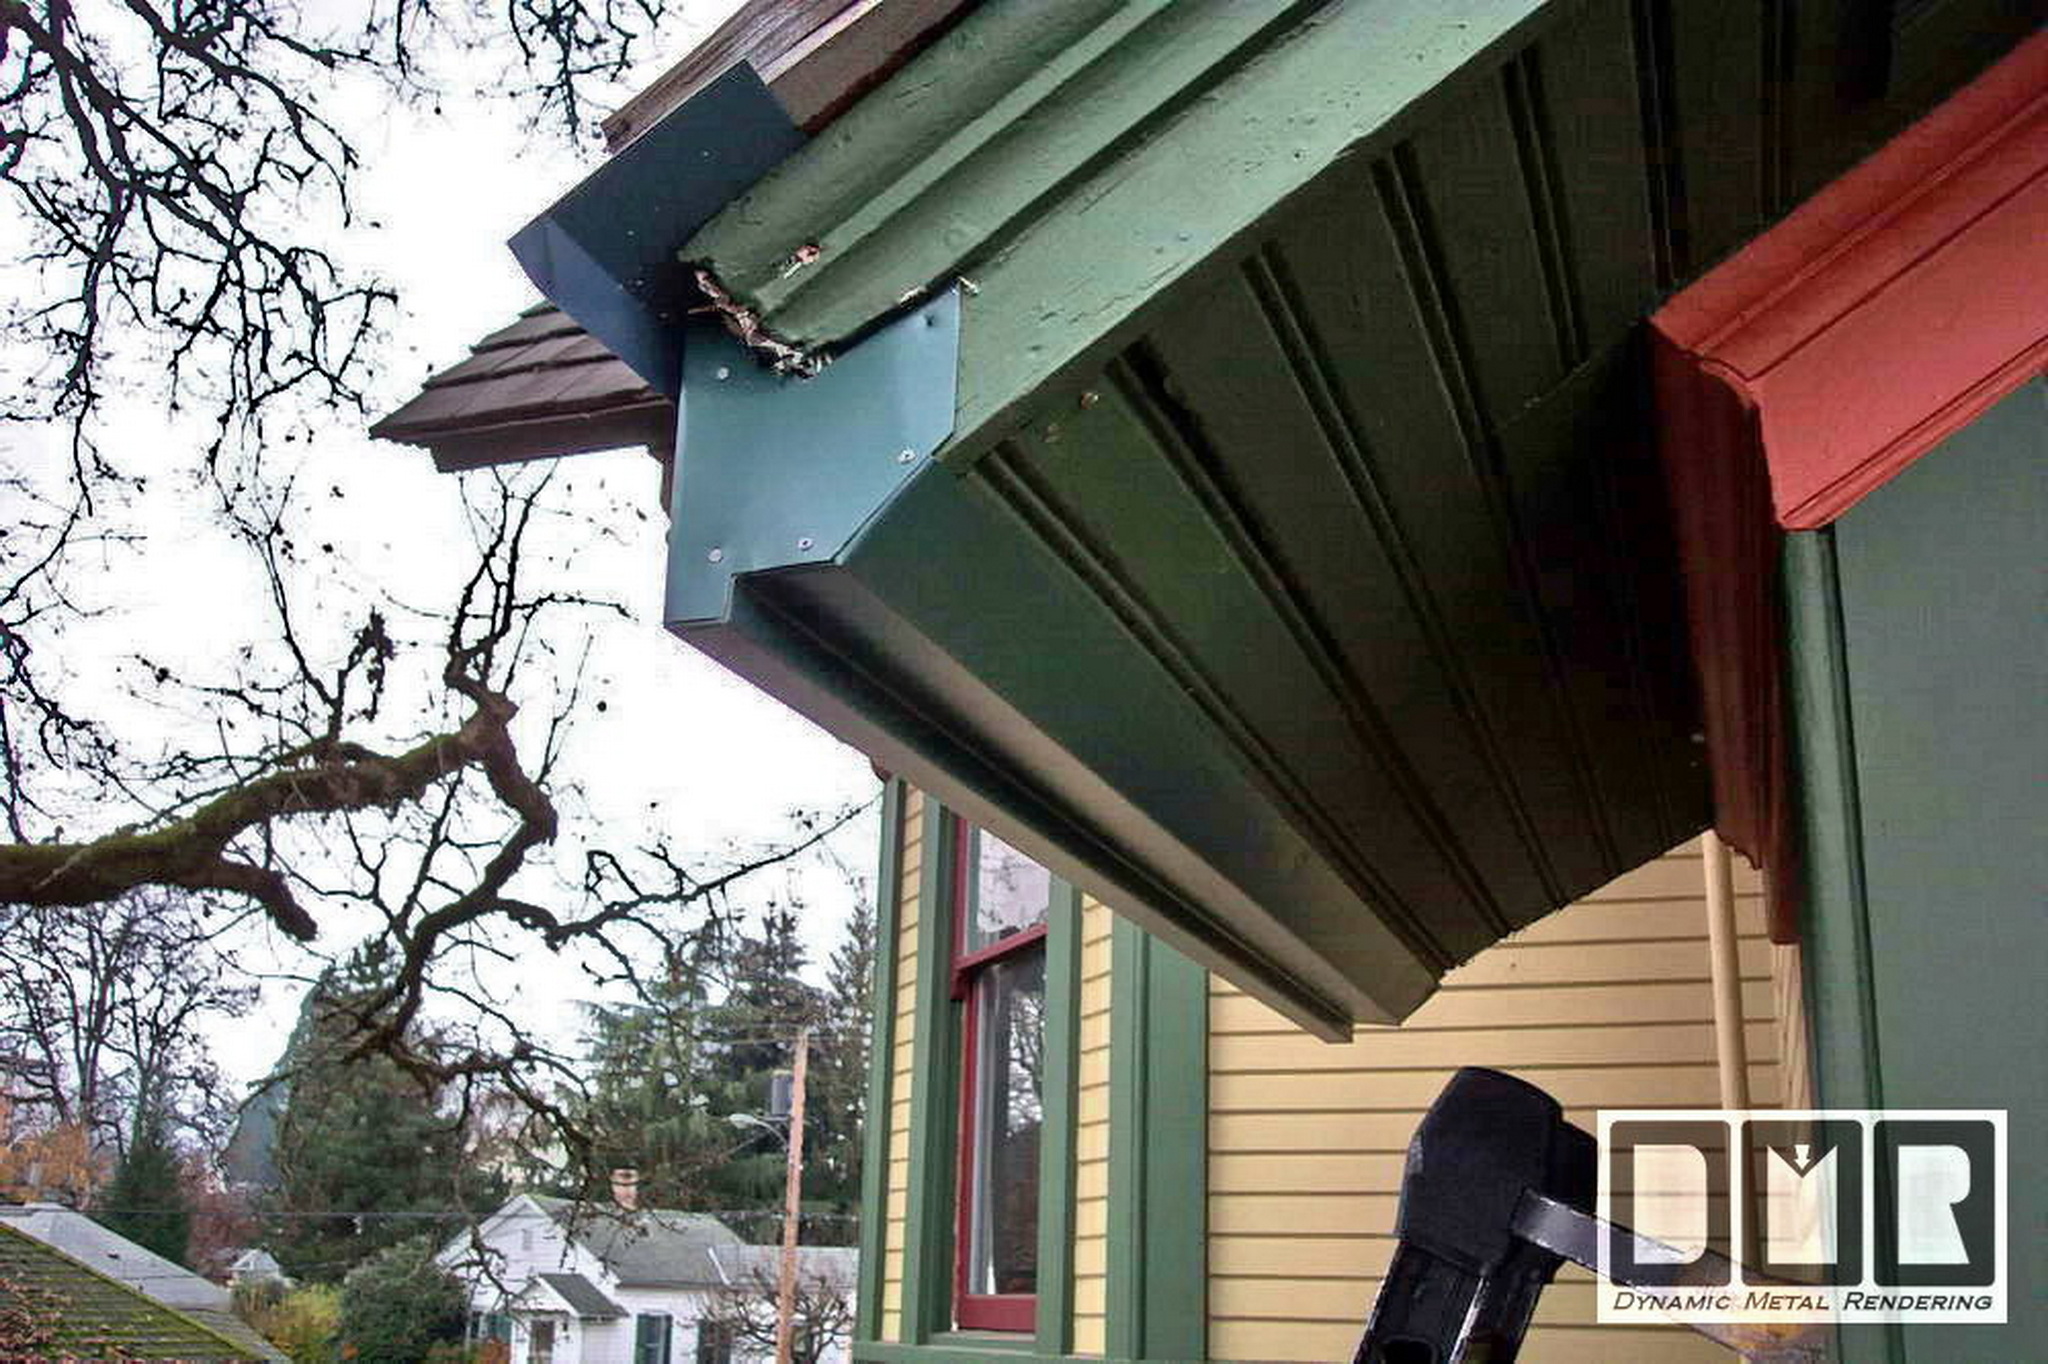
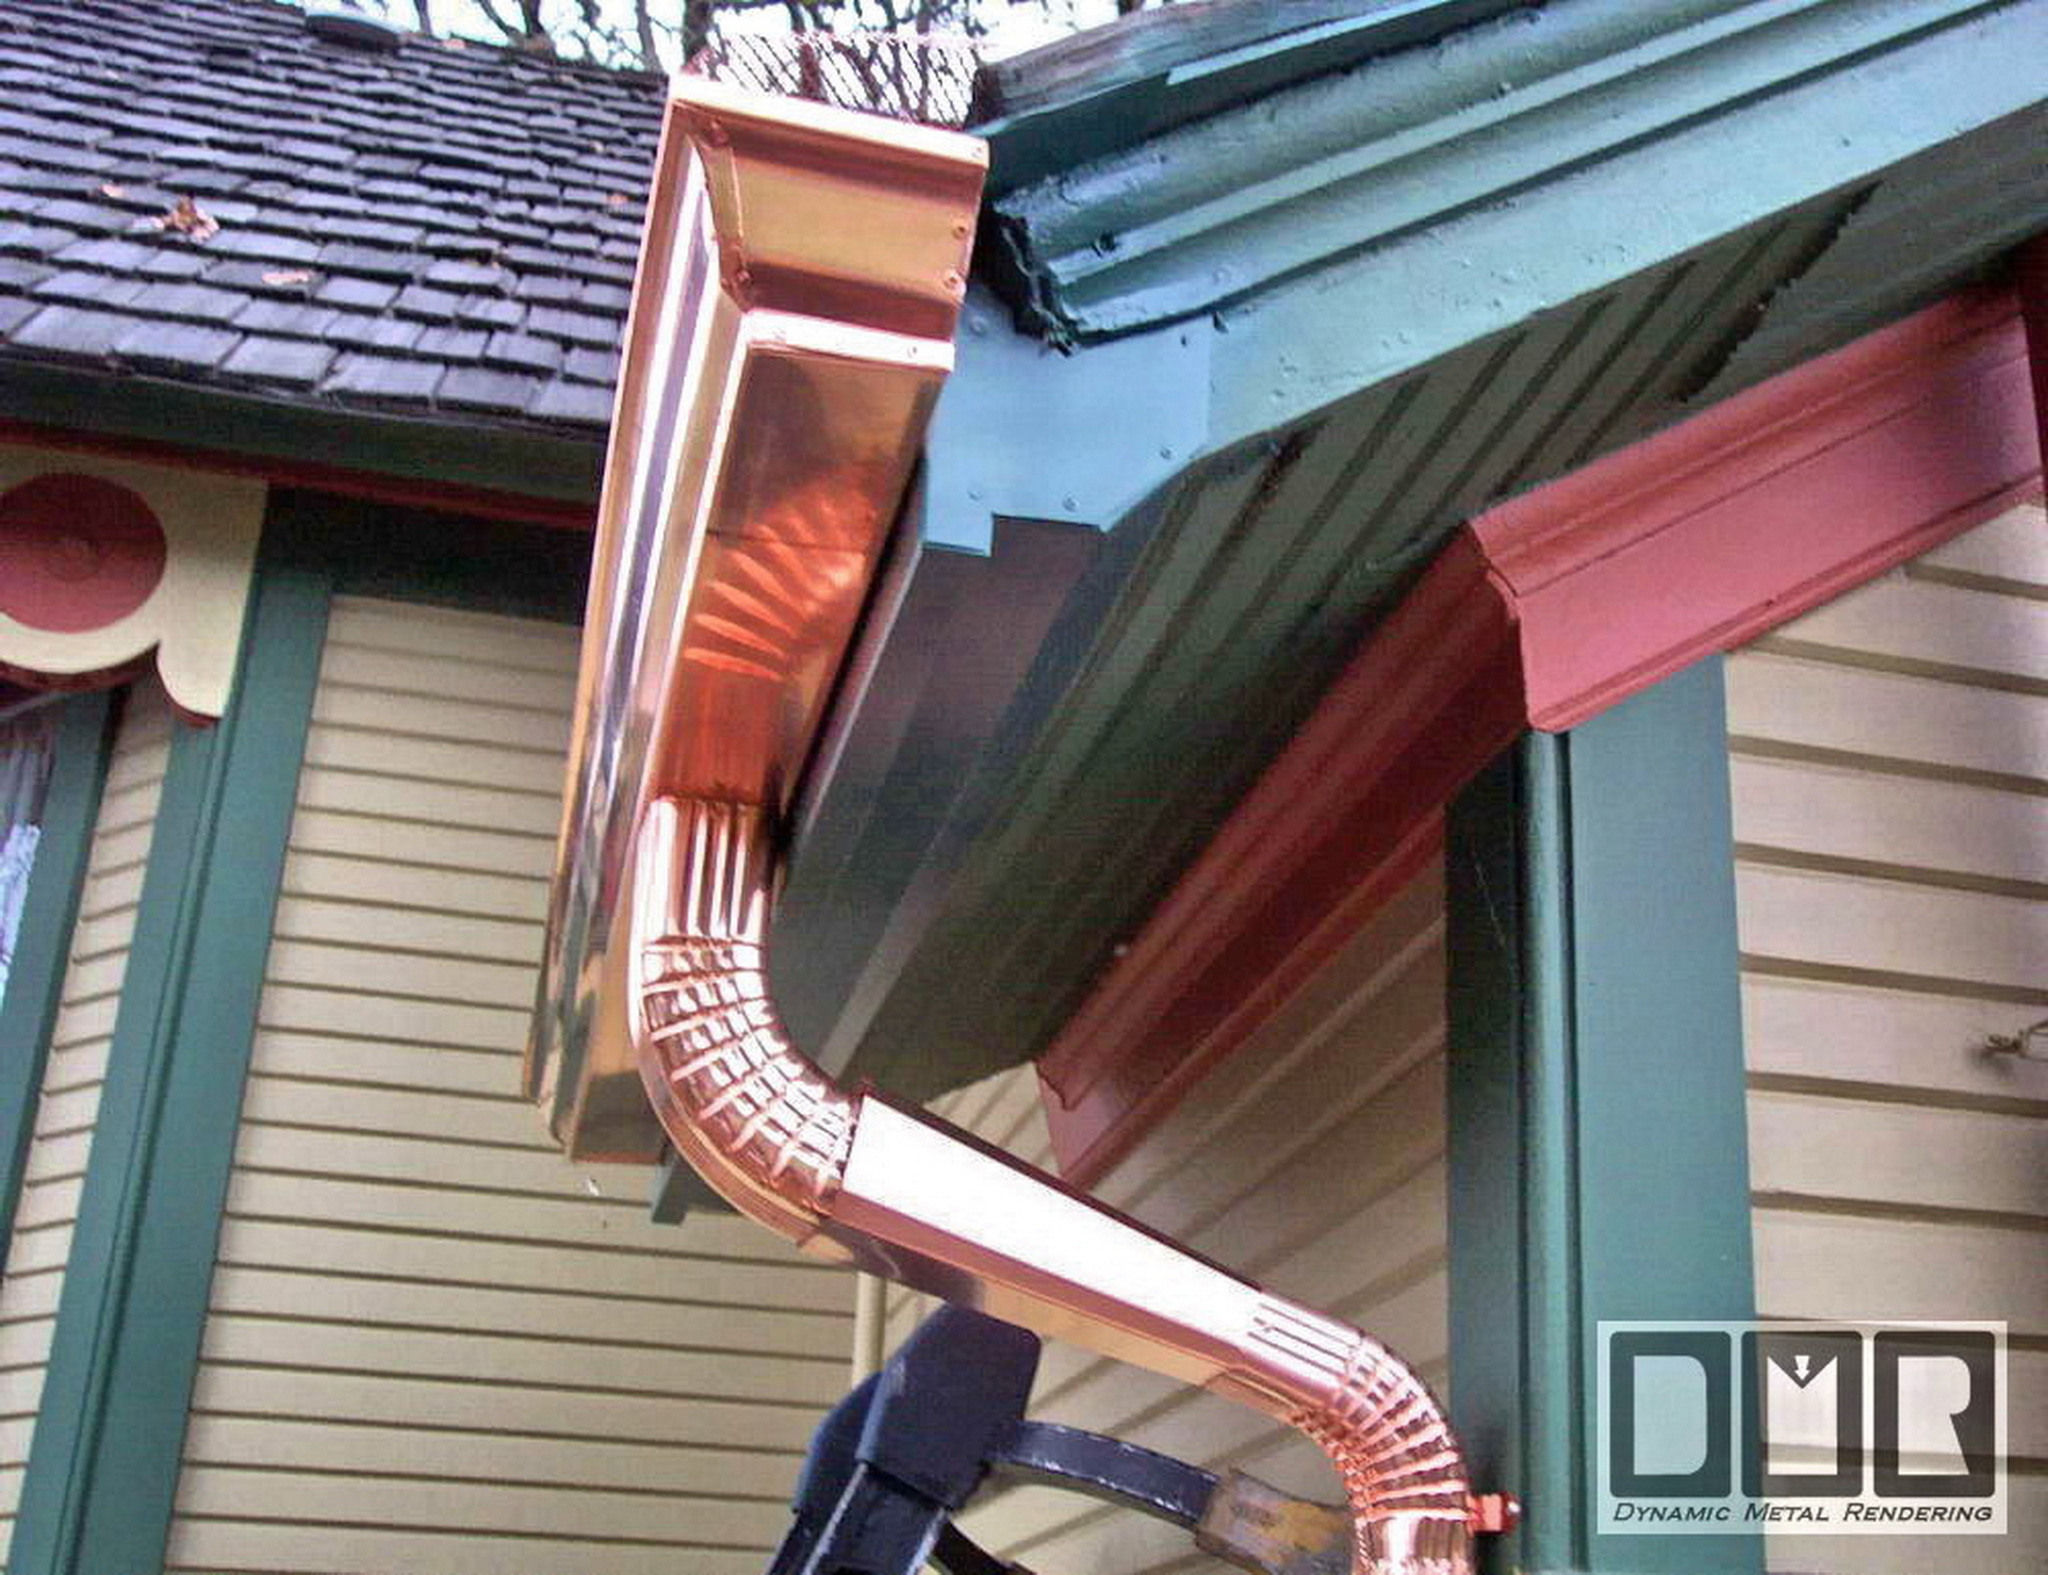
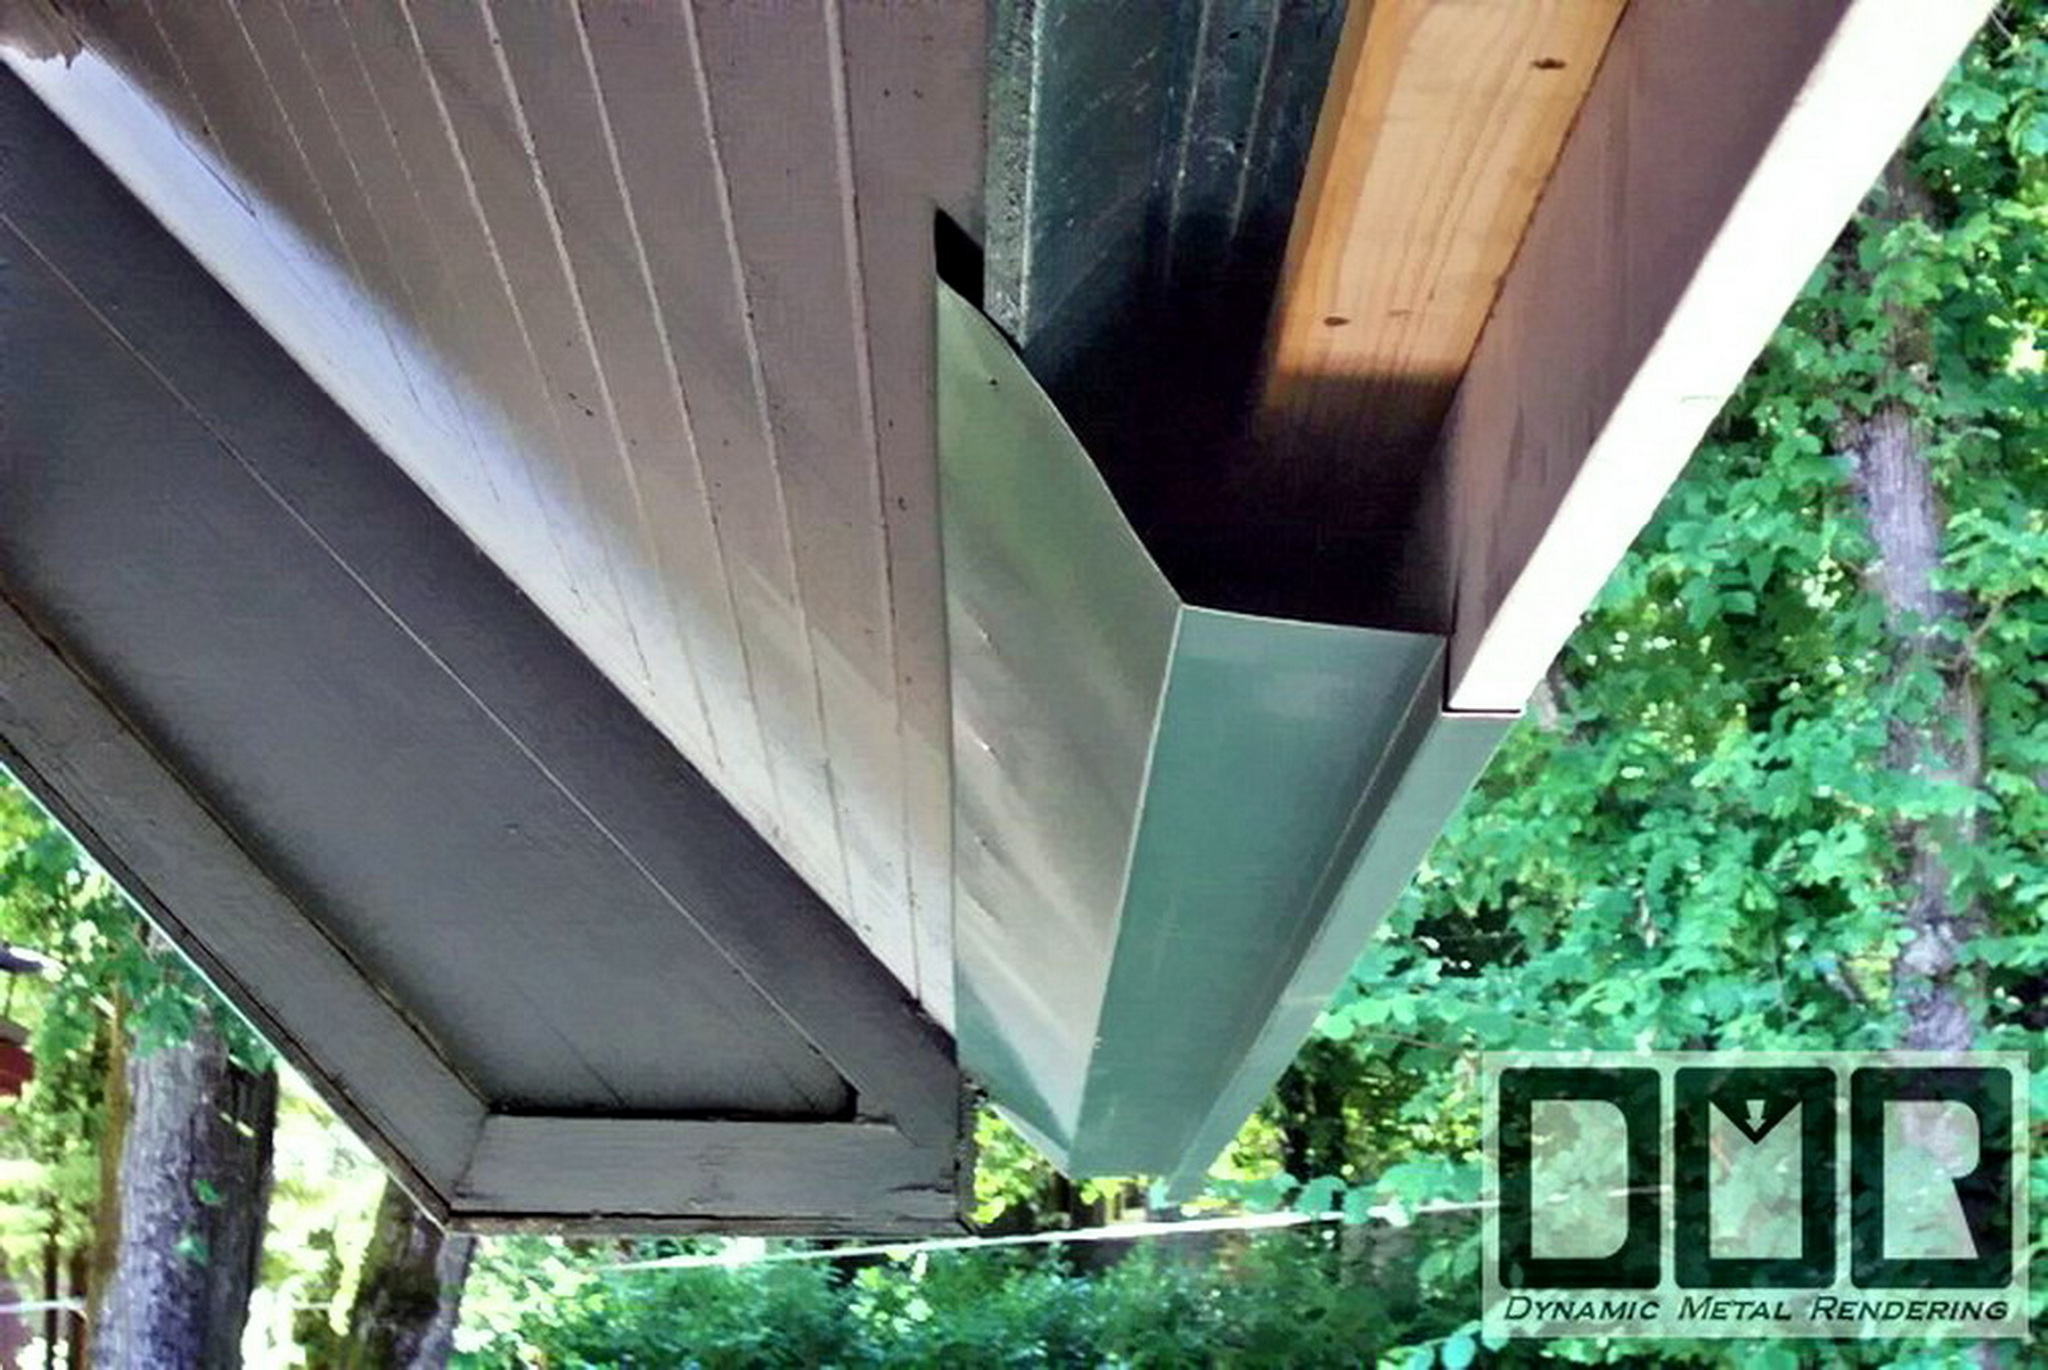
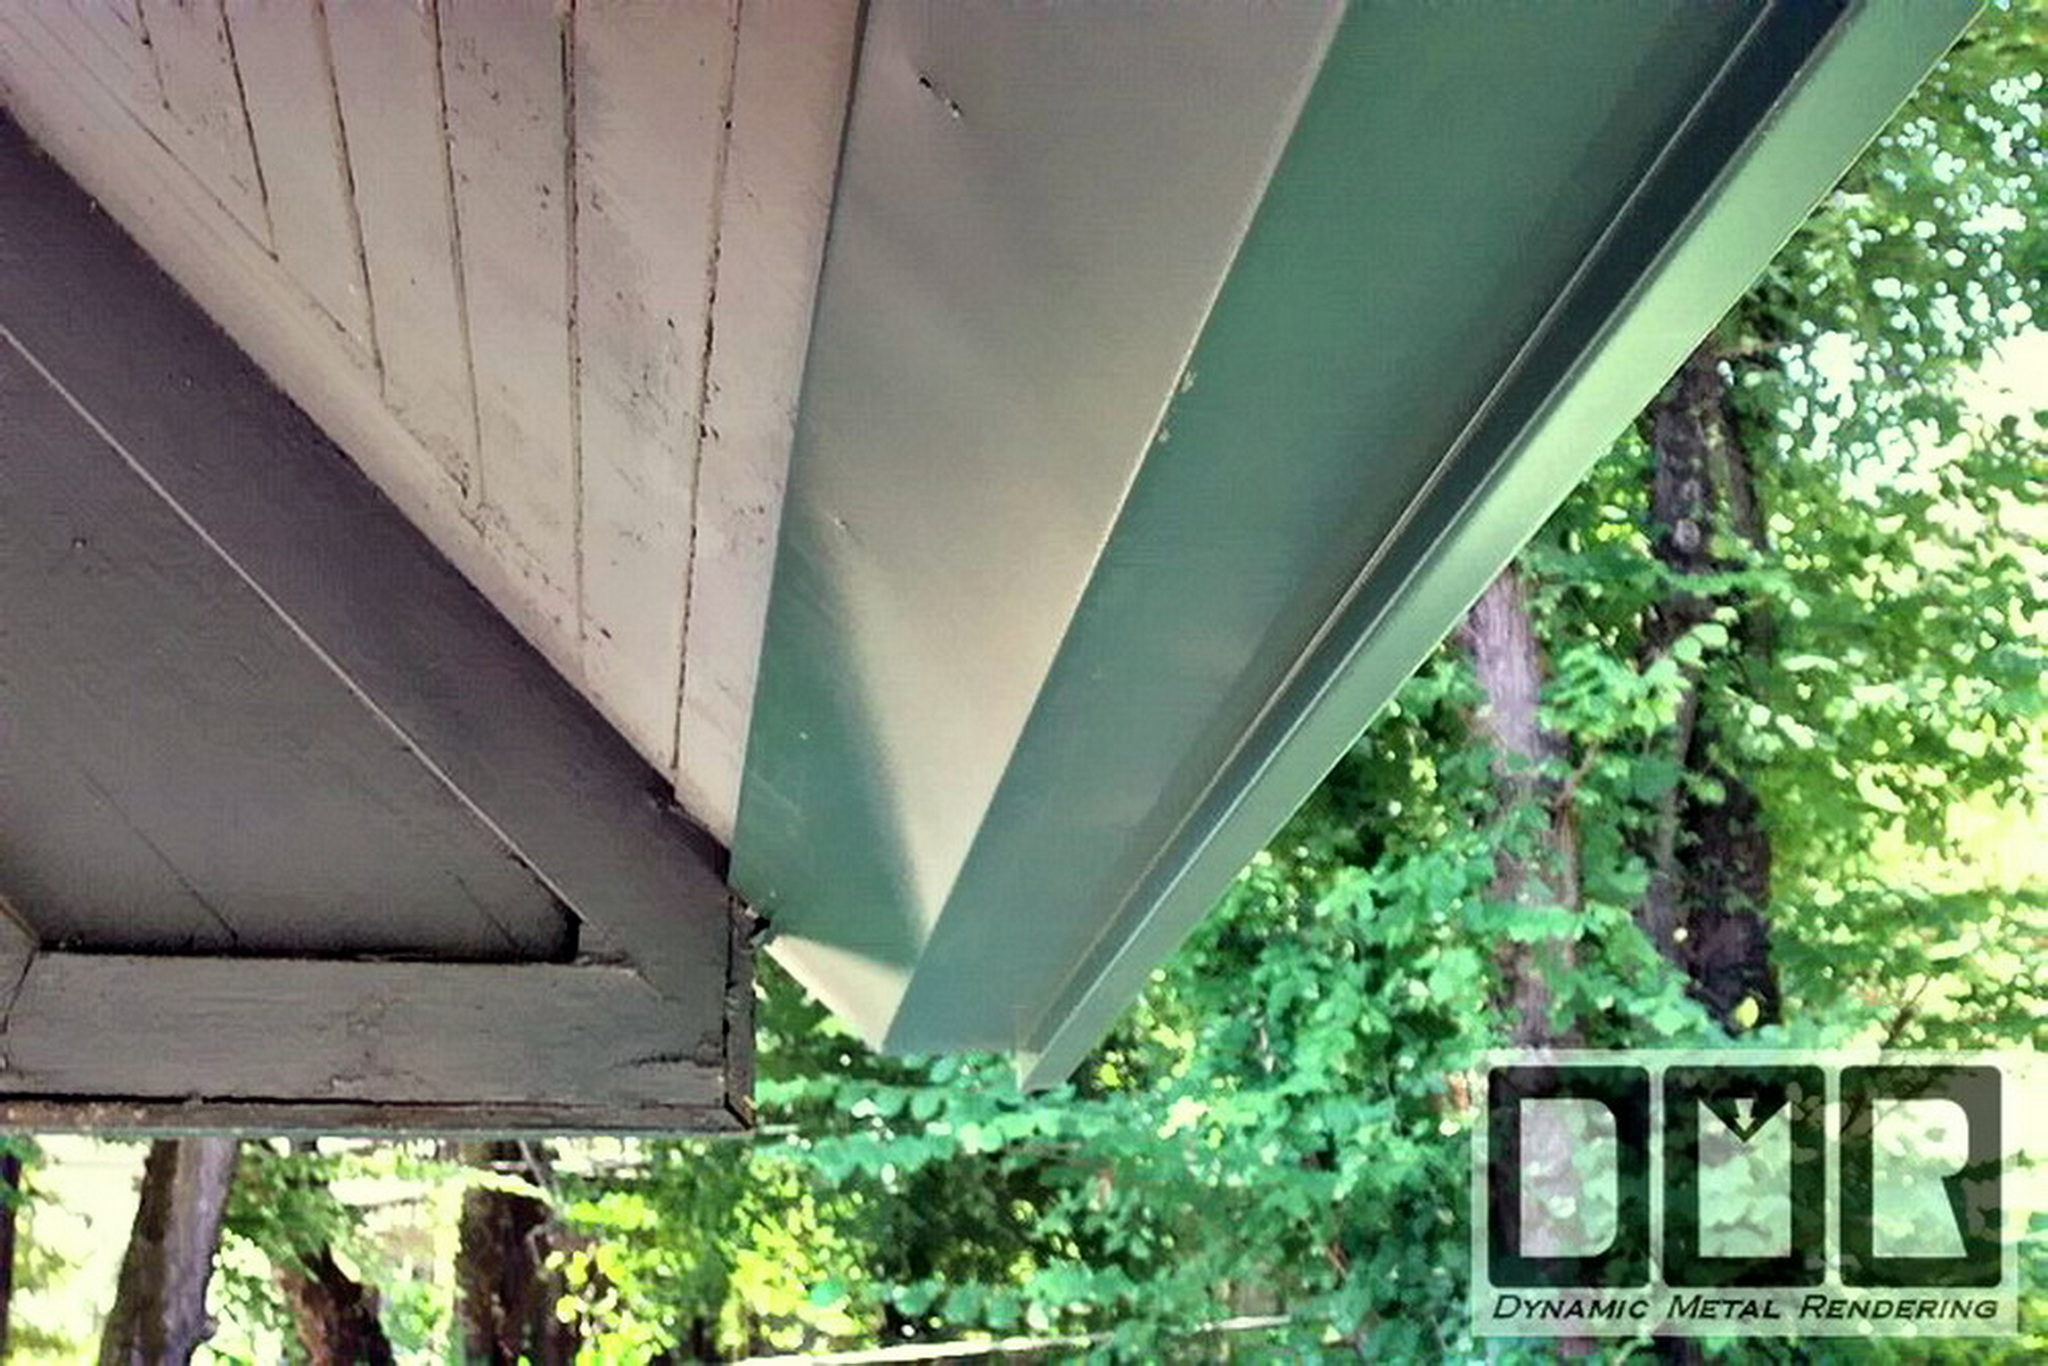
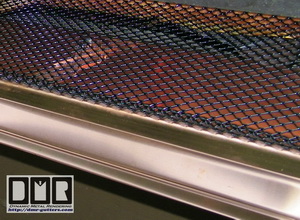
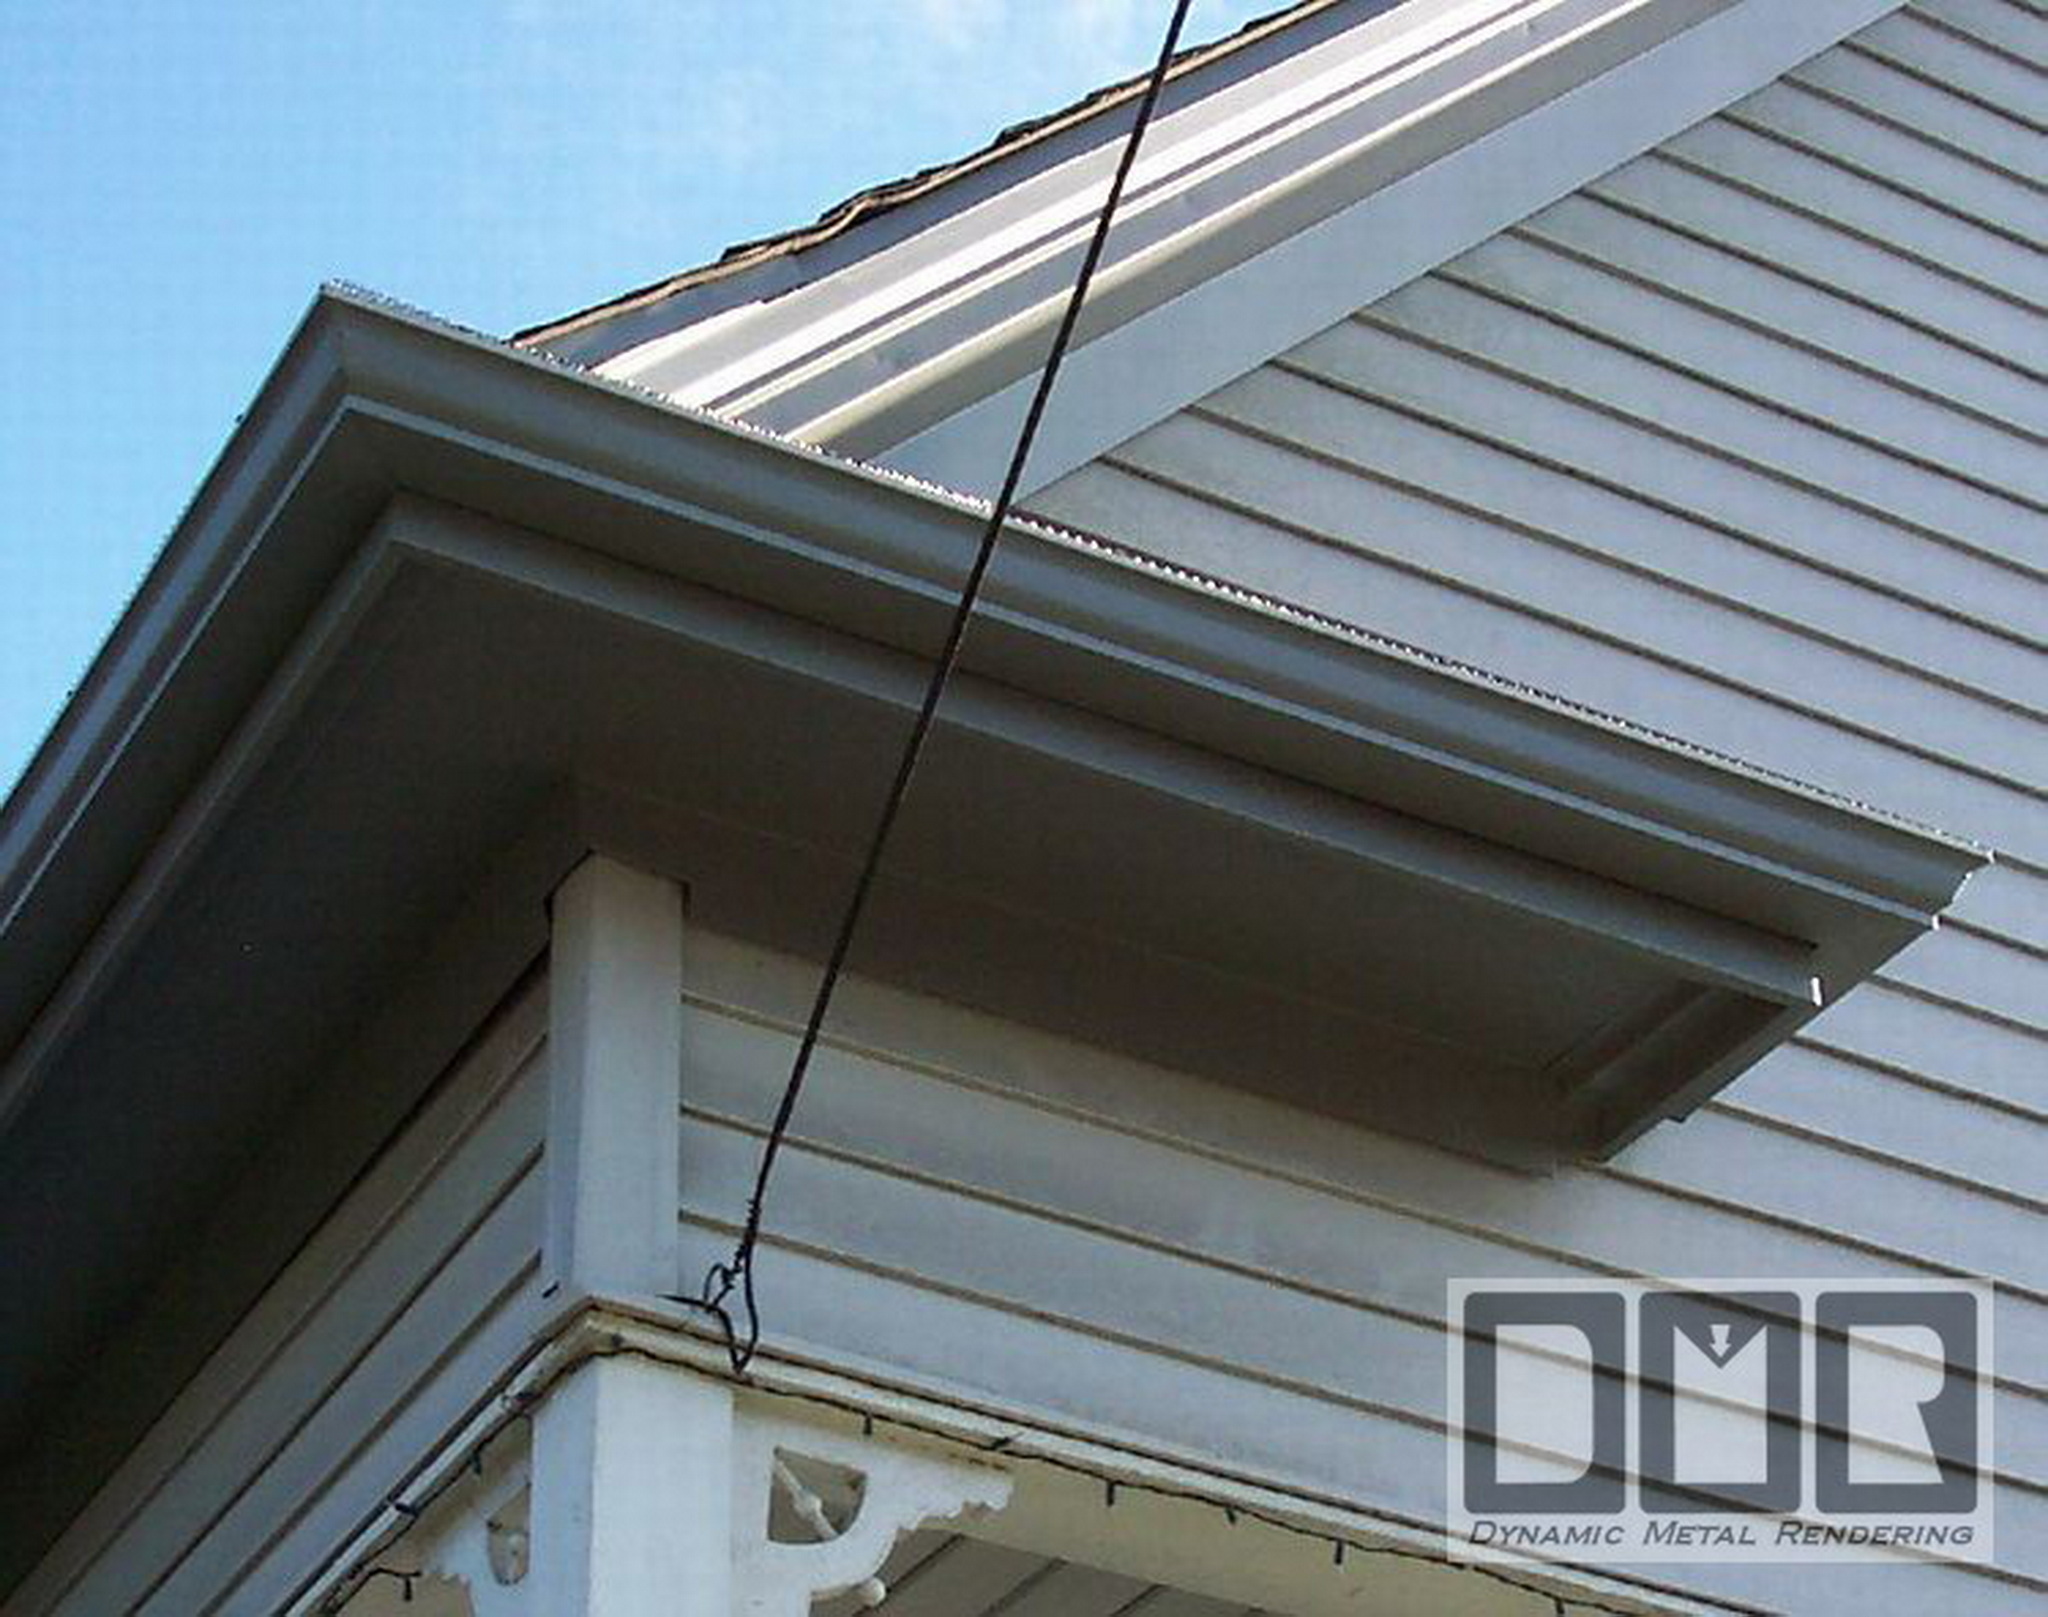
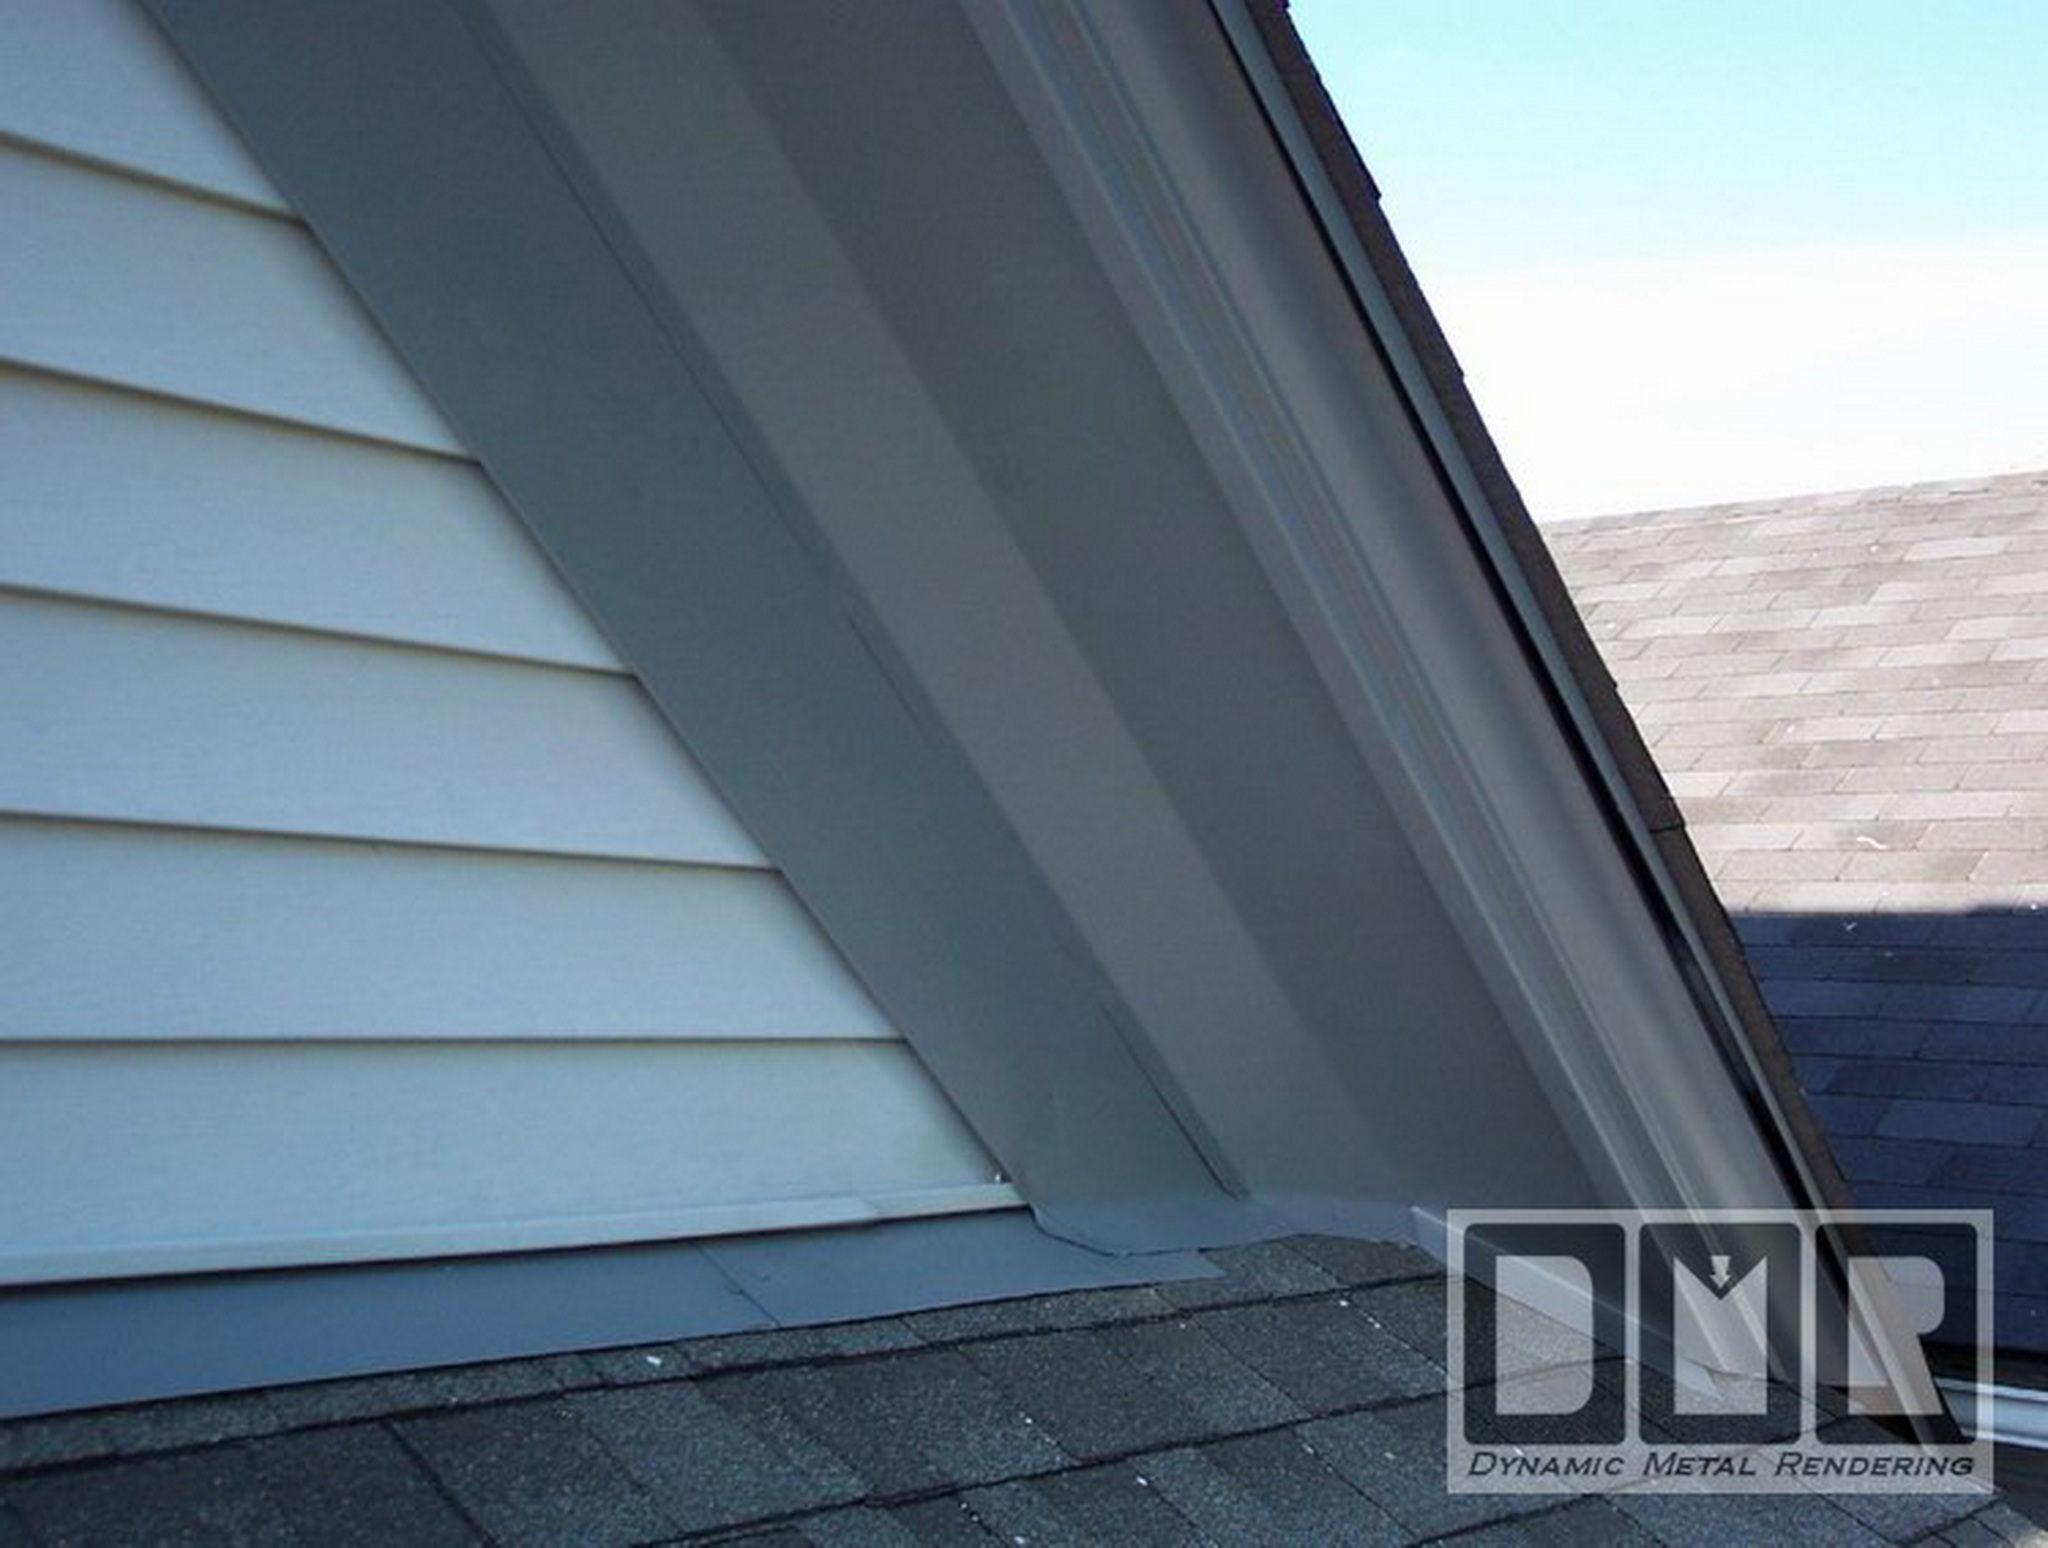
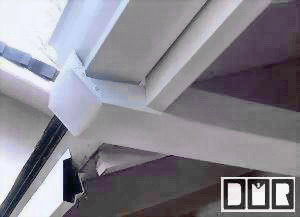
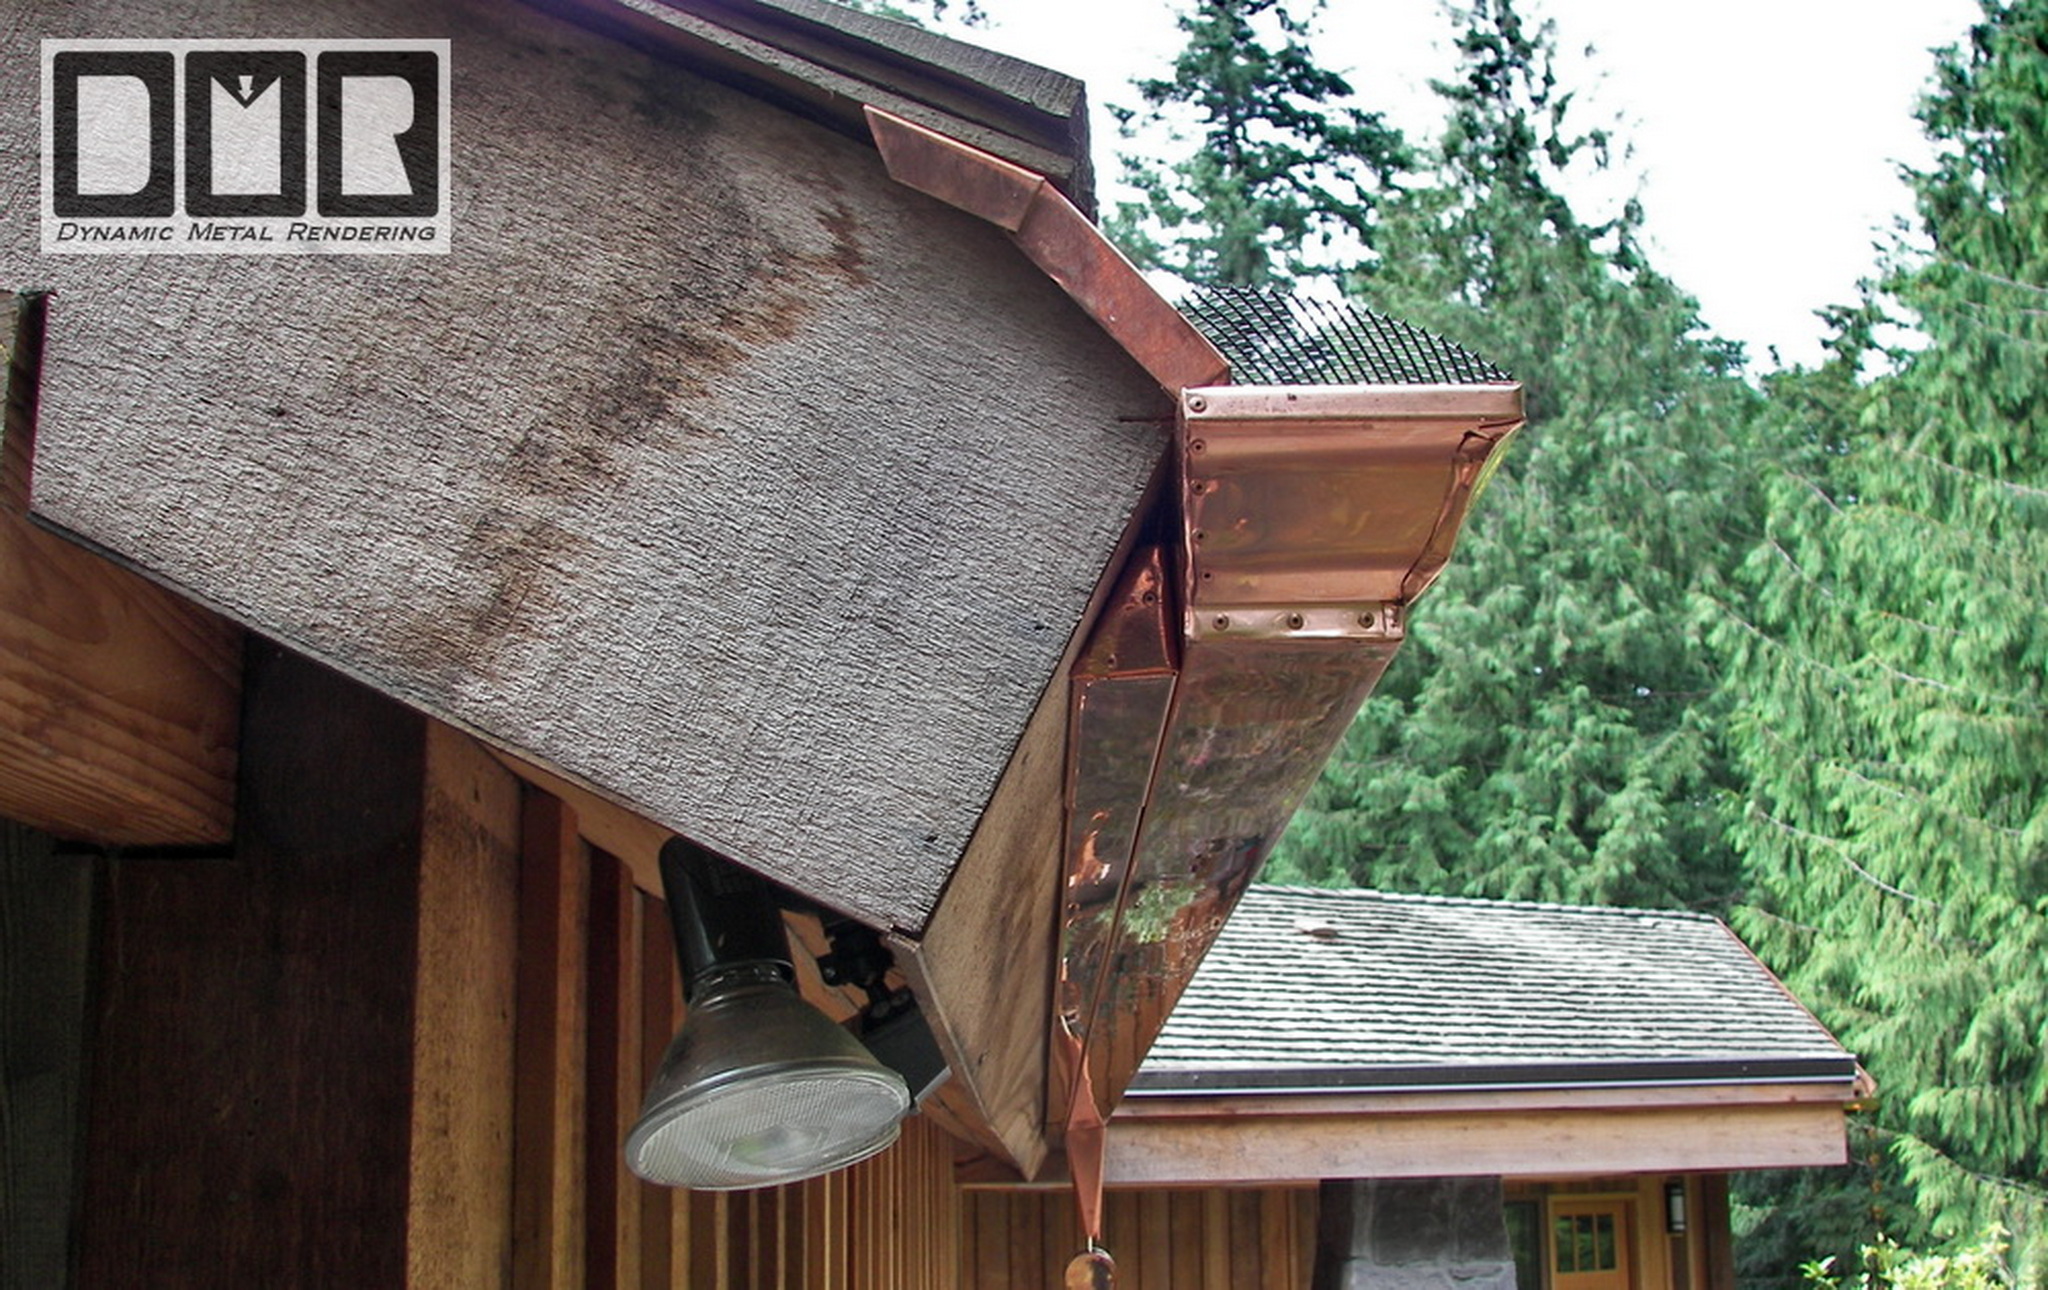
After I fastened the primered fascia board to
that bare wood, I installed this custom aluminum sheet metal to act
as soffit, and also cover the bottom of the fascia board. It
also serves the purpose to hold out and support the bottom of the
fascia board. I chose a green pre-painted aluminum to make
this with. It is the same type of metal the gutters are made from.
but I used a wider 15"x 120" sheets to make this from.
I used special ribbed finish nails to fasten
the sheet metal in place up underneath, and there on the fascia
board. It was very sturdy when I was finished.
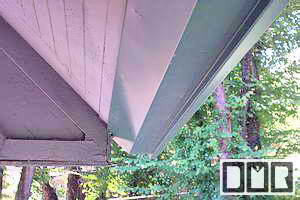
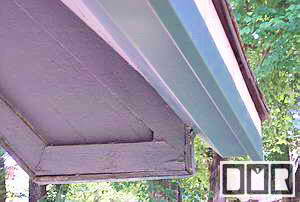
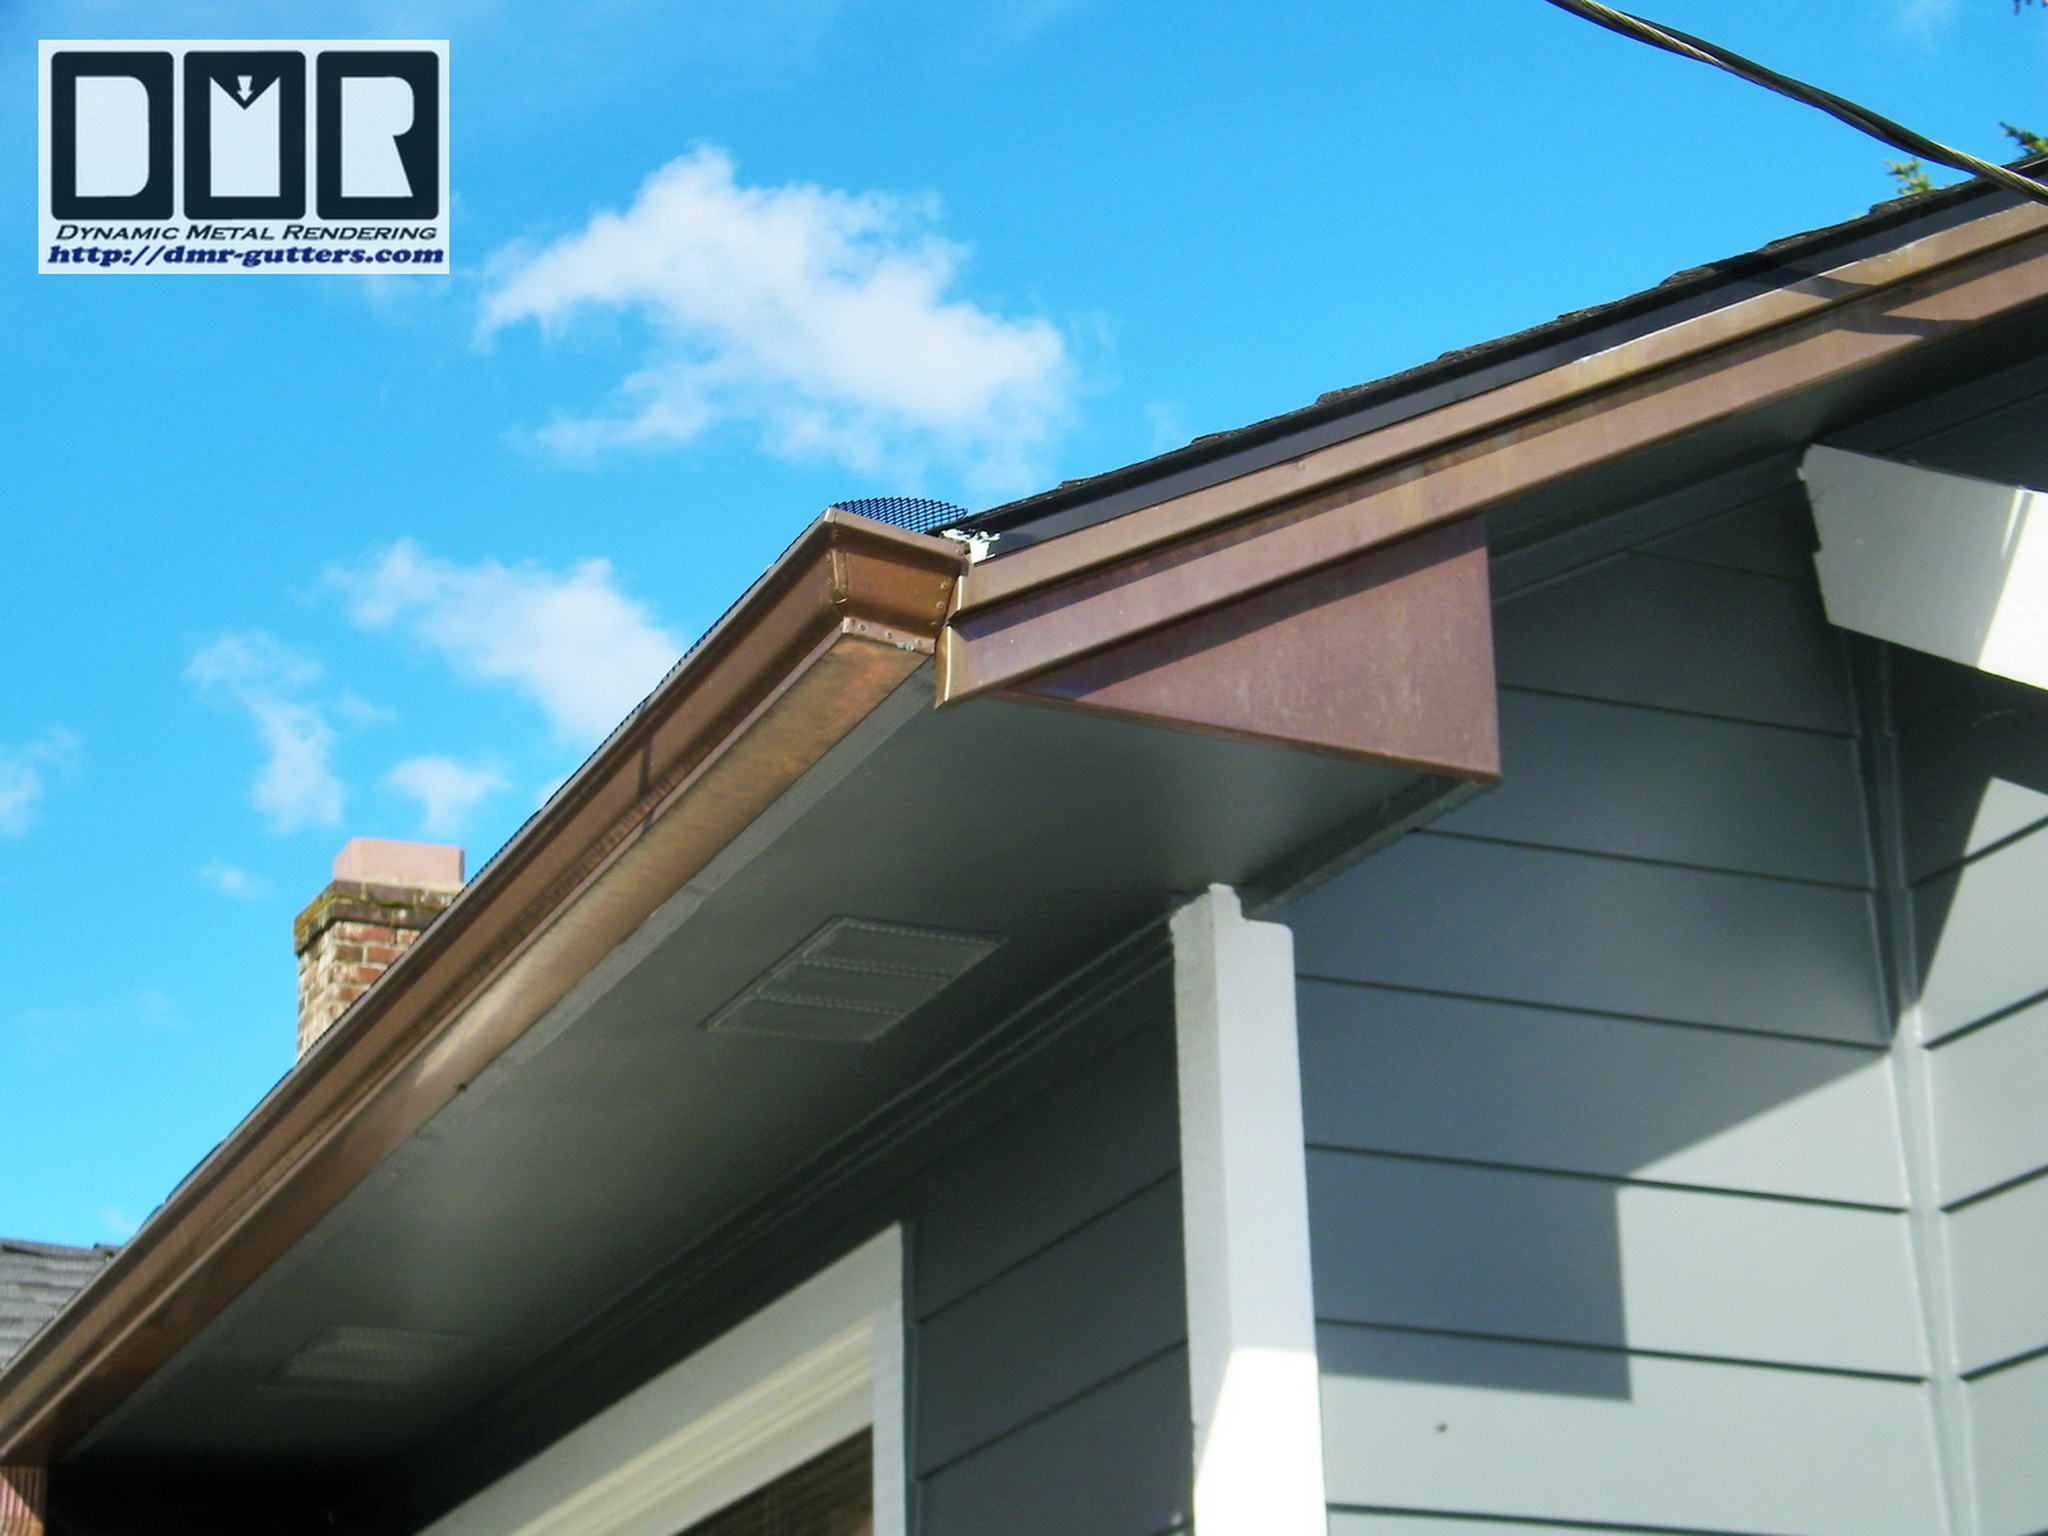
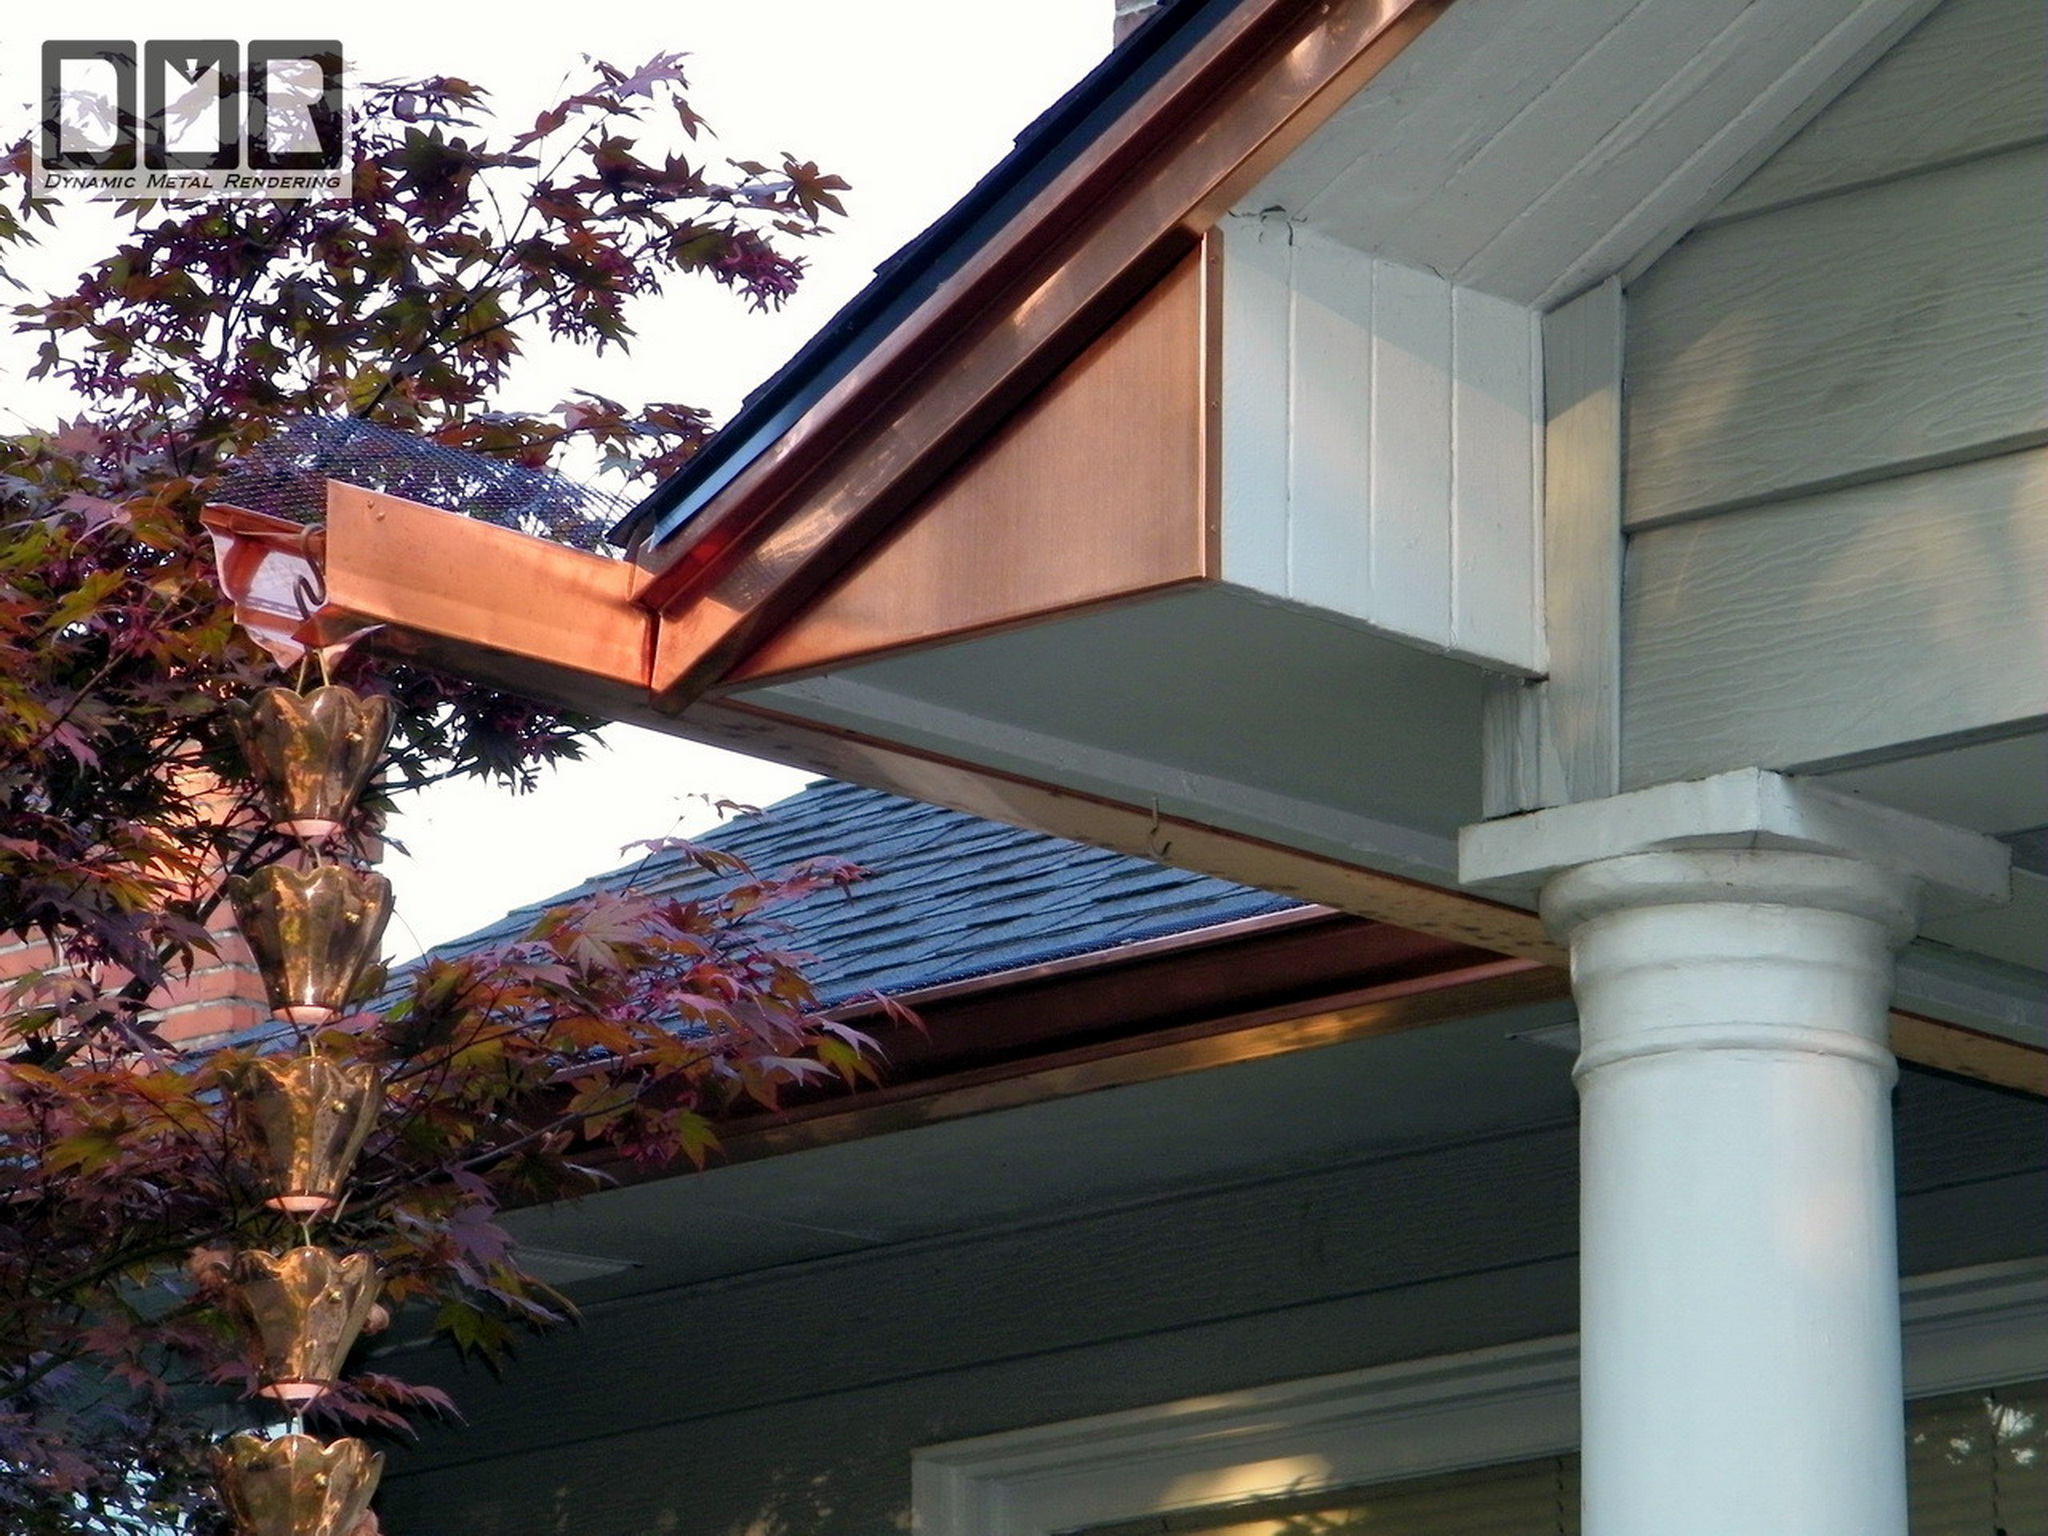
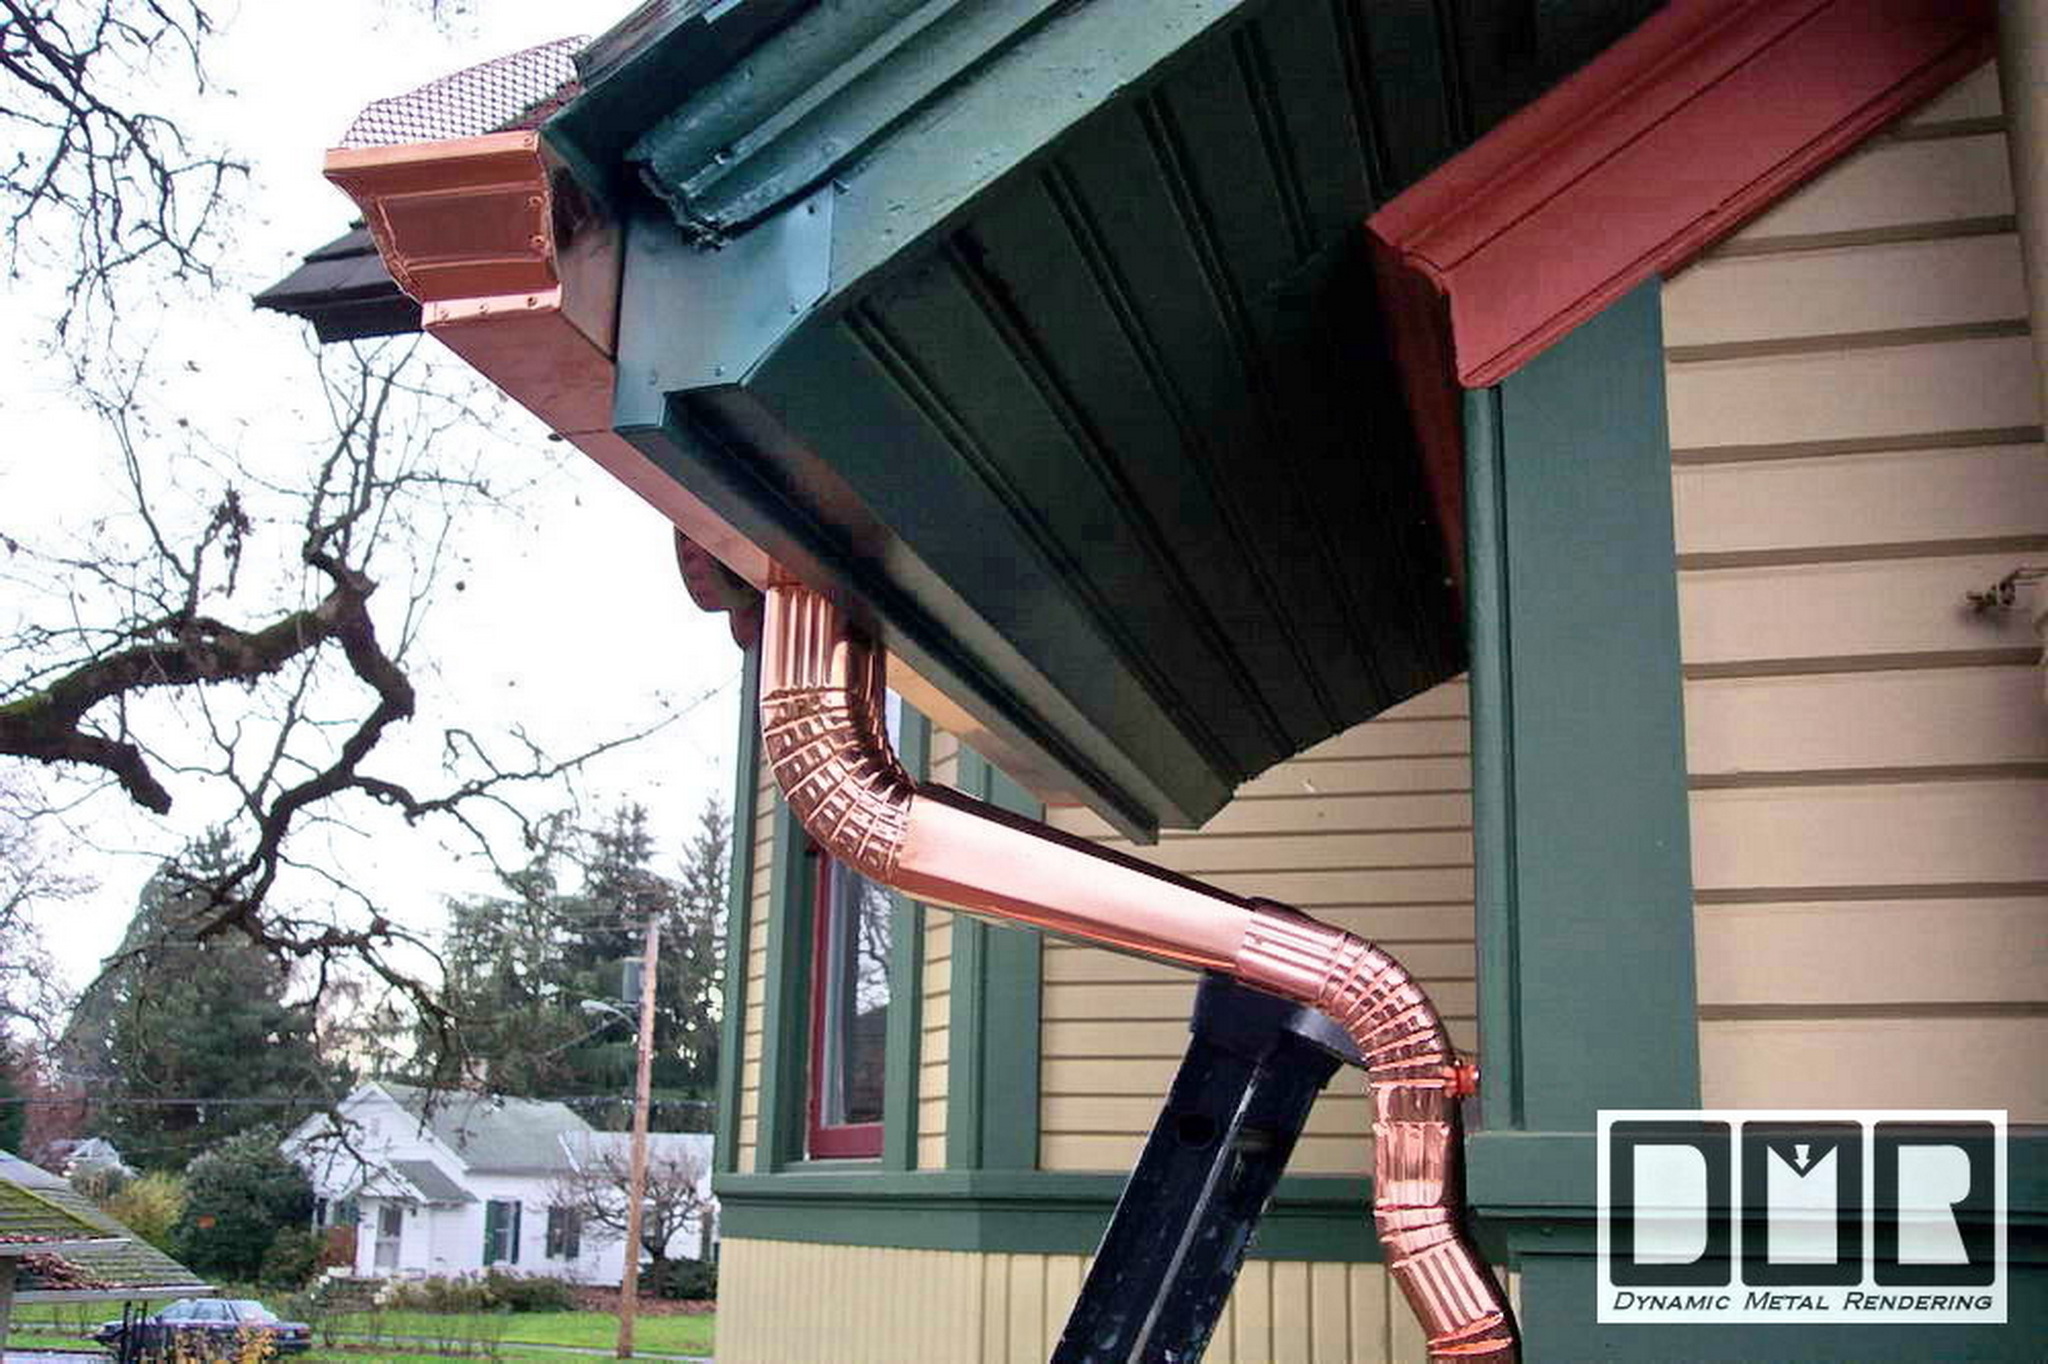
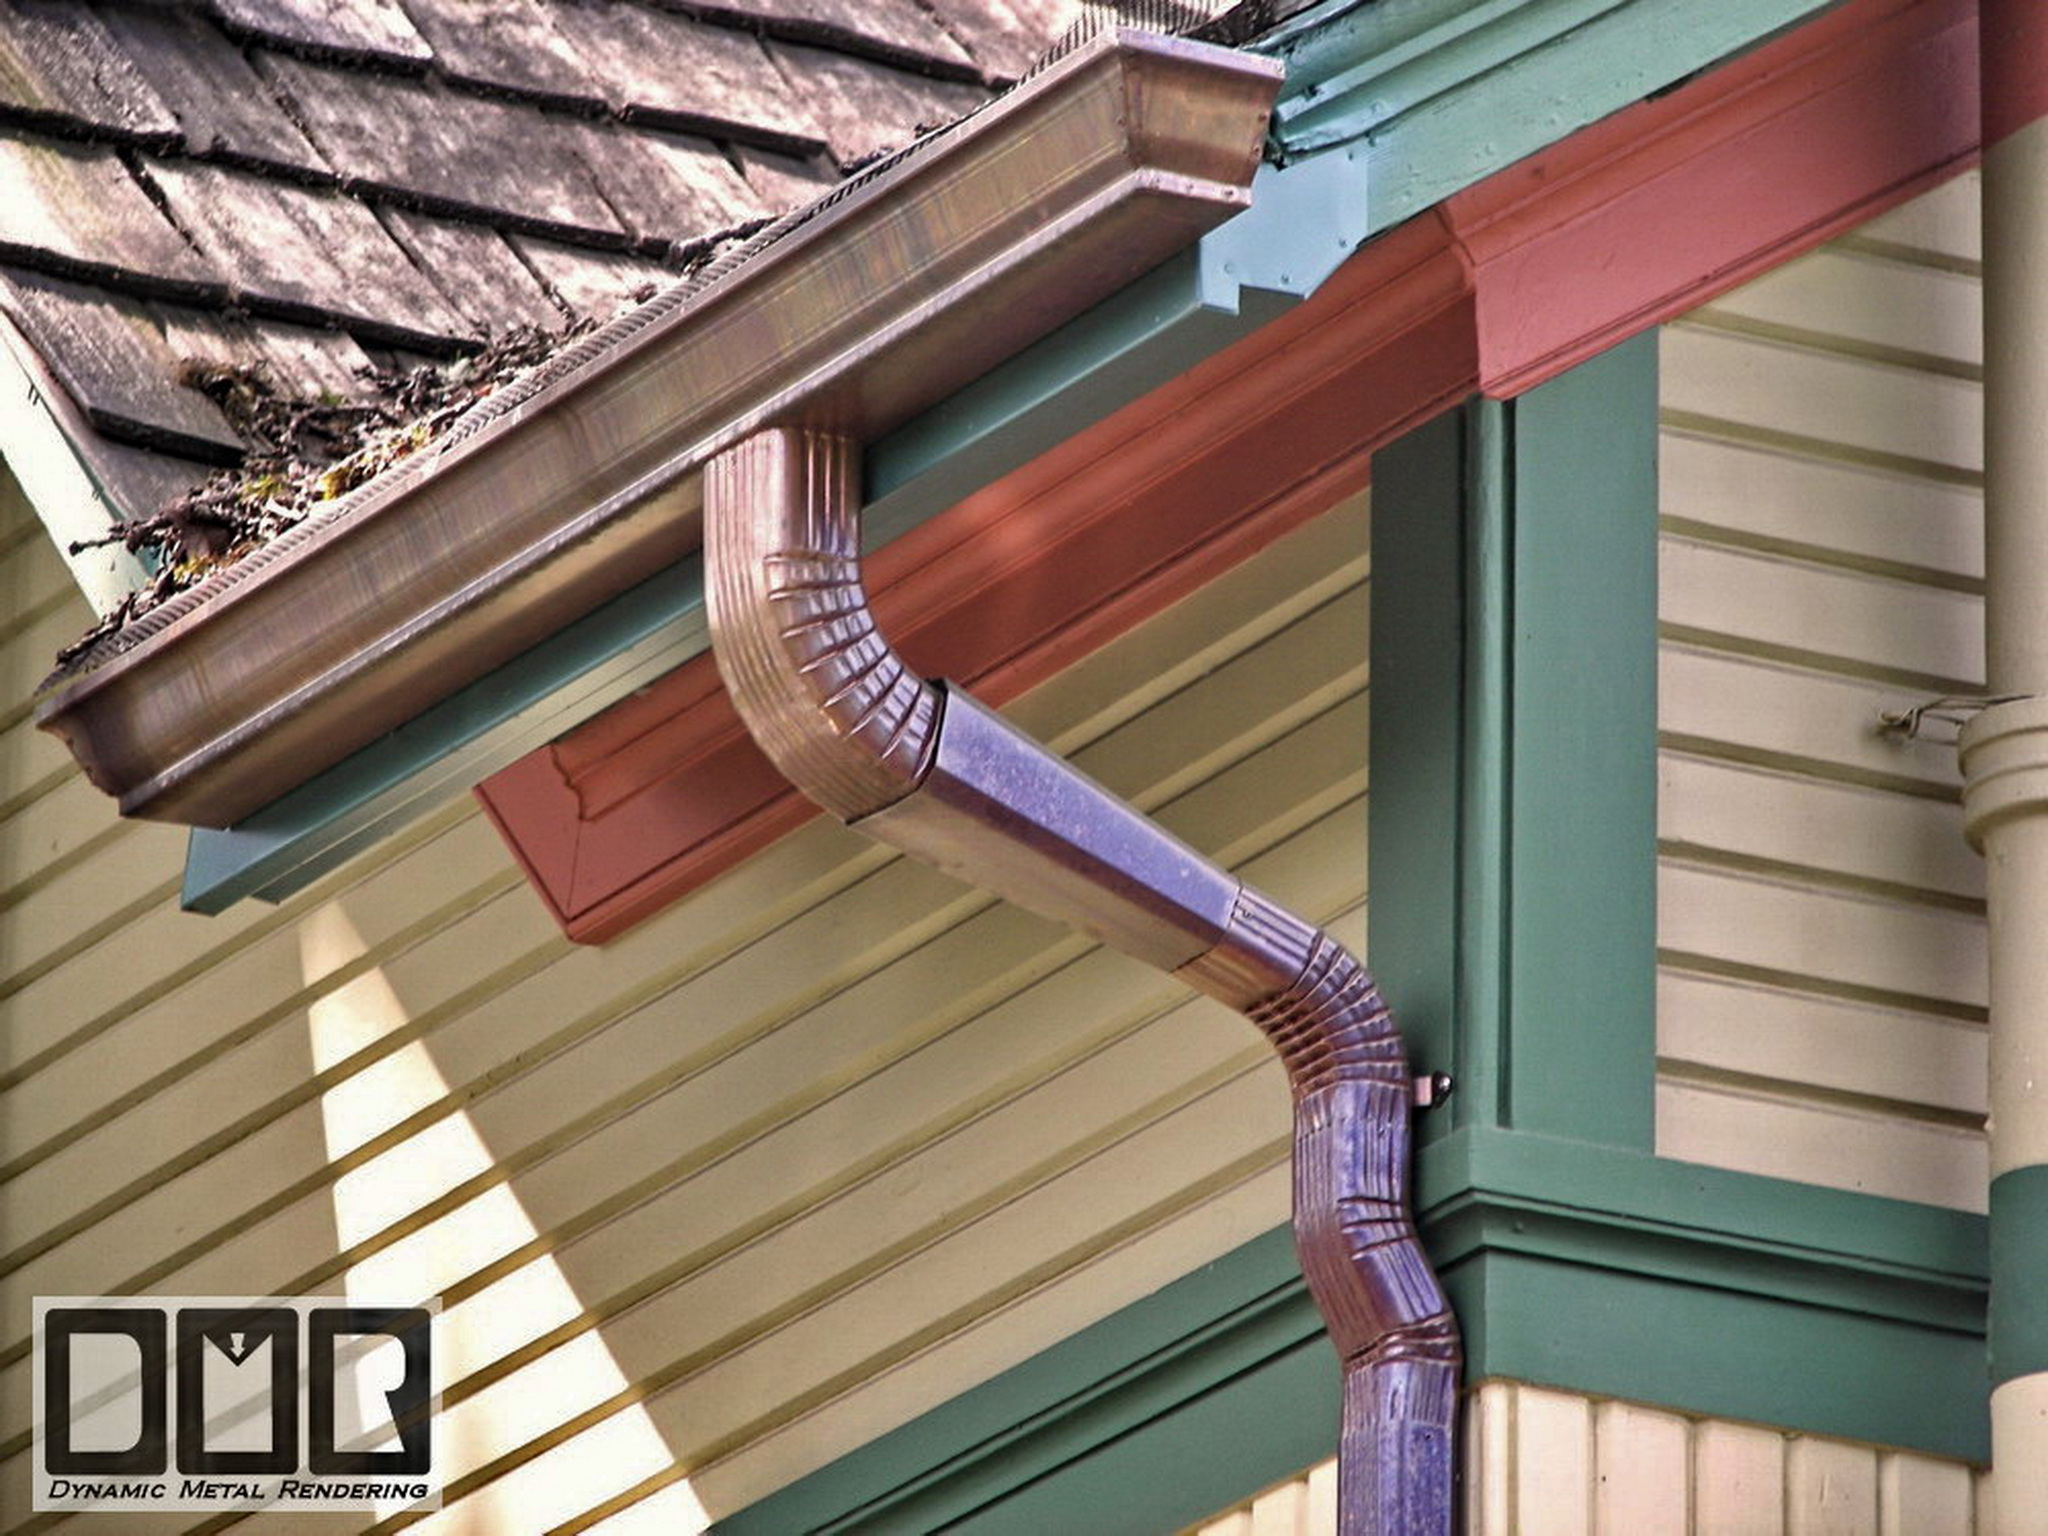
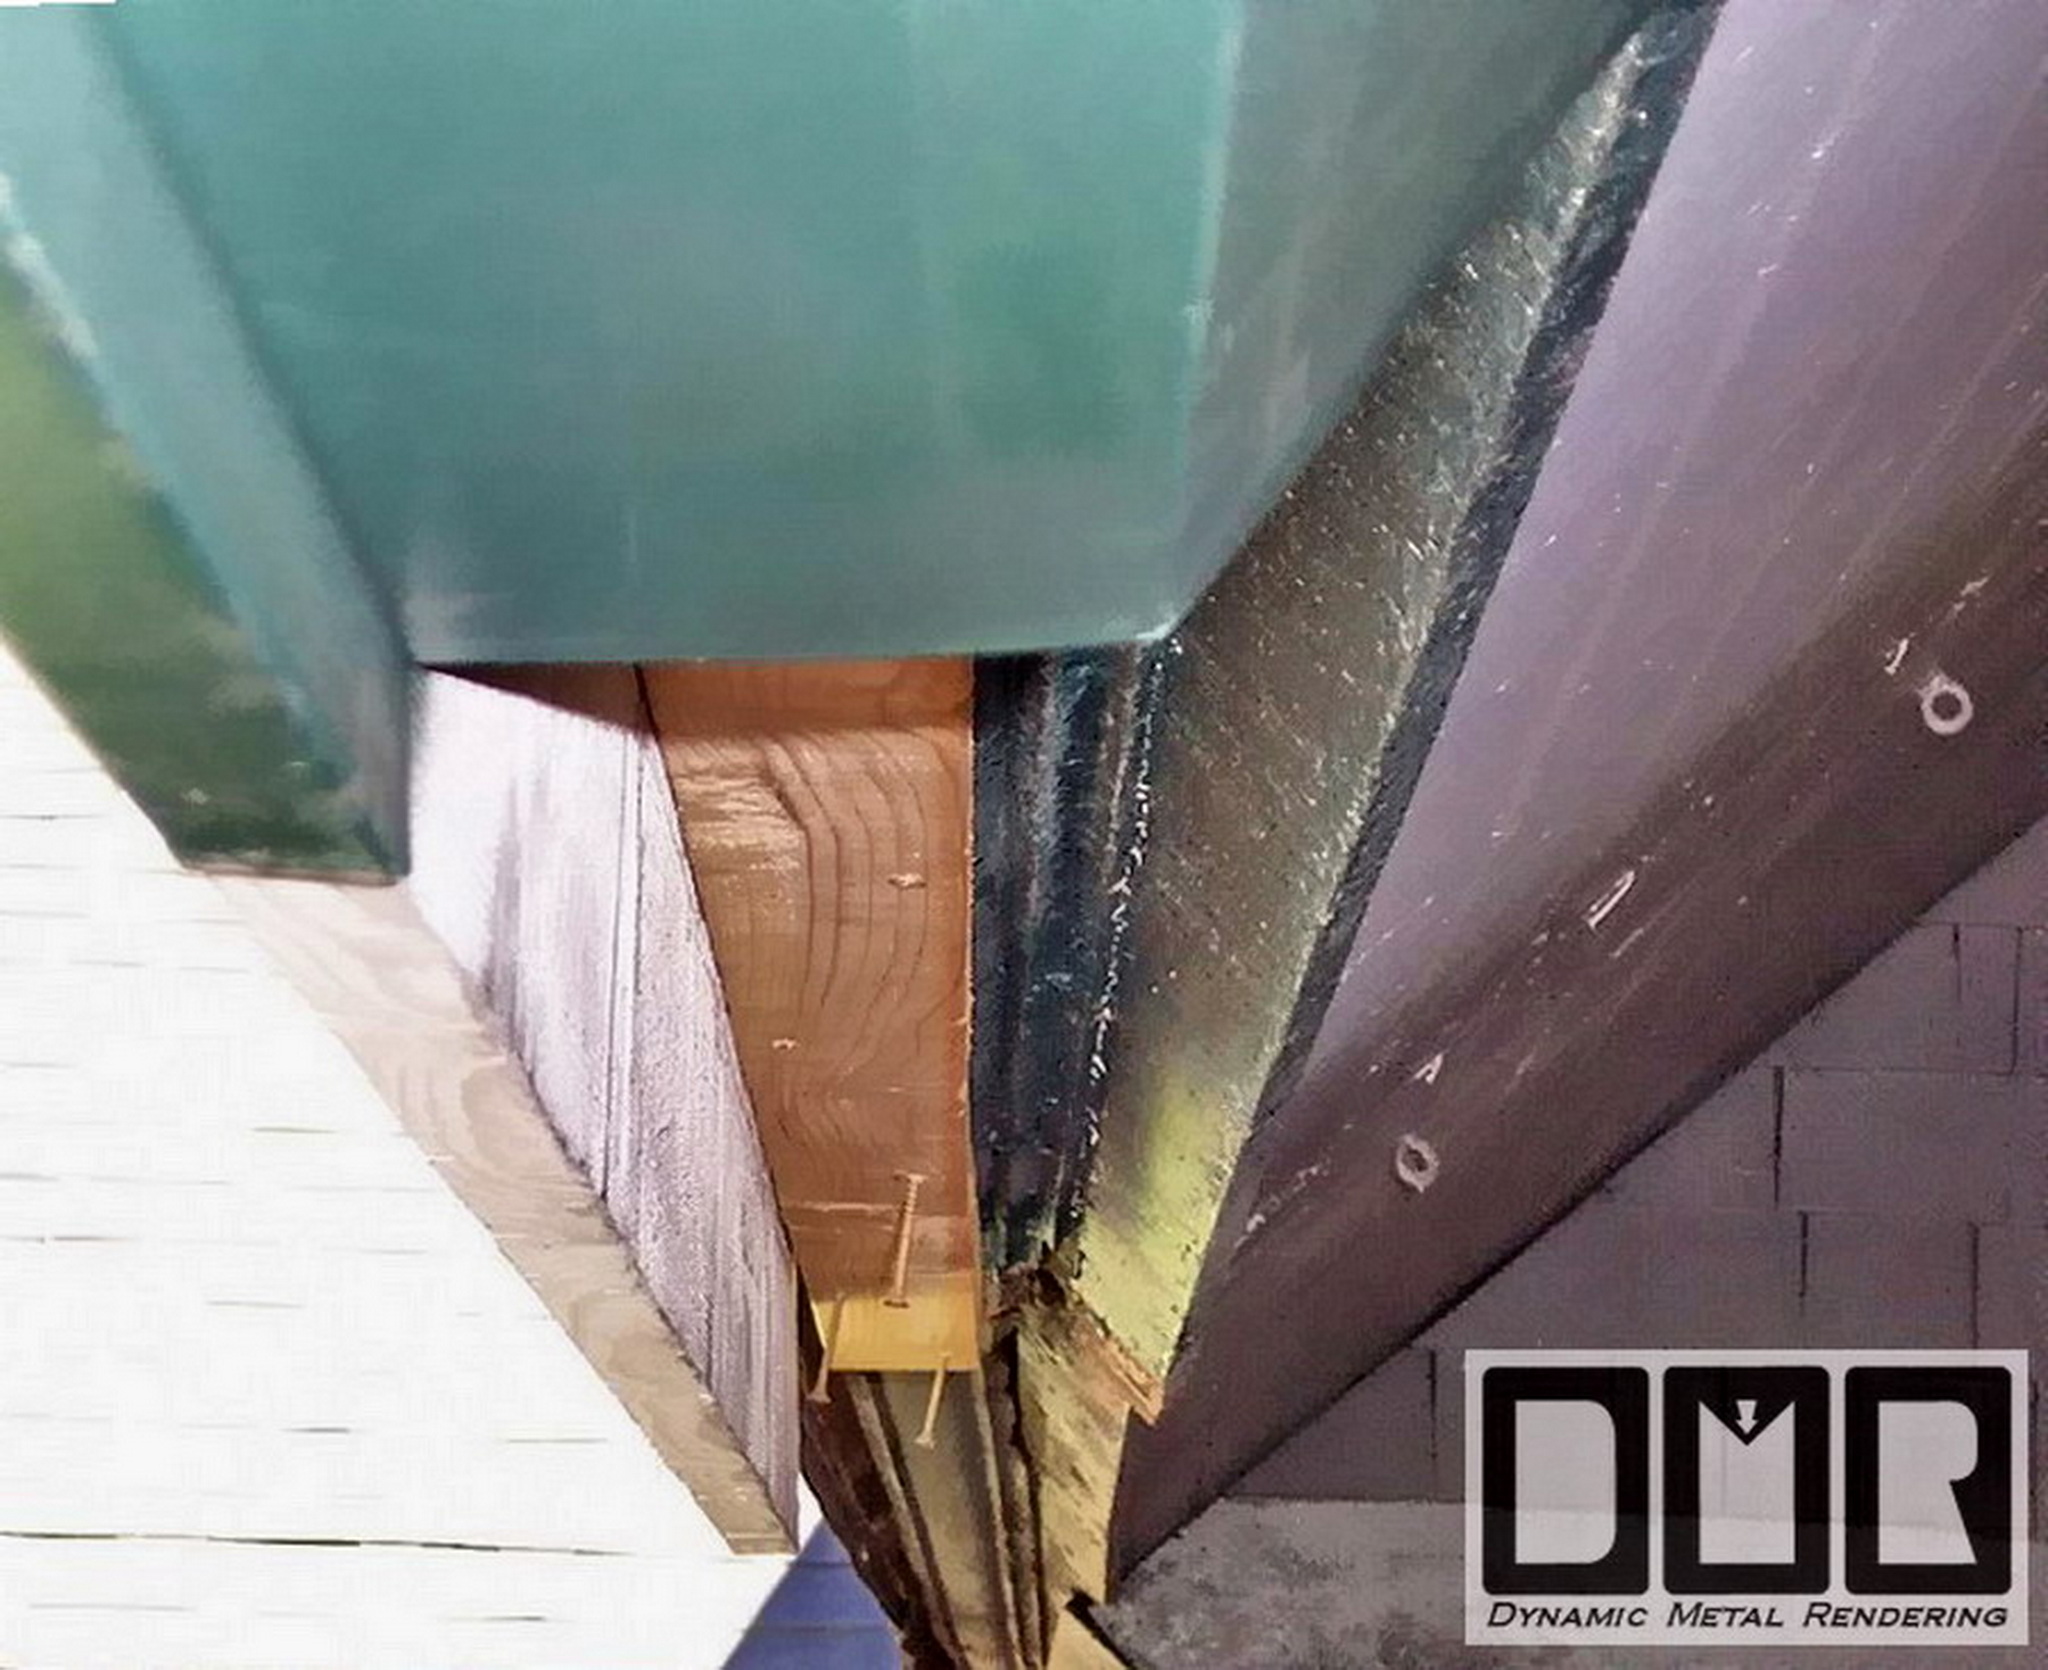
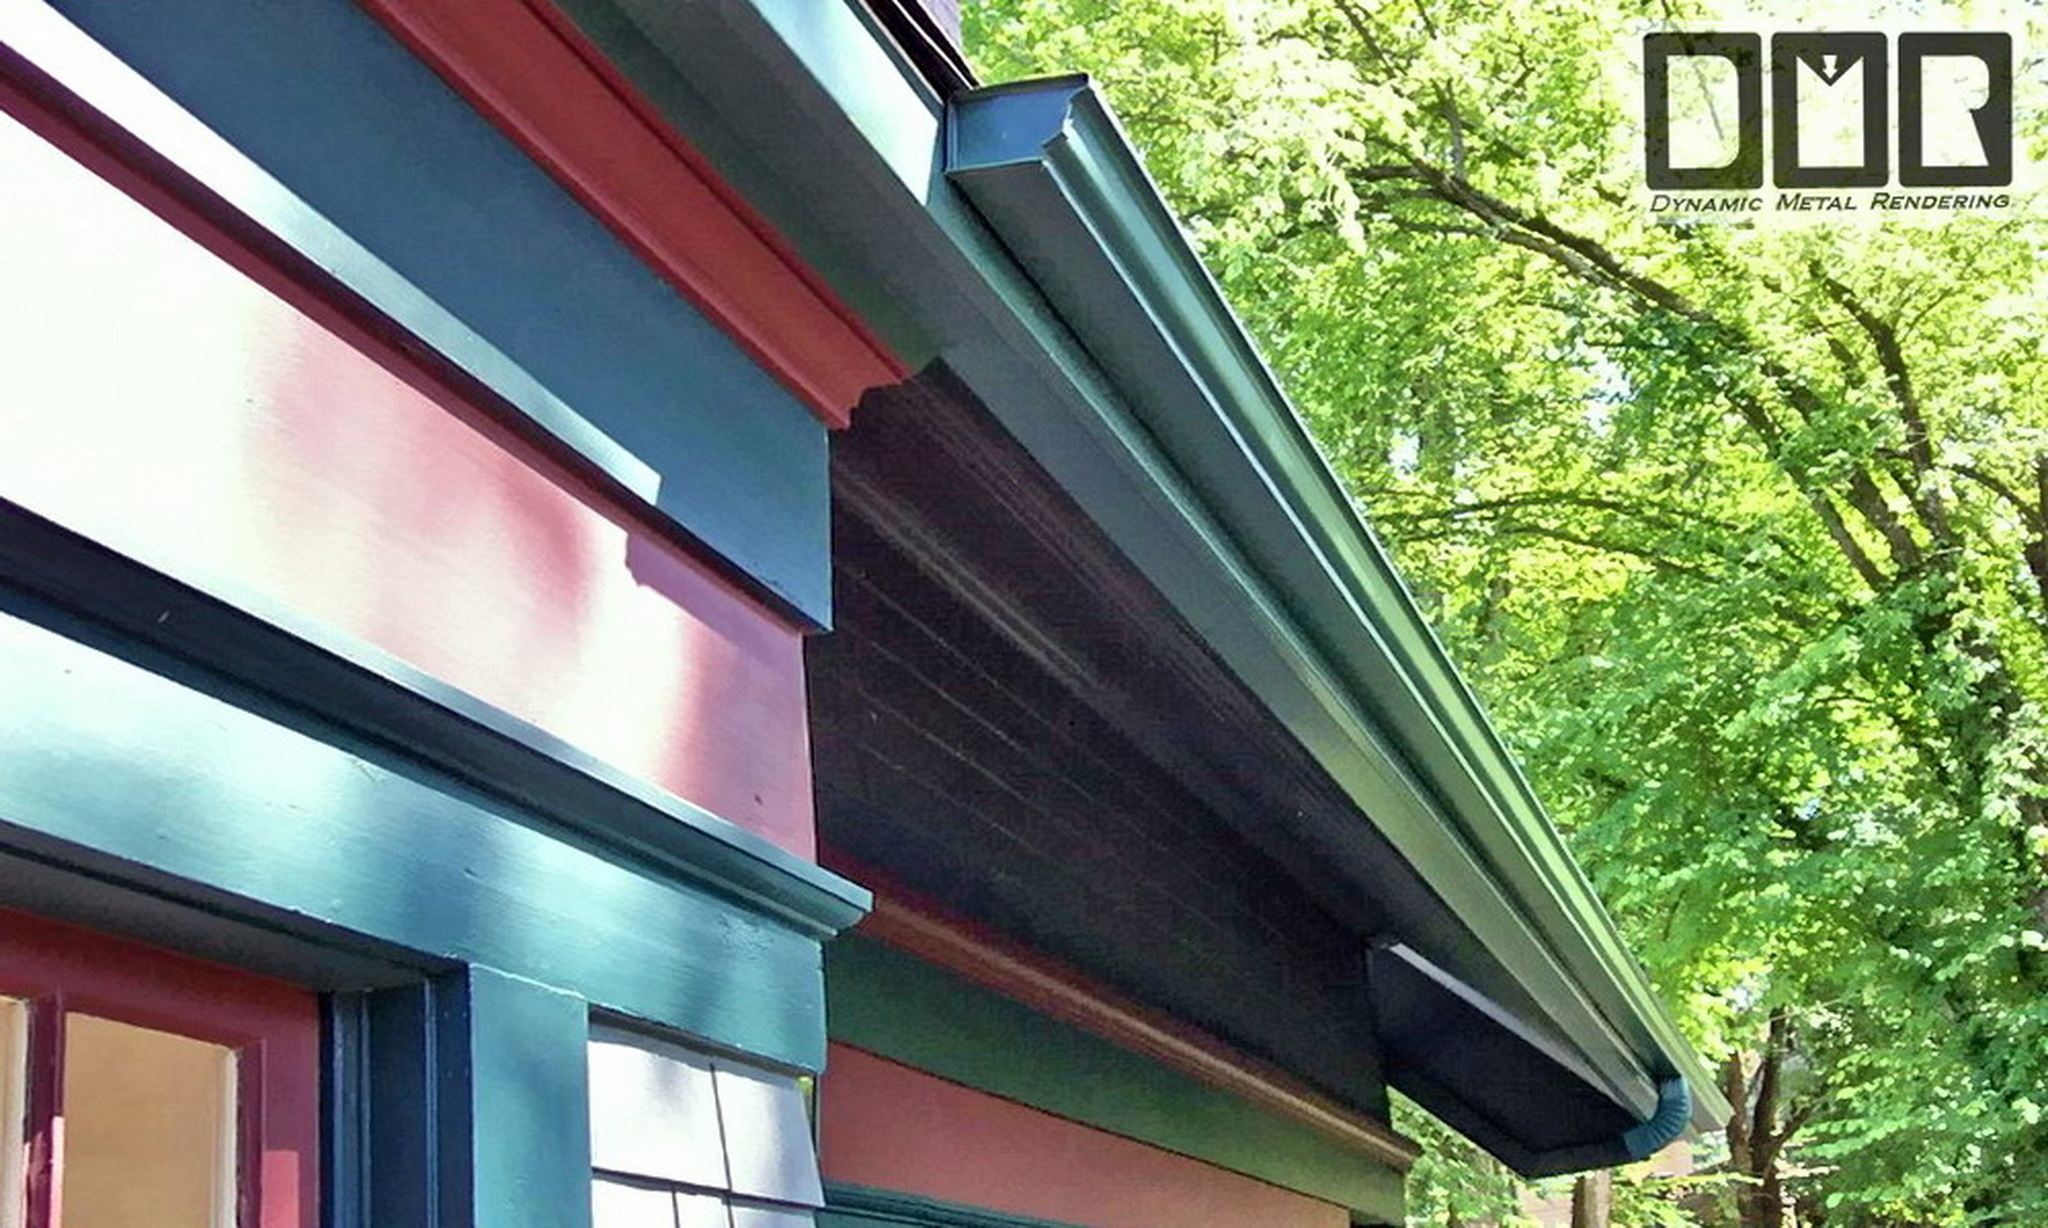
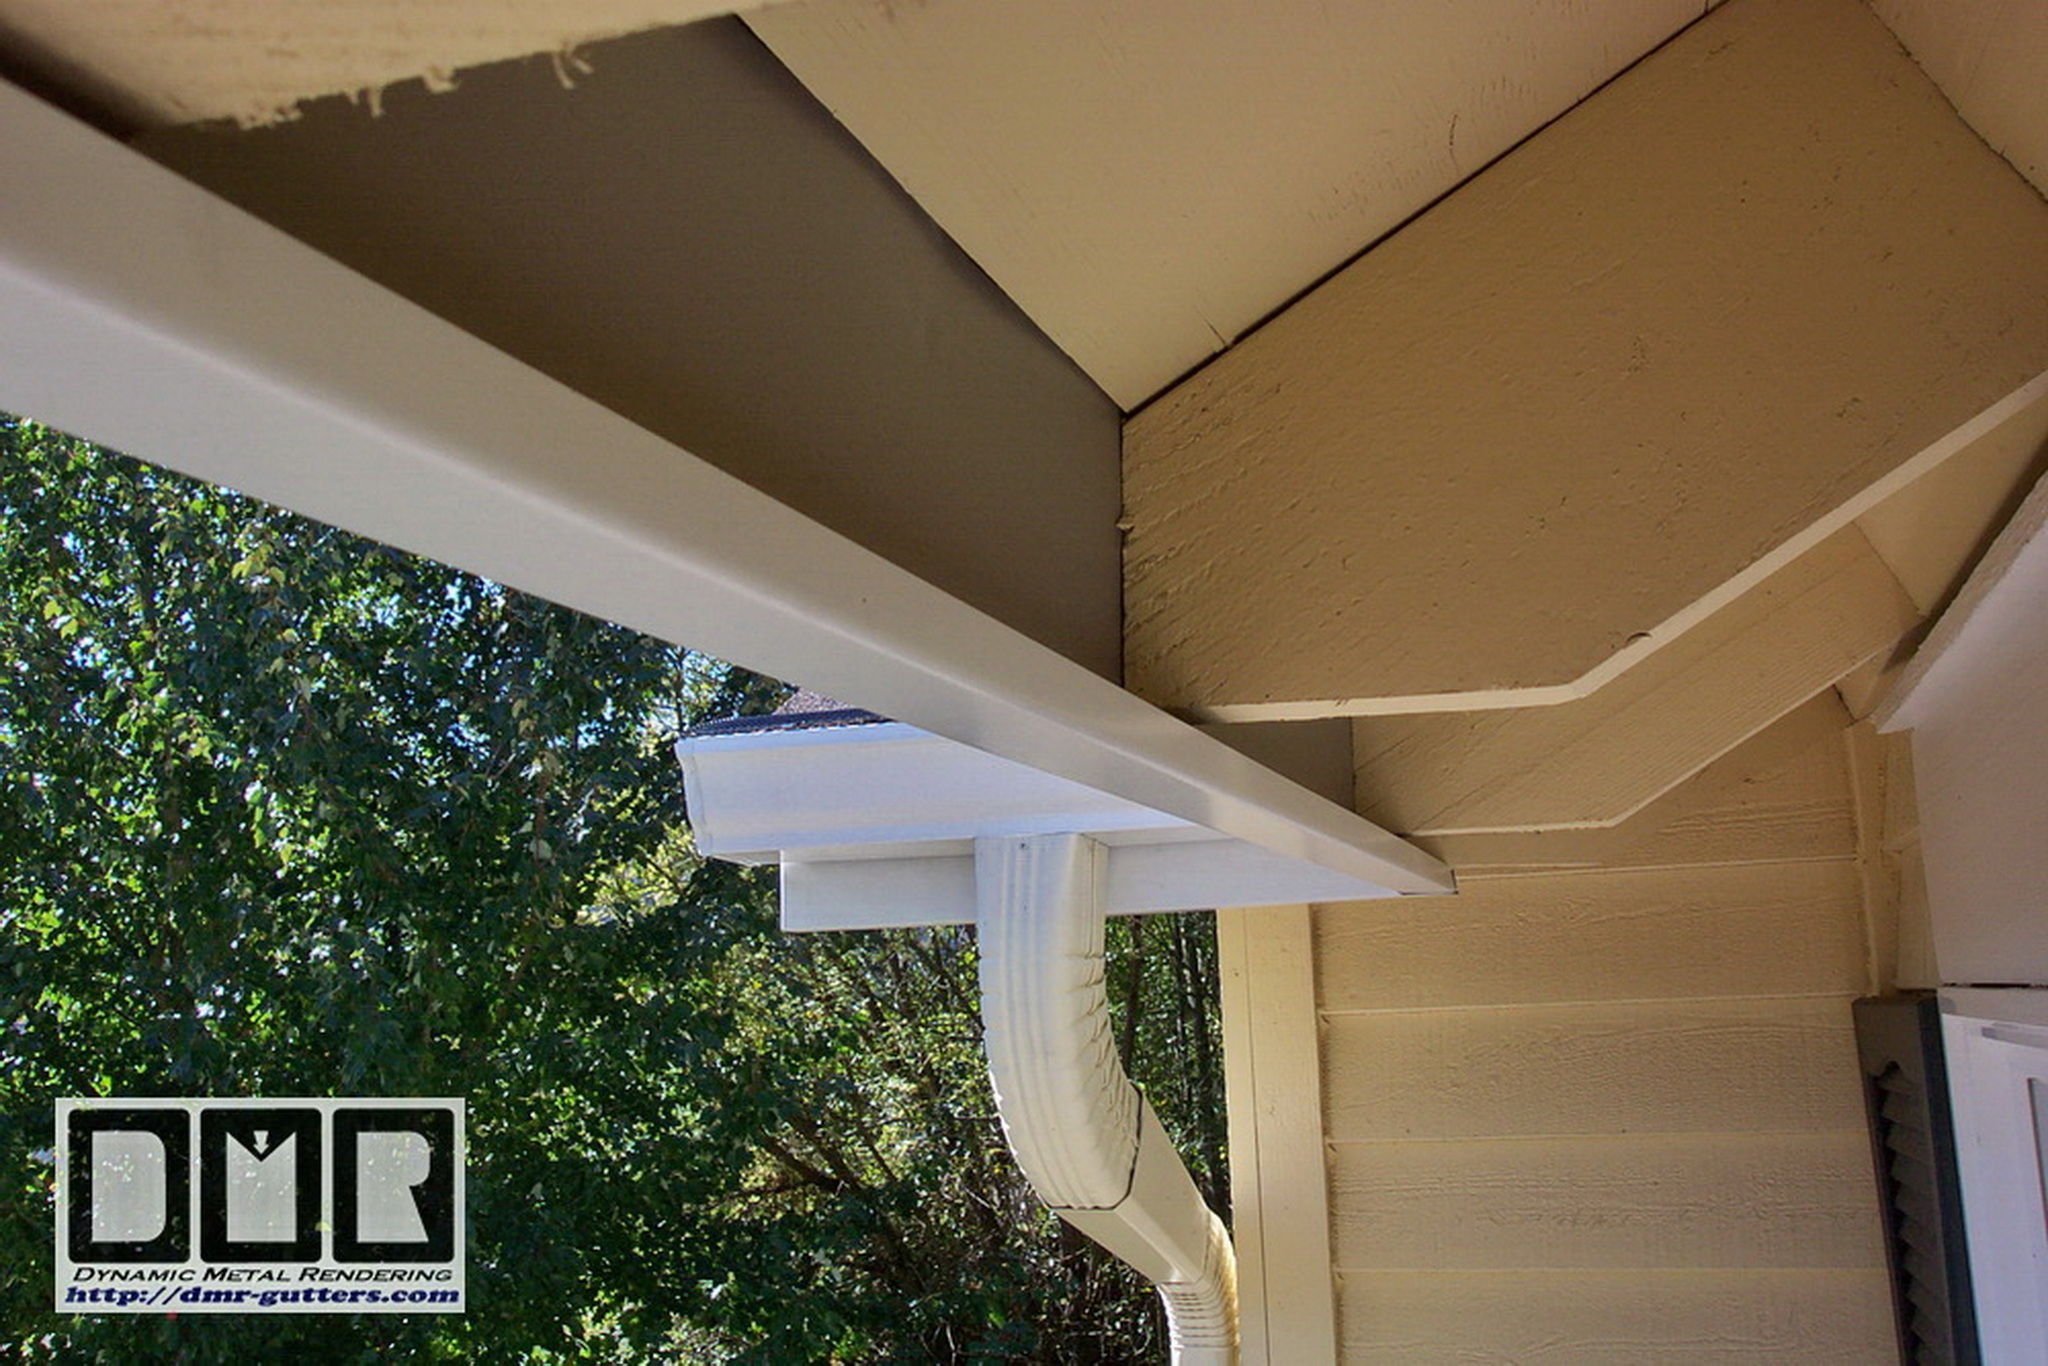
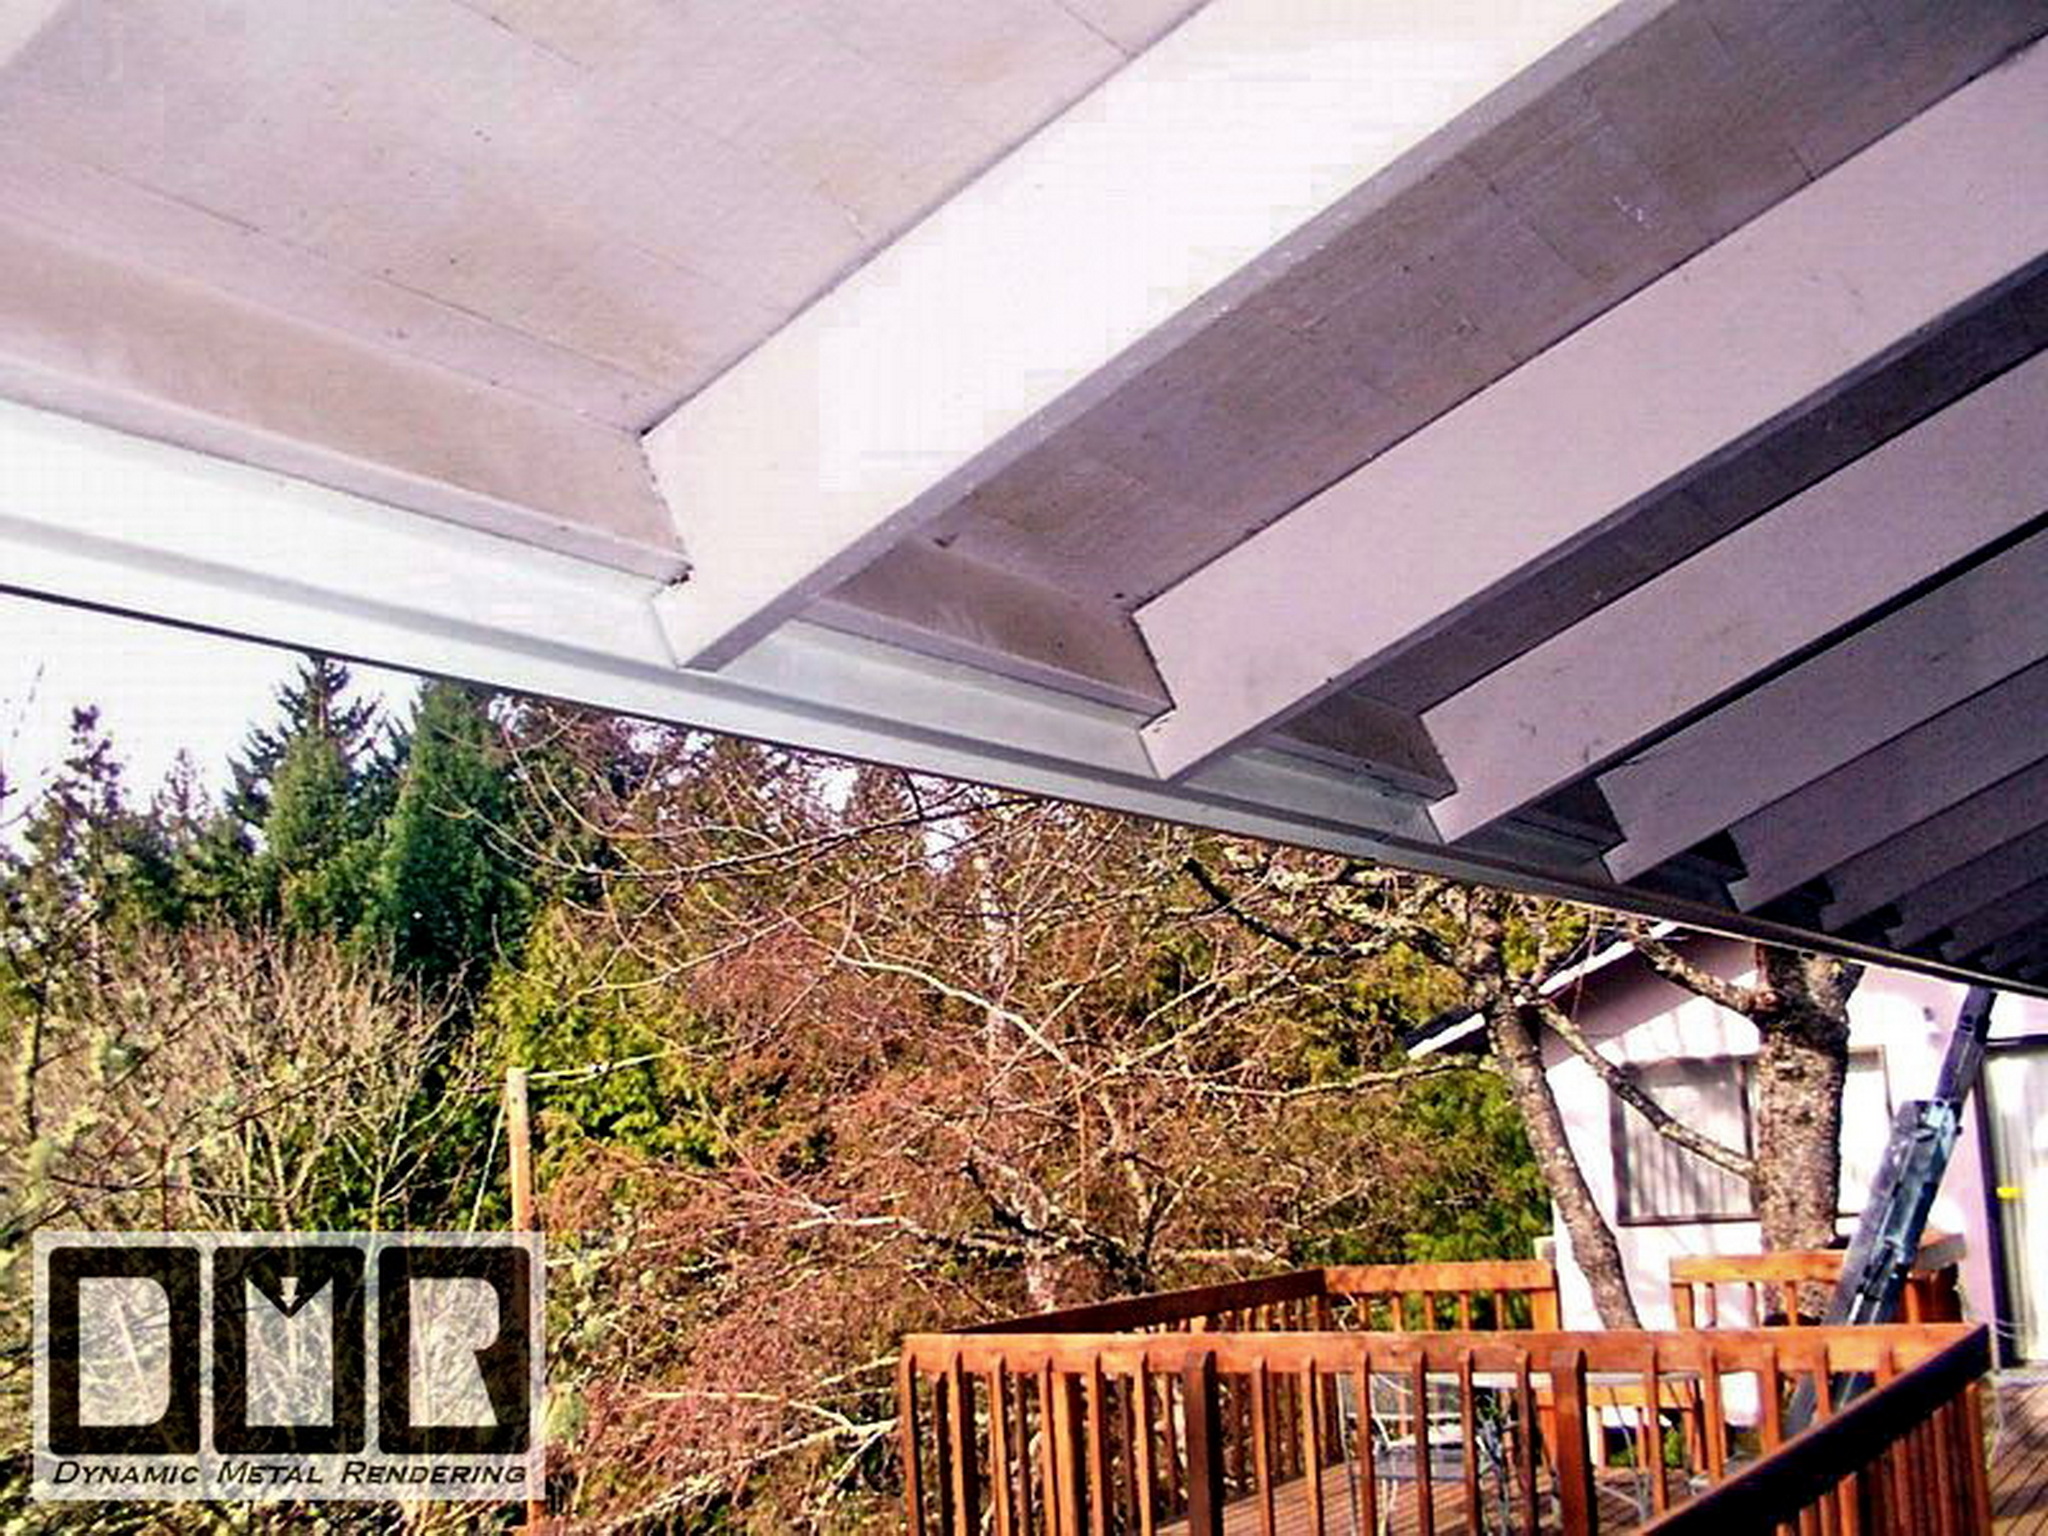
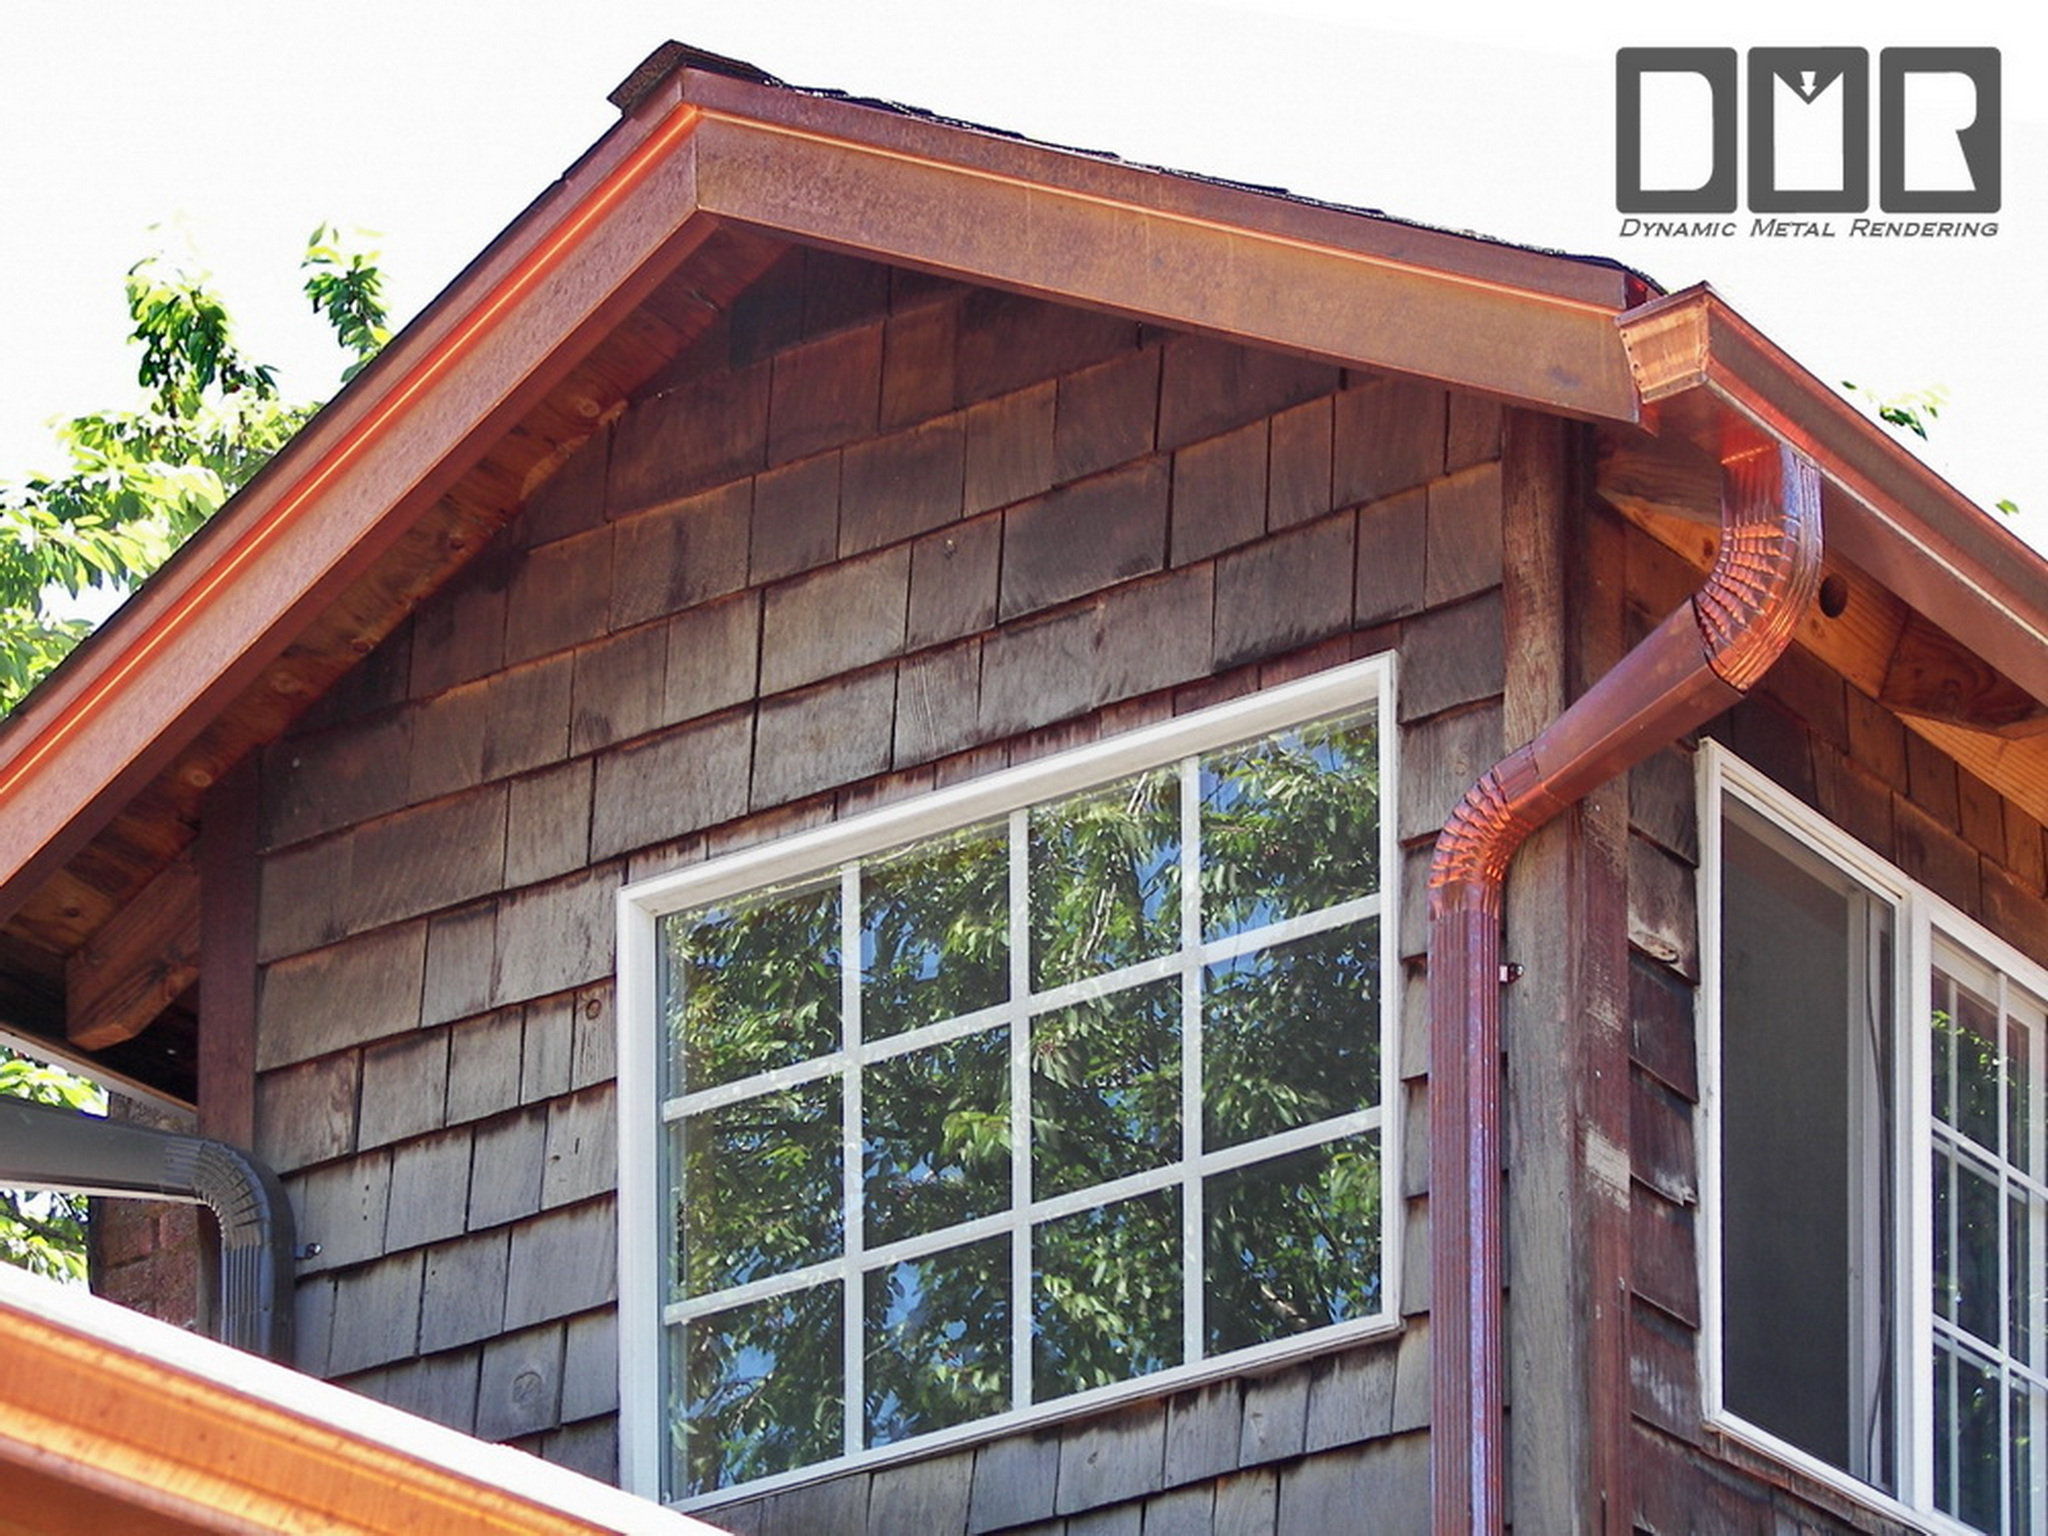
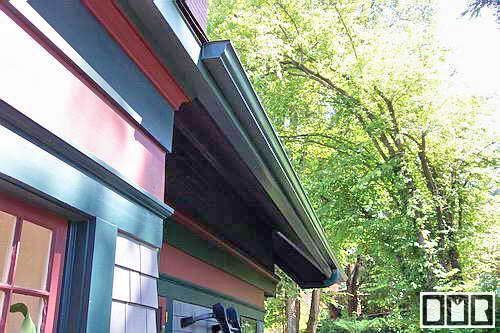 As
shown above, this shows the gutter on the new fascia board.
the client, Mr. Smith was very pleased with my work, and even
complimented me, saying how it looked better than he had imagined.
It is satisfying to see an unusually
complicated job, that no one else wanted to tackle, go so
well. And it is also great to get those kind of comments.
|


